


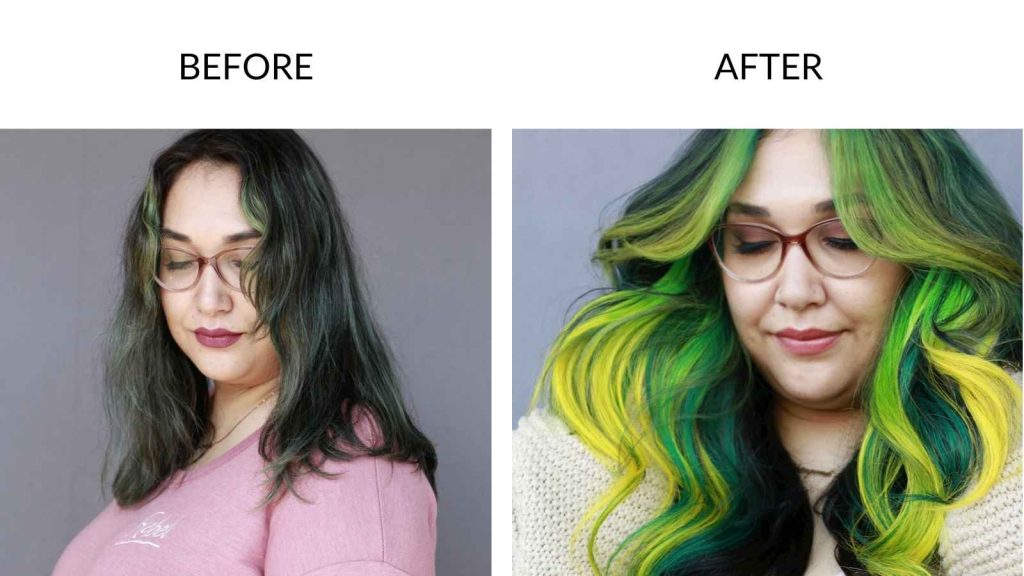
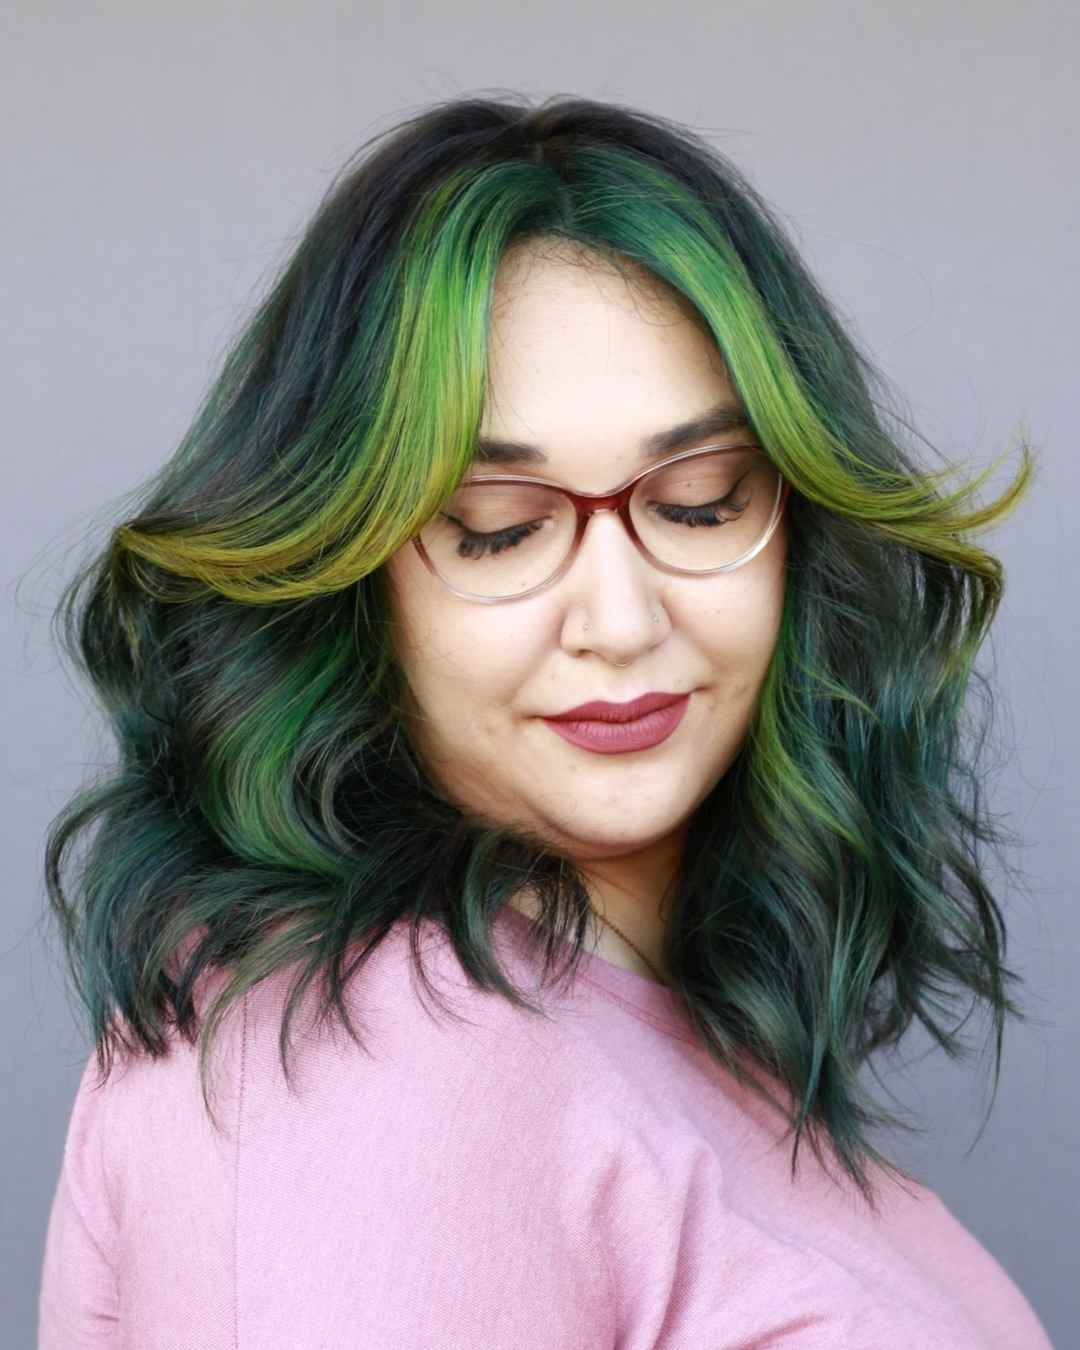
In this blog and video YouTube tutorial, I will be showing you how I use Kenra Creatives to create a green to yellow colormelt on dark hair.
Ever since Kenra released their creatives, I was obsessed! It was really fun being able to mix and match my formula to make the perfect vivid color for my model. She likes to have a bright green shade, which Kenra actually does not have. It was a great way to play with the shades until I found the best custom color for her green to yellow colormelt on dark hair!
The Process
When it comes to lightening, I like to play it safe. To ensure the protection of my models hair, I used Kenra Professional Simply Blonde Beyond Bond Lightener with a 1:2 mixing ratio with 20 volume developer. She has lots of babylights, so with the dual bond complex of the lightener, I know if I overlap in some areas her hair won’t be compromised.
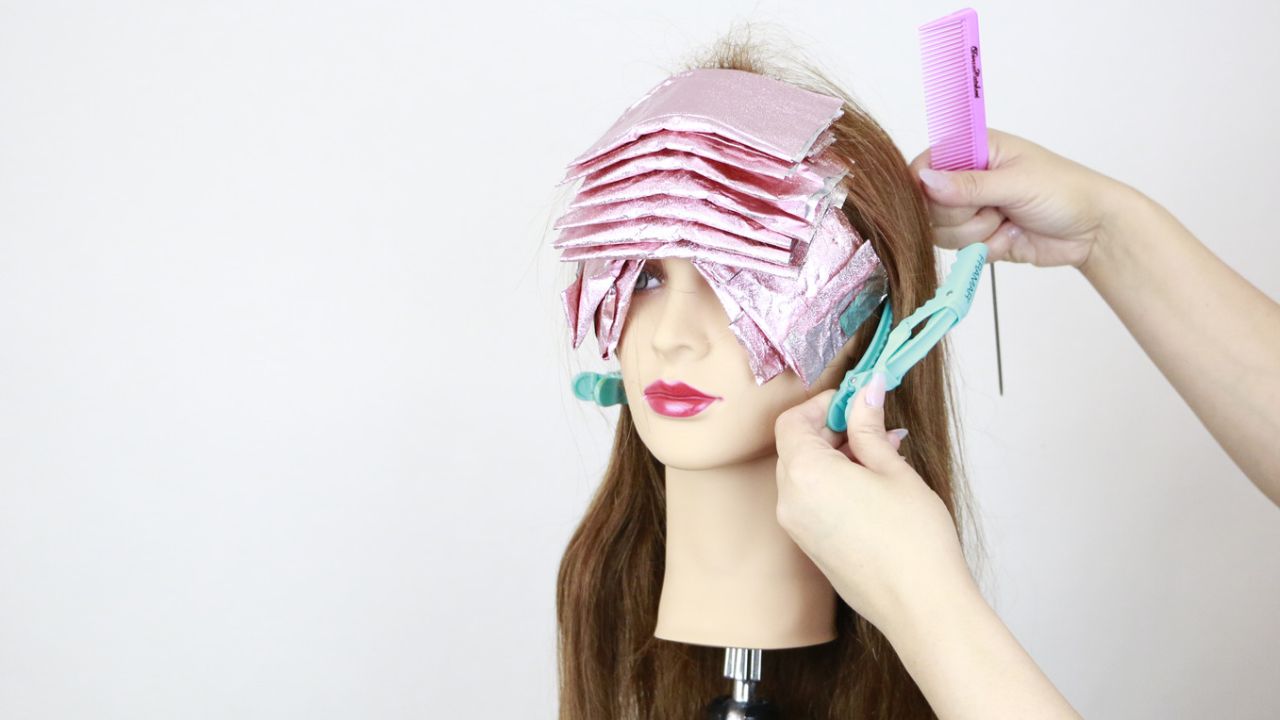
I wanted some added dimension, so I also went in with some lowlights in 4A. Around her hairline I did back to back weaves to create a softer grow out. I recommend tri-folding your foils as demonstrated in the video to get really close around the hairline.
Repeat the baby light technique all throughout your front section for a really bold money piece. On the sides, I went in with a mix of teasylights and lowlights for overall brightness and added dimension. If you have never tried a balayage board for your teasylights, I would definitely recommend trying it out! It is a great way to give added tension, as well as allowing you to thoroughly saturate your section.
At the bowl, I always take the Kenra Pearl Detangler and my Framar brush to gently brush out the teasylights. It is important to do brush out the tangles at the bowl so you do not create further knots in the hair. It does take a couple extra minutes, but it is worth it.
Green Formula using Kenra Creatives
Now for the colorful part! On 100% dry hair I am taking my custom color formula, which is equal parts blue and yellow with a ribbon of black. I also created a lighter green color of 2:1 yellow and blue with clear and then last formula consists of just yellow.
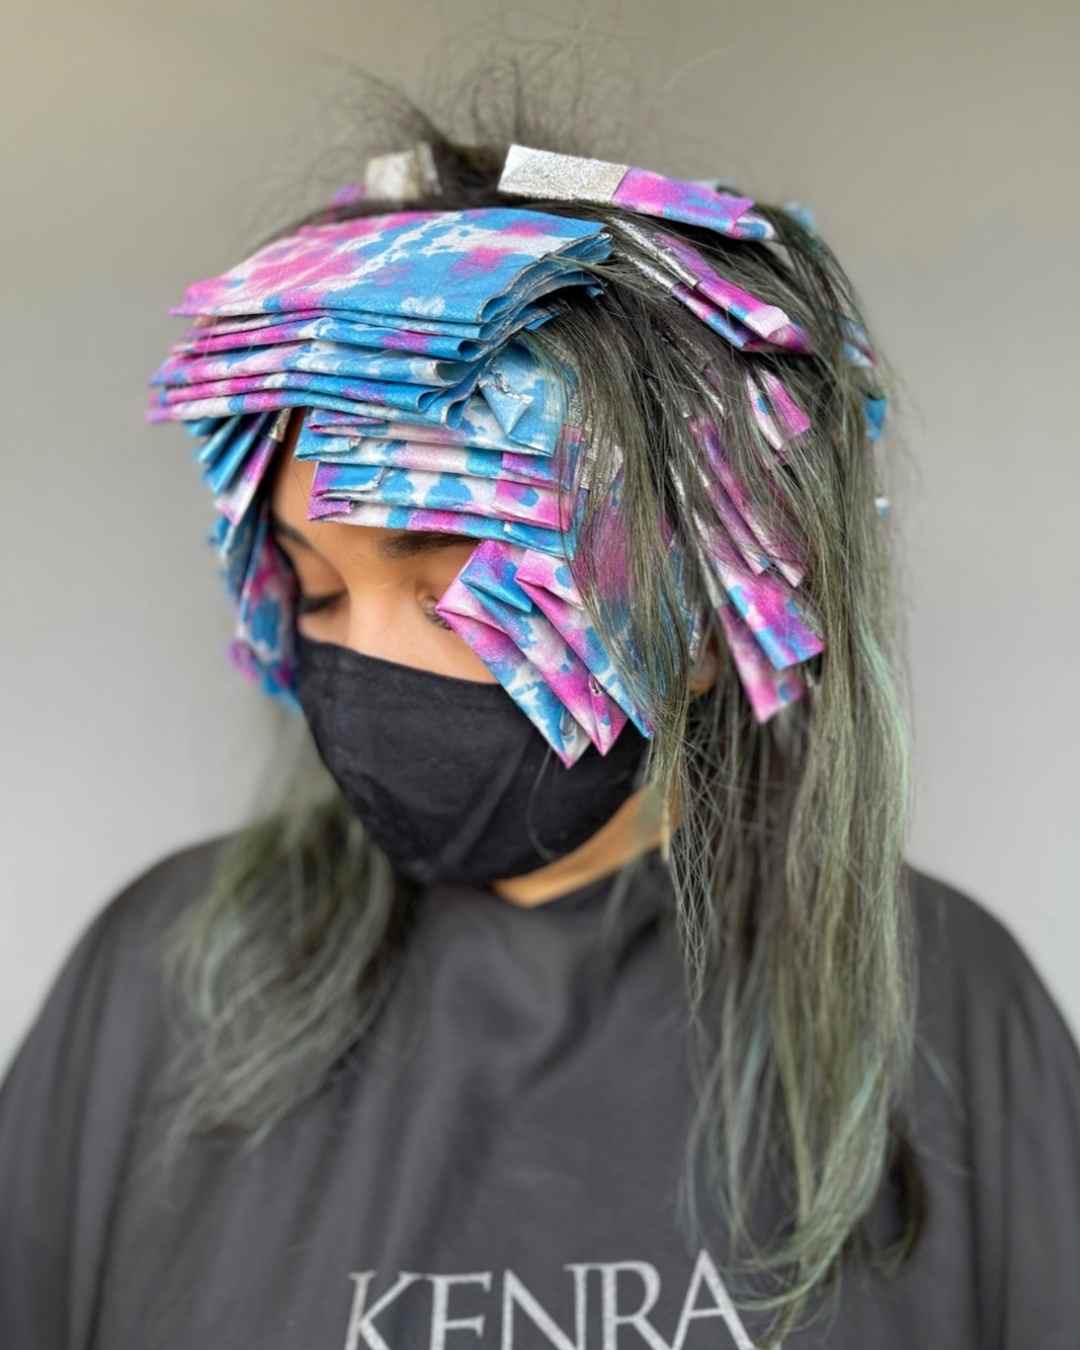
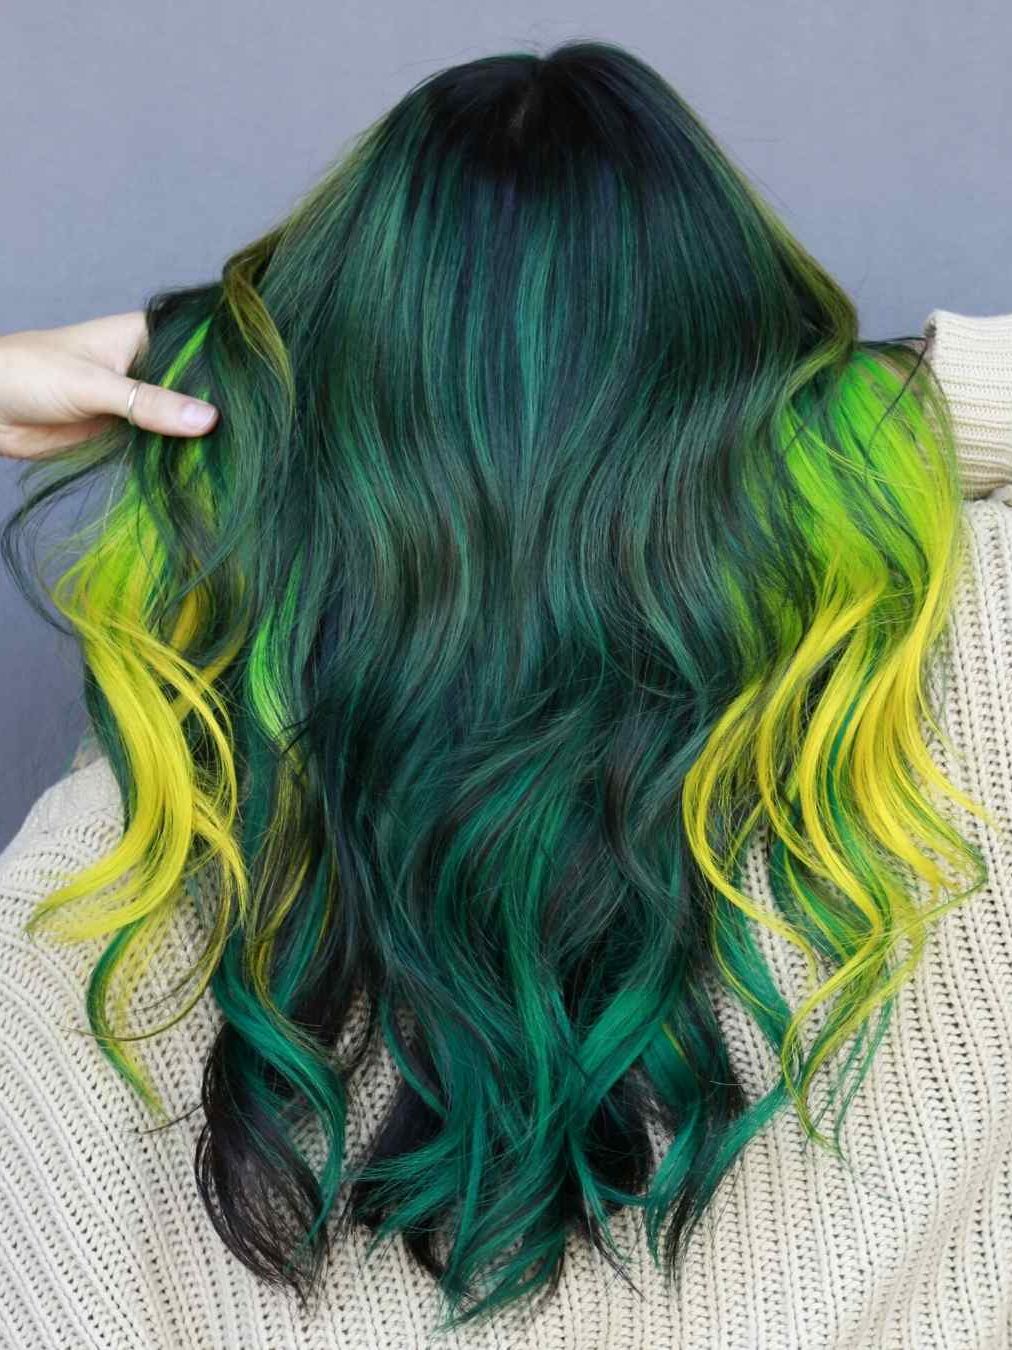
Taking my Framar foils and thin slices, I am thoroughly saturating each section with my green formulas. I start with the darker green on the top for contrast, then light green, and finally yellow for the most dramatic effect. I continue this pattern in the whole front section of hair.
On the sides, I just go in with the dark green to light green formula. This color is not oxidative, therefore you need to work it into the hair and make sure it’s fully saturated. Let the color process at room temperature for 20 minutes for the best results!
Why I love Kenra Creatives
When doing vivid shades, I always love to use the Kenra Creatives. Besides the fact that you can easily mix all of the shades together to make beautiful custom colors, they also last up to 50 washes! Make sure you educate your client on how to take care of your vivid shades at home. Click here for more tips for vivid!
All of the Kenra Creatives do not require any developer and are designed to process at room temperature! There is a wide variety of more muted shades as well as super vibrant shades for all clients.
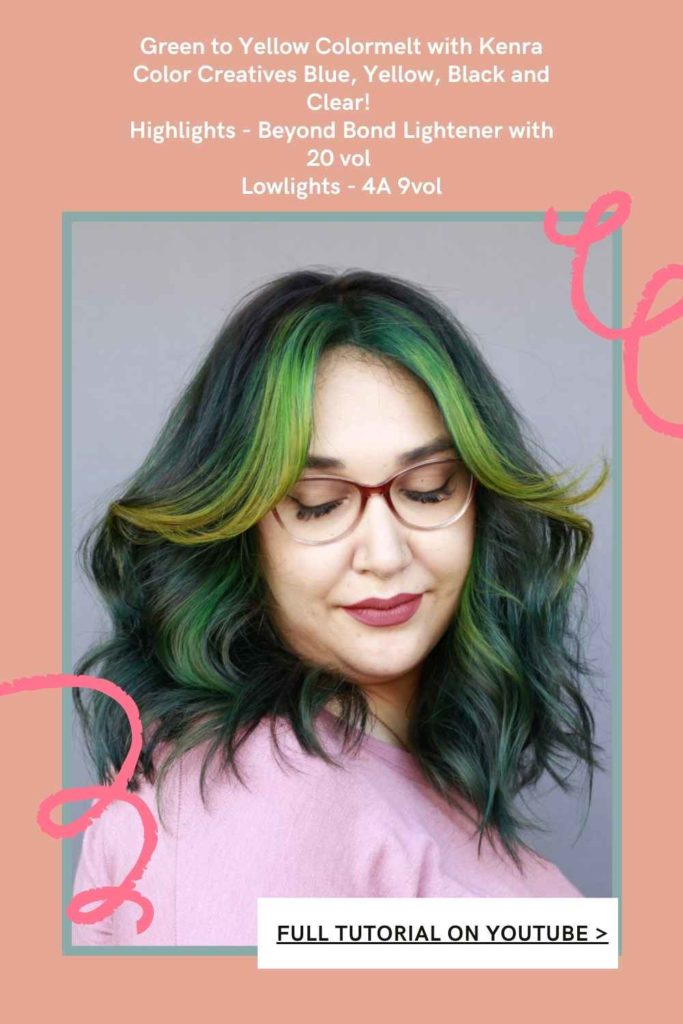
The Formula
Highlights – Simply Blonde Beyond Bond Lightener 1:2 20vol
Lowlights – 4A 1:2 9vol
Green Formula – 1:1 Blue and Yellow with a ribbon of Black
Lime Green – 2:1 Yellow and Blue with clear
Want to take your clients hair to the next level?
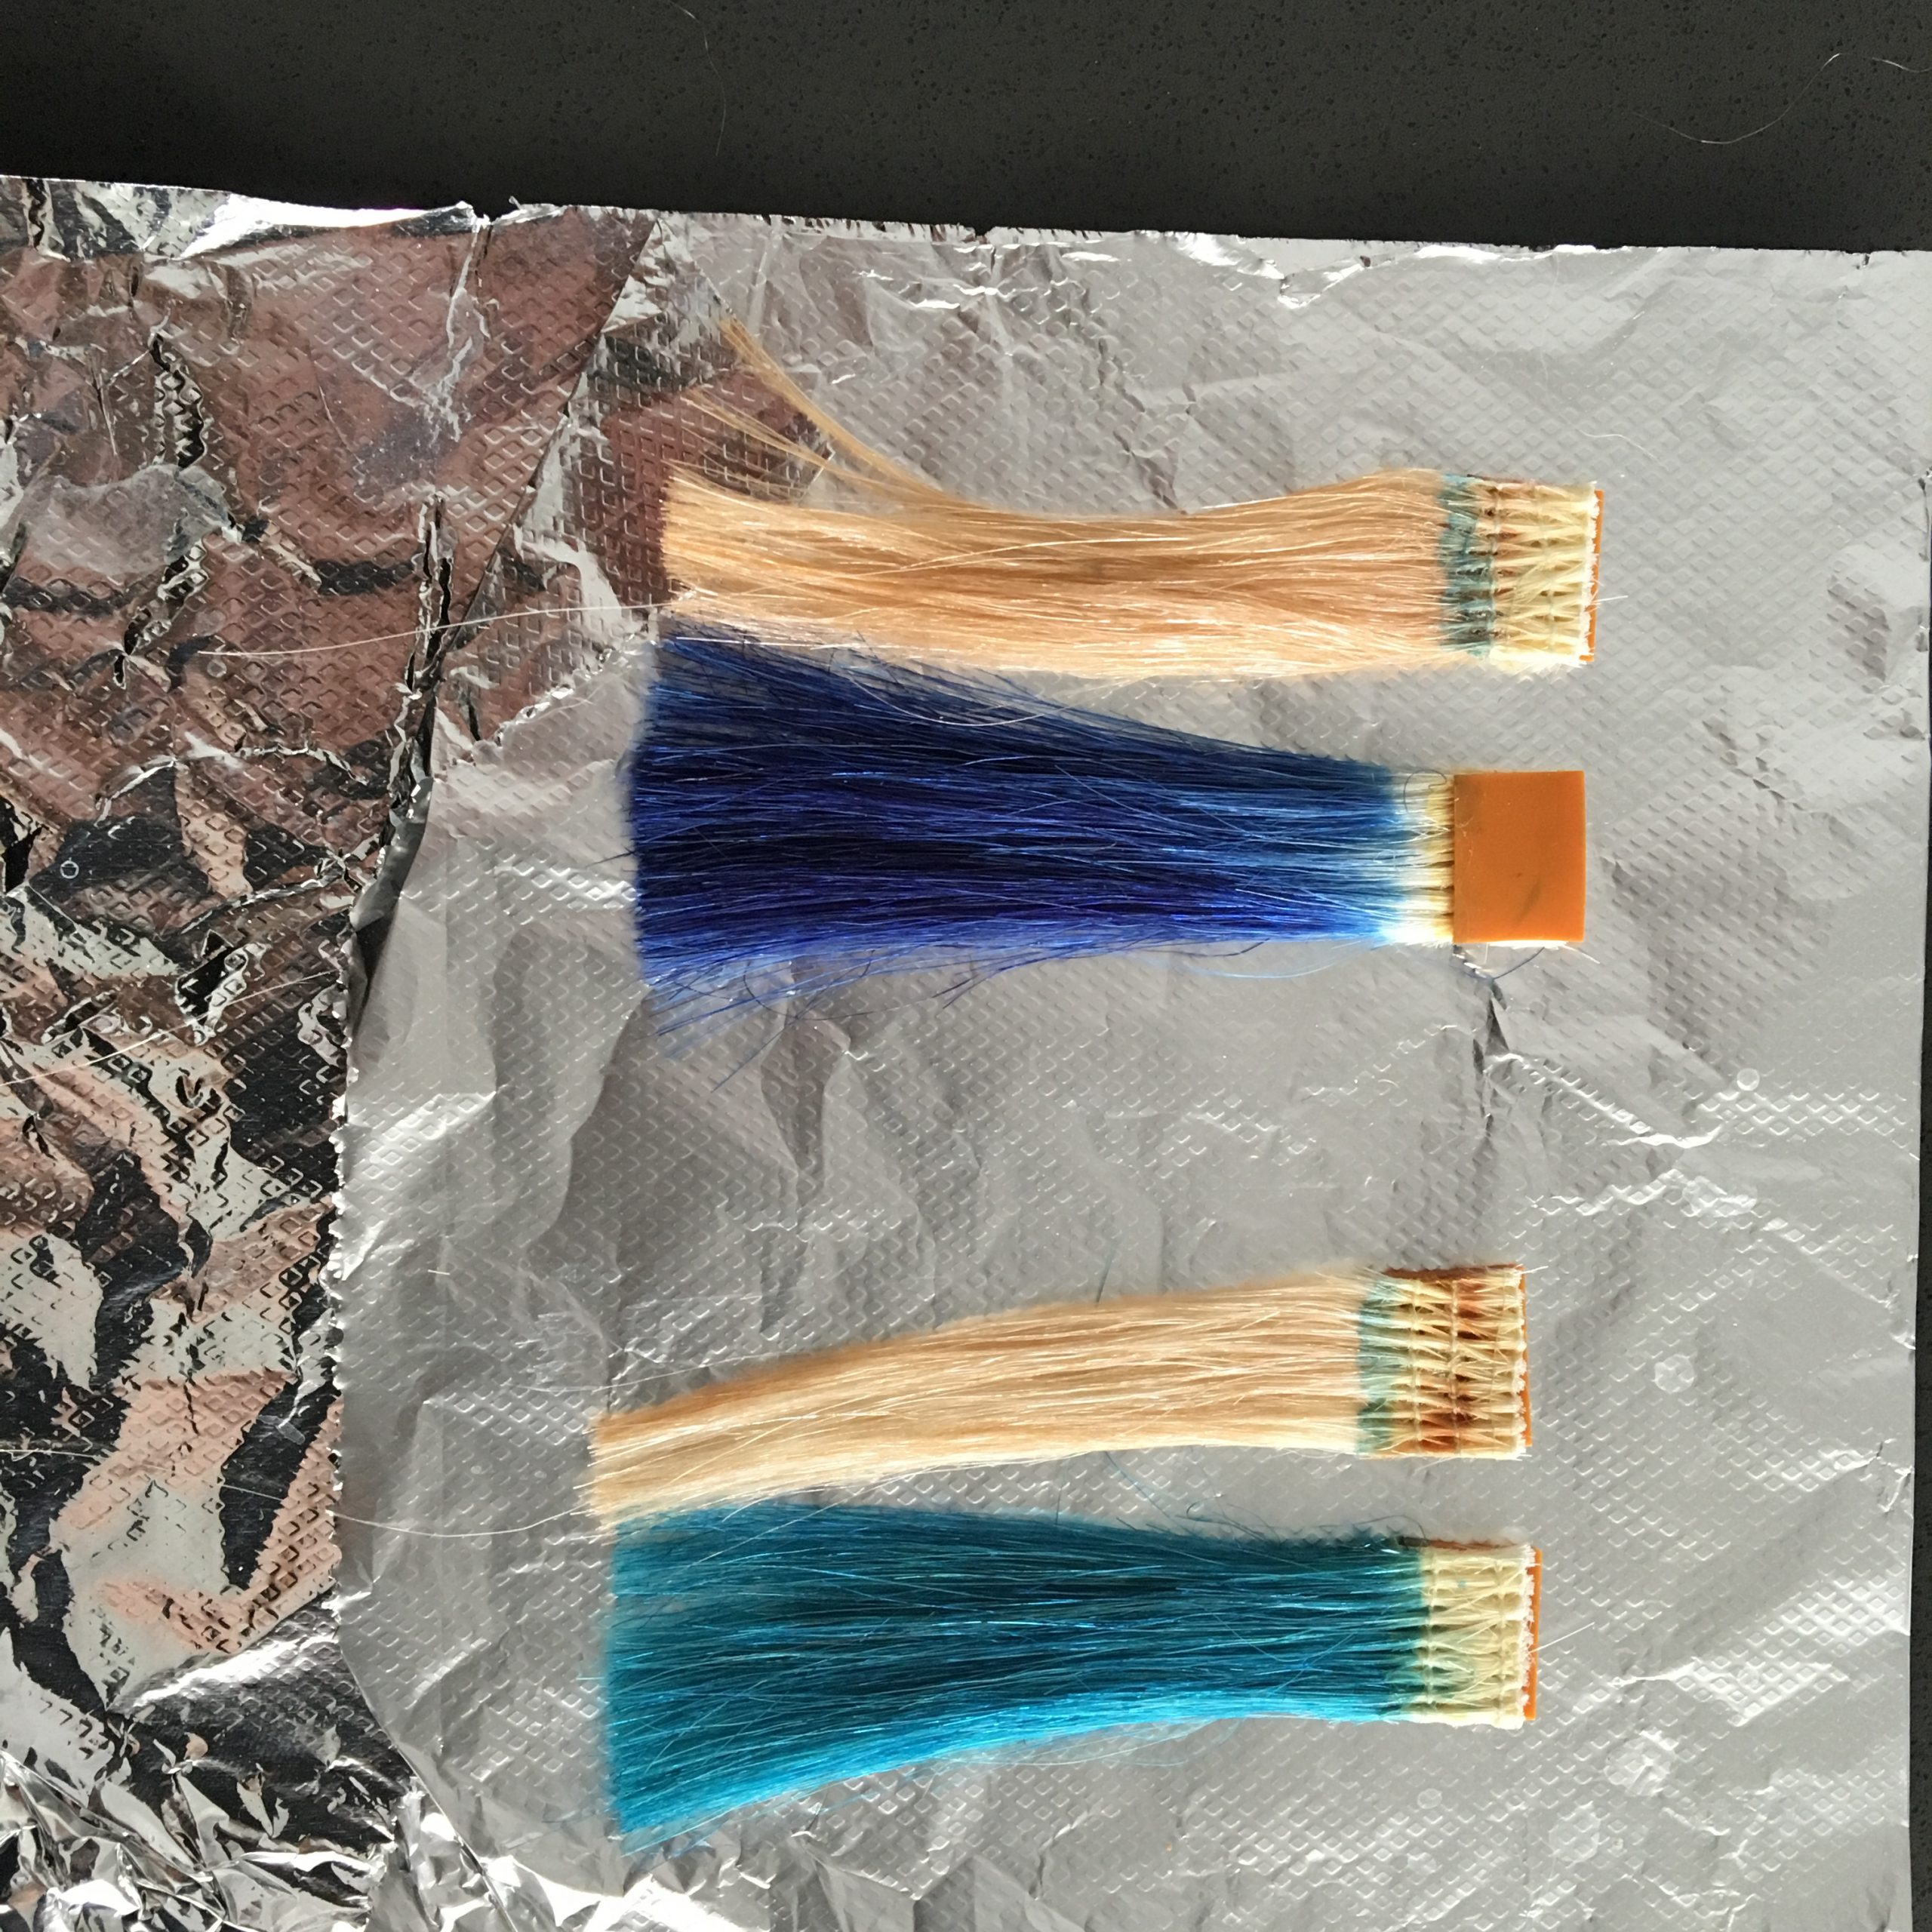
Because bright green hair isn’t enough, we wanted to take my model’s hair to the next level. I used 18 Tape in Hair Extensions in the colors #60, #1B/60, and #1B. My client’s natural hair is super dark, so it was perfect for blending her natural hair and giving me the perfect canvas for a neon vivid hair color.
I then custom colored her tape in hair extensions with Kenra Professional Creatives Blue, Yellow, and True Black. I fully saturated both sides of the hair extension using my Framar tools and I let them process at room temperature for 20 minutes. Make sure your extensions are 100% dry before you install them.
CLICK HERE FOR MORE TIPS ON CUSTOM COLOR EXTENSIONS!
Because these are custom colored tape ins, I told my client she needs to take special care for her tape in extensions, using color-safe shampoo and using cold water to rise so the colors won’t bleed together. You must let your client know all of the rules of hair extensions before you install them on their head. If they are not willing to follow the rules, they may not be the best candidate for extensions. It is recommended tape in hair extensions are installed and reinstalled every 6-8 weeks.
To watch a tape in extensions installation Click Here!
A post shared by Mirella Manelli 🖤 Hair EDU (@mirellamanelli)
Watch how I install tape in hair extensions on my YouTube!
Did you know I started a podcast? Yup! Its all about Hair, beauty and Business! In the last episode, we talked about Marketing.

Hair Beauty and Business Podcast:
Marketing is what you say and how you say it when you want to explain how awesome your service or product is. It also tells people WHY they should get a service from you or buy something from your business.
Telling (AKA: Marketing) can come in many forms like an ad, brochure, press release, Facebook page, or Instagram post. But I’m going to be diving in a little deeper than just flyers and an Instagram post.
Learning how to market your salon and building your hair clientele can seem like a daunting task. If you are new to marketing, I find that most people don’t understand the difference between branding and marketing.