


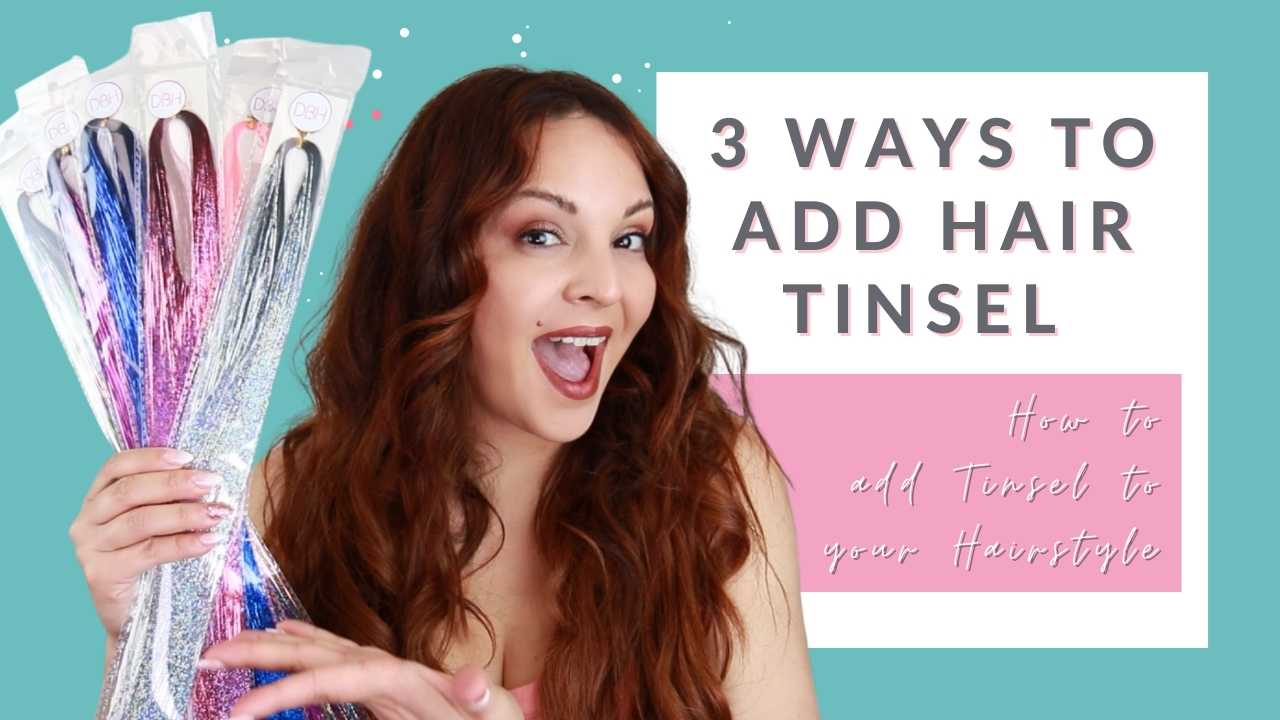
In this blog, I am going to show you how to put hair tinsel in! I’m here to not only show you the traditional way but a longer-lasting way.
In this blog, I will show you how to put hair tinsel in! The Hair Tinsel Trend has made a comeback and I’m here to show you the traditional way and a longer-lasting one. As a matter of fact, tinsel can last up to 2 months in your hairstyle. Add it one by one or add a cluster for some extra shine!
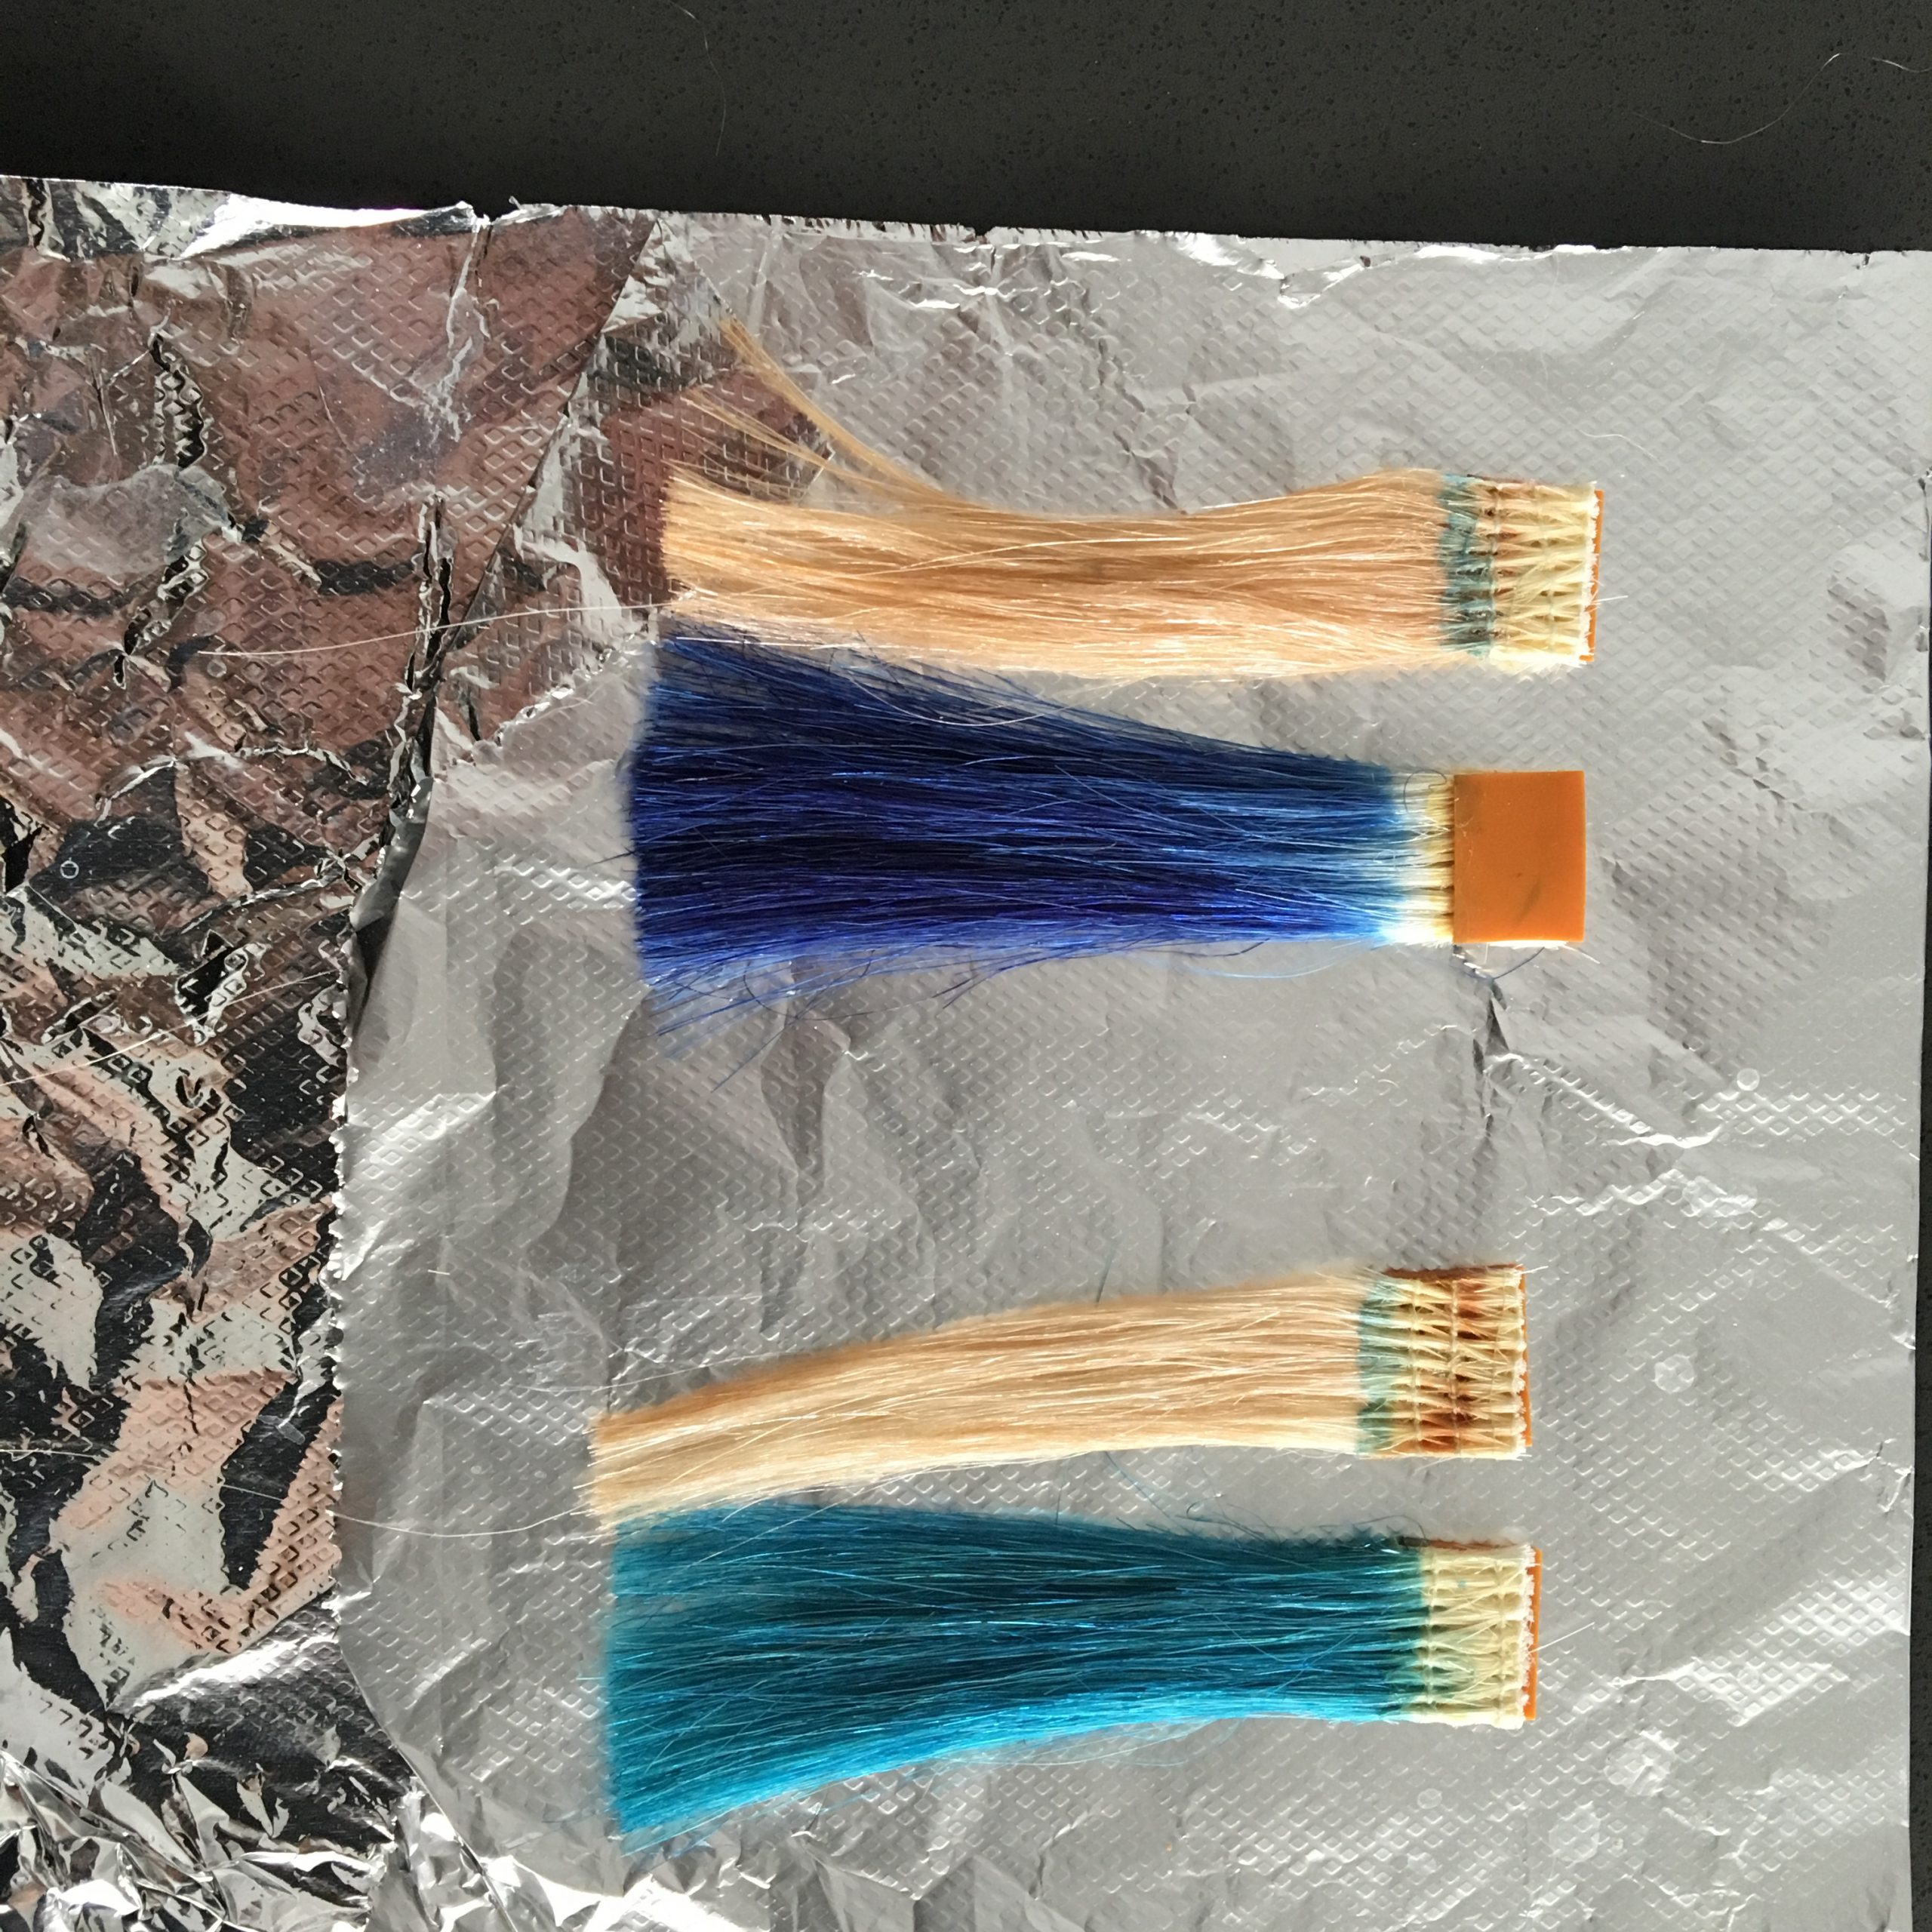
Donna Bella Hair Tinsel is a great option to give you or your clients a bit of change without having to go crazy. With 6 different colors to choose from (Colorful, Blue, Pink, Plum, Silver, and Royal Blue) there is sure to be something they love!
SHOP DONNA BELLA TINSEL HERE – USE CODE MIRELLA FOR 10% OFF!

First Installation option – Slip Knot
The first way to put hair tinsel in is very simple, but it is the method to last the least amount of time, about 2-3 days. It is perfect to put right up to your part because you are simply tying the tinsel to your hair. Basically, you are going to create a simple knot as demonstrated in the video and tie it to a couple of strands of hair.
Make sure to use your Donna Bella Hair Clips to hold the hair out of your way. Try to tie the tinsel as close to the root as possible. You are going to want to tie it multiple times to ensure the most amount of wear time. When tying it off, take hair from both sides of your tiny section.
Second Installation Option – Beaded Method
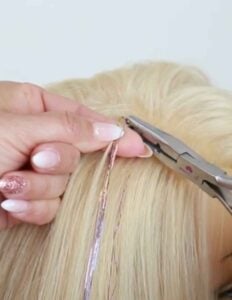
Take a silicon bead from Donna Bella and match the bead to the root of your client’s hair. It has to be a silicon bead otherwise the bead will slip and fall out. Tie the tinsel to the bead, (I recommend one to three pieces of tinsel per bead) and add it to your loop tool.
For this method, you will need the luxe tool and the loop tool. With this installation, the tinsel will last you about 2 months if installed properly. You can then install it like a regular bead, making sure to do the same width and height as the silicon bead. Also, keep in mind you are going to want to do 0 degrees elevation.
Third Installation Option – DIY Tape-Ins!
For this method, you will need Single sided tapes. Then, add the tinsel to the single side of the tape and install it! You will want to take a fine section and place the tinsel tape right under the section and press it down to ensure it stays.
Once you are comfortable with how it looks, simply place another single-sided tape right on top. Press your sandwich together from the middle and work your way out to the sides. And Viola! Your own custom tape in!
Benefits of Donna Bella Tinsel!
-Each pack of Donna Bella Tinsel comes with 600 pieces, so you will not run out anytime soon
-Each pack comes with individual strands that can be tied in or installed with beads in 15 minutes or less
-No damage at all! It is super gentle on your hair
-Requires no heat or adhesive to install
-6 colors to choose from
-You choose how long to keep the tinsel in! 2-3 days with tied installation, or up to 2 months with beaded installation
How to price Tinsel Hair Extensions Installations!
At my salon, we love to add tinsel to everything! If the client just wants to try it out, we offer three to four beads for $15. Sometimes, if they want to have a little more, we offer 5 to 6 beads for $20. If they want a full head, we offer 10 beads for $30!
Are you a hairstylist or salon owner needing a hair extension contract for your clients?
If you don’t have a contract for your hair extension business, you NEED one!
Why? Because you need something to protect you from all the unknowns and a contract brings clarity on the service you are providing!
This customizable contract is simple, easy to use, and easy for your client to understand. All you have to do is drop in your own policies, prices, and personality. The rest is done for you! You can even customize your brand colors, and add your own logo.
This is the exact contract I use when booking hair extension clients and it helps open up the conversation of the uncomfortable discussion of payment.
Simply have this contract customized to your client’s needs, go over each section, have them sign it, and book their appointment. It’s that simple.
You literally could have yours done within minutes and be ready to book your extension appointments today! What are you waiting for?

Do you like my blogs? Check out more here!
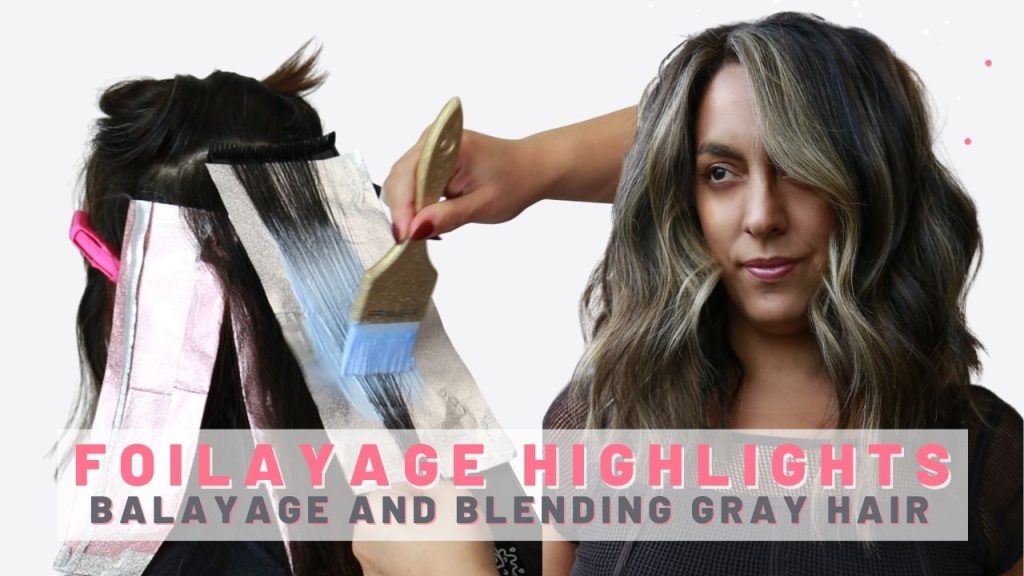
In this blog, I show you how to do a balayage with foils, a technique more commonly referred to as a foilayage! It is a great way to help keep dimension while blending out grey hair. It is amazing for all hair colors!