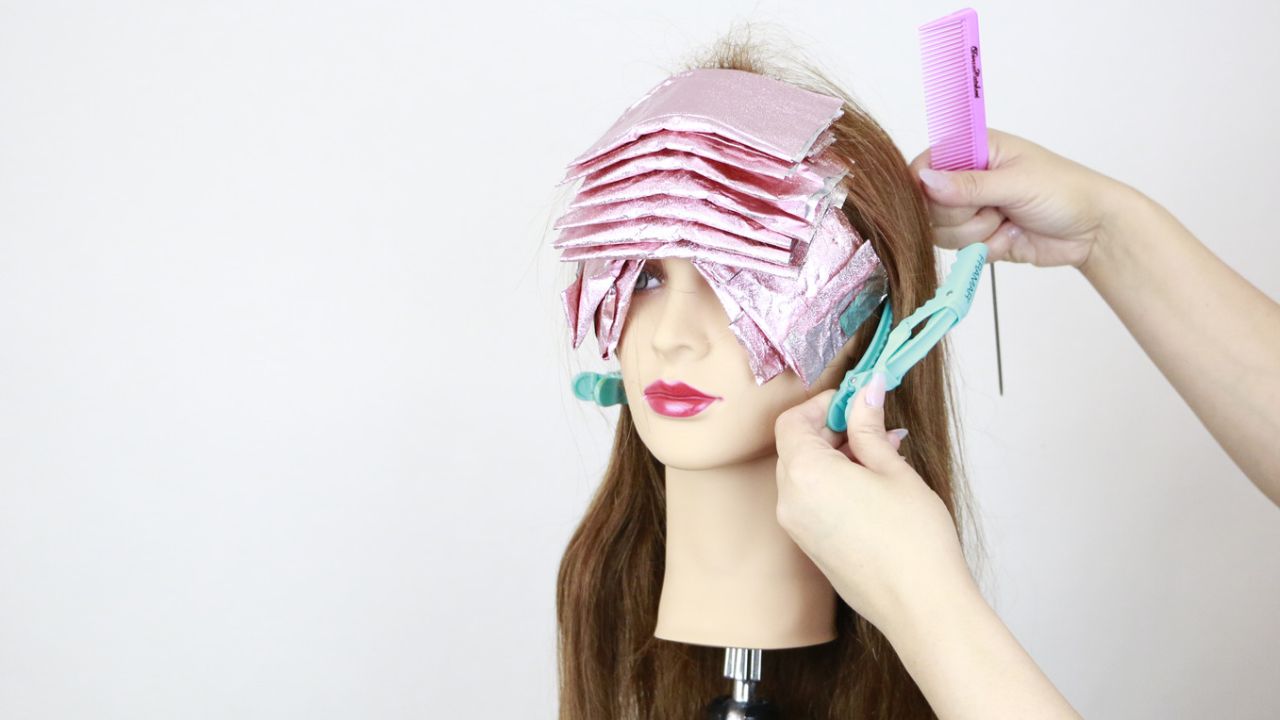


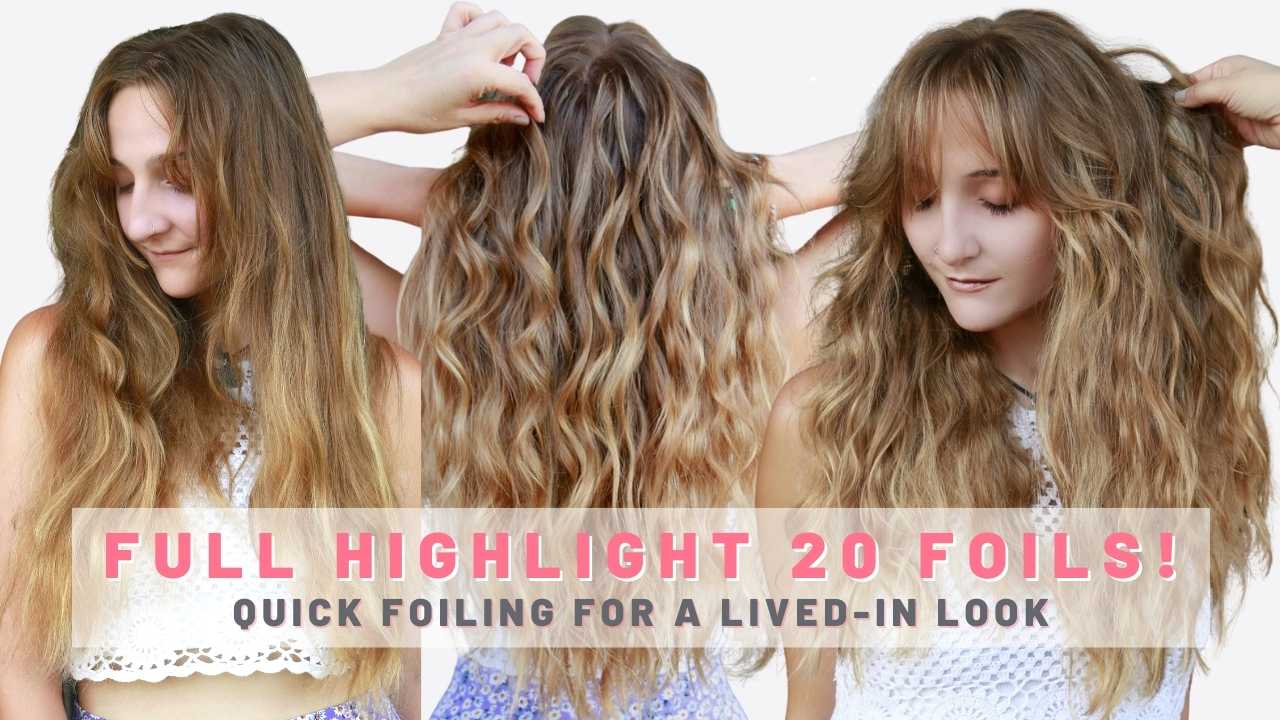
In this video, I’m sharing a quick way to foil highlights using only 20 foils to create a lived-in look using Framar foils.
In this video, I’m sharing a quick way to foil highlights using only 20 foils to create a lived-in look using Framar foils. For this look, I took inspiration from the placement to create teasylights, babylights, or any kind of “lights” in the hair.
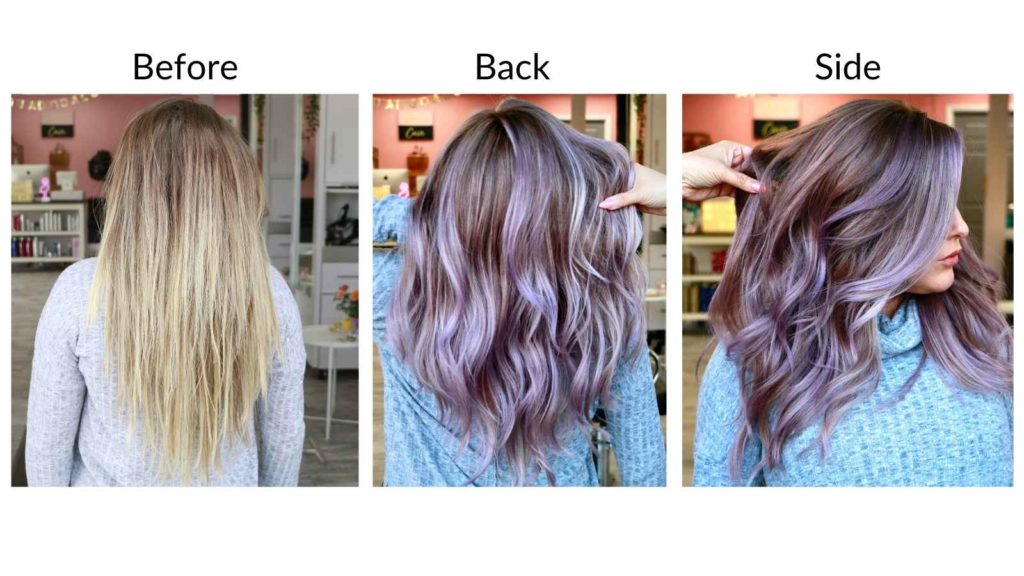
The Process
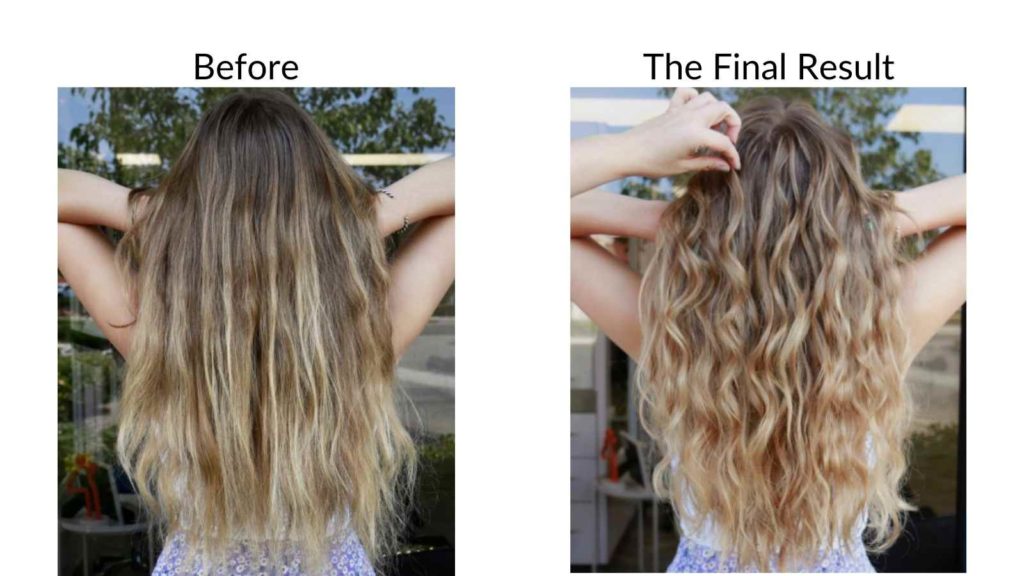
My client came in looking for a subtle change and a very lived in look. She had virgin hair, so she had no color for me to have to work through. Her hair was also a natural level 7/8, so there was no need to go in with a harsh lightener. I whipped up some Beyond Bond lightener and 20 Volume developer and got to work!
We were going for a very lived in look, so my favorite technique for a lived in style is doing zig zag sections. This type of section in combination with a teasylight will give the ultimate diffusion without having to do a color melt. My go-to brush when doing a teasylight/ balayage technique is the Power Painter by Framar.
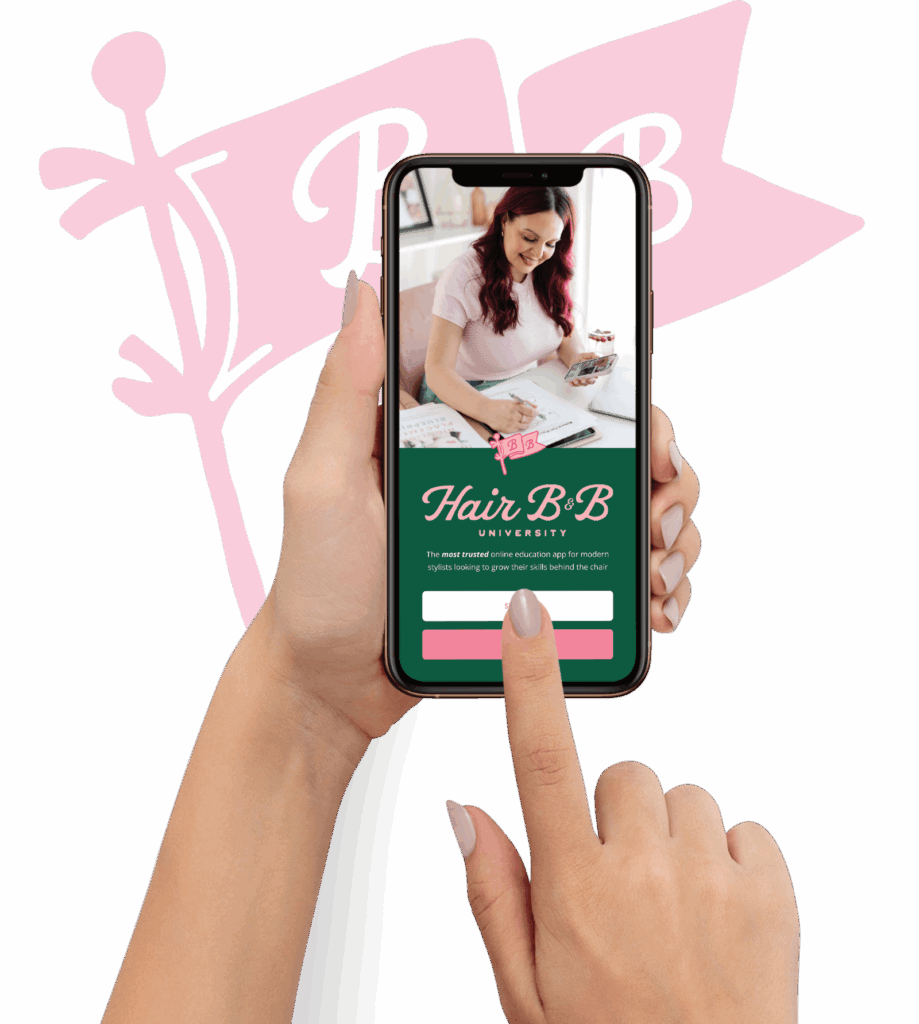
Join Hair B&B University where confidence behind the chair starts here!
Taking diagonal sections throughout the back, I am making sure to use lots of tension when I am painting. I like to use a paddle board to help thoroughly saturate each section and give a beautiful blend. Tension is very important when painting because if you don’t, you can have spottiness throughout the section. If your client has long hair like mine, one of my favorite ways to prevent transfer is doubling up the foil as demonstrated in the video.
Remember, less is more. Like, only 6 foils in the back, less is more. To make the light pieces look lighter, you want to leave a lot of depth. In this model, our depth is the hair we left in between the foils. The end result will still have lots of brightness because we did not weave out any pieces.
On the sides, I went in with the same technique as the back, where I did slices on the side for maximum brightness. I did about 2 foils on the sides. What is nice about doing slices is that you get a high-impact look with less work.
CLICK HERE FOR MINIMUM FOILS WITH A MAXIMUM IMPACT FOILING VIDEO
Around her face, I did baby lights to the root, and then the further back I got, I incorporated teasylights for a subtle, lived-in look. If you want a foolproof weave, I always reach for my Framar Weaving combs. It is my favorite way to quickly weave with blended and natural results. Shop Framar weaving combs here!
Because we were going for a super-lived-in look, I decided to go in with Kenra Creatives Sandy Beige with a little bit of Honey Coral for some added warmth. A fun Pro-tip is to apply it on damp hair for a beautiful sheer finish. Also, do not sleep on the Zero Times Brush system! It allows me to cut my application time in half while still doing a fully saturated application. We let her process at room temperature for 20 minutes and she was good to go!
Benefits of the Donna Bella Beach Waver
If you want hair that will automatically look like you just walked out of the ocean, go purchase the Donna Bella beach waver ASAP! It gives you the most beautiful beach waves in a matter of minutes. The Donna Bella Hair Waver has three 22mm barrels that are ceramic-coated that allow you to create shiny, effortless results.
The Hair Waver has a controlled temperature so you can make it hotter or cooler. It is so easy to use, simply clamp your hair between the 3 prongs for beautiful beach waves in a matter of seconds.
Watch how to creates beautiful beach waves here!
Tips for the 3 Barrel Waver
Do you want to feel like a mermaid? Well, this tool is for you! I am absolutely obsessed with the outcome of this 3 barrel waver because it left my client looking like a Greek goddess.
When working with this tool, you want to make sure you are holding it at a 0-degree angle. It can kink the top of the hair or extension. In the first couple minutes of the video, I show you what NOT to do, and it is demonstrated there.
You also want to make sure to have no tension when waving your hair, it gives it a more natural look. I personally like to follow my pattern when waving, so I insert my barrel on the last wave I created. Continue this pattern all the way to the top section.
CONFIDENCE BEHIND THE CHAIR STARTS HERE – HAIR B&B UNIVERSITY
Air Touch vs Teasylight
Sometimes teasy-lights can be a bit much to detangle. I mean, combing out lightened hair is never fun. If you want to skip the hassle of detangling, you should try the Airtouch technique! If you don’t know what Airtouch is, it is basically when you take your blowdryer on a low blow and blow out all of the baby hairs and internal layers. As a result, you are able to easily lighten the long pieces for a super blended and bright end result.
You don’t have to deal with the detangling process, but you are able to get the same result. Click here for the full tutorial!
My favorite detanglers
- Pearl Detangler – Adds moisture, slip and shine for effortless detangling & manageability as well as helping protect against thermal damage!
- Moroccanoil All in one Leave -in Conditioner – This product instantly detangles, hydrate, and protects the hair. This multitasking spray works on all hair types to protect against breakage and thermal damage while nourishing and softening the hair for up to 72 hours. The lightweight, milky formula contains antioxidant-rich argan oil, pure amino acids to increase strength, a nourishing superfood blend, and naturally derived sugars that act as an anti-dehydration shield.
- Loma Leave in Conditioner – Instant detangling spray with sea salt to add texture and volume. For all hair types especially fine and limp. This product is ideal for all color-treated hair types to close the cuticle, protect the hair and extend color vibrancy.
SHOP MY FAVORITE PRODUCTS HERE
Products used:
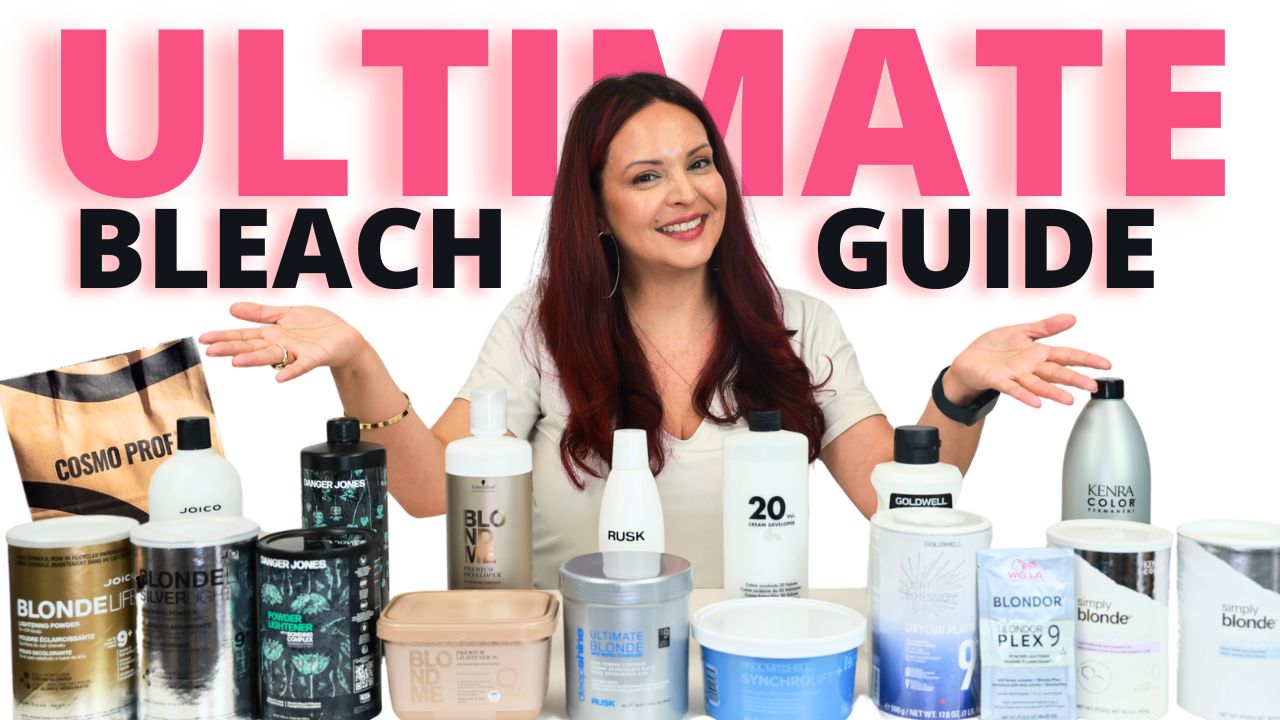
Simply Blonde Beyond Bond Lightener + 20Vol (1:2)
Creatives: Sandy Beige & Honey Coral
What are Airtouch Highlights?
According to this article in Modern Salon “The AirTouch technique uses air, versus teasing/backcombing, to create a seamless blend of color. Attributed to Vladimir Sarbashev, the colorist takes a section of hair with tension on the longest lengths and uses a blow dryer to push the shorter hairs and internal layers down and out of the way.”
Basically, I took this idea but created thicker sections in what I call a marriage between a teasylight highlights and balayage hair. These thicker sections create a rooted highlight effect and also allow me to surface paint the section and saturate the ends.
Confidence Behind the Chair Starts here!