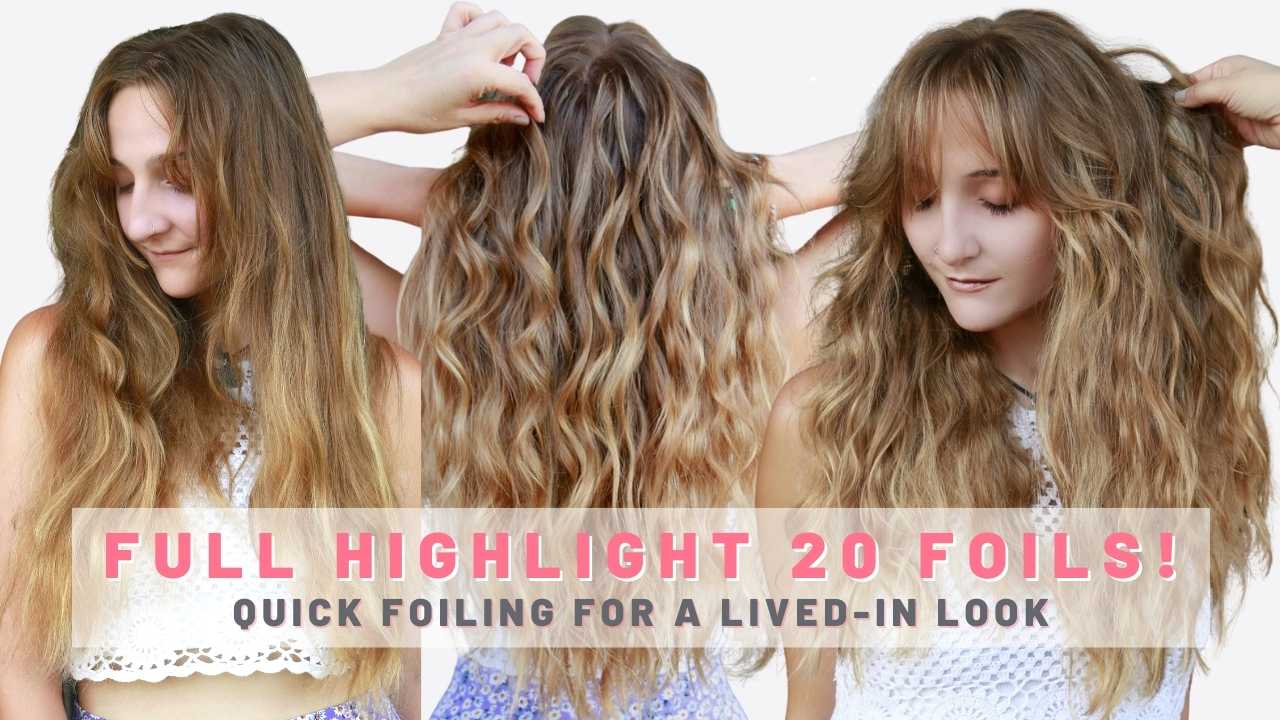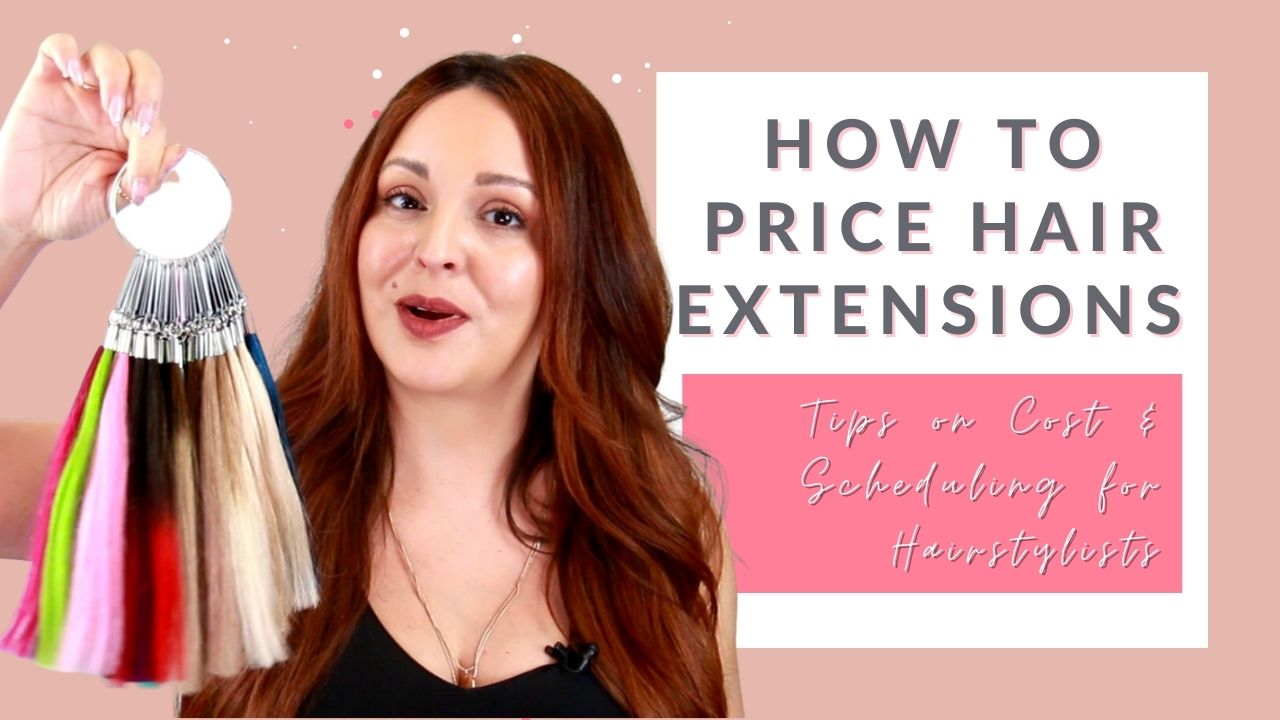


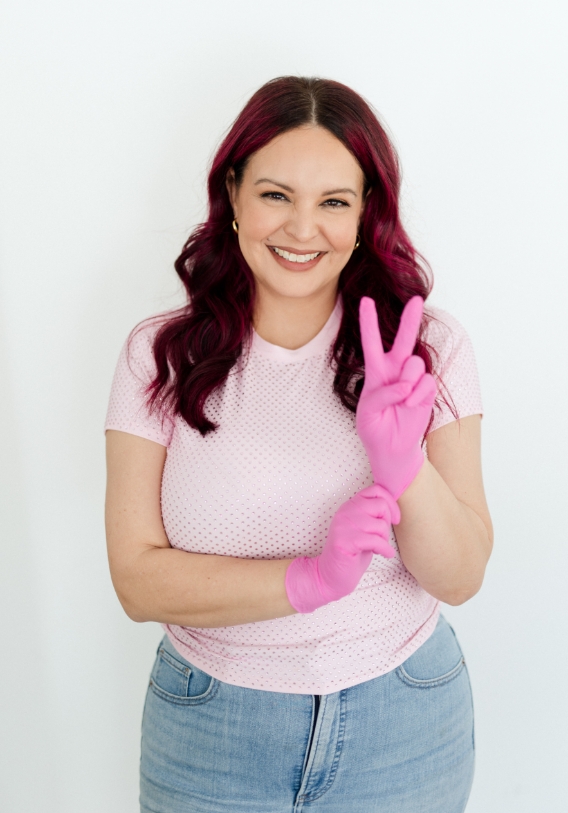

Highlights are one of the biggest money makers in this industry. But sometimes, it can get a little overwhelming. This blog will take you through the powerful art of foil highlight placement.
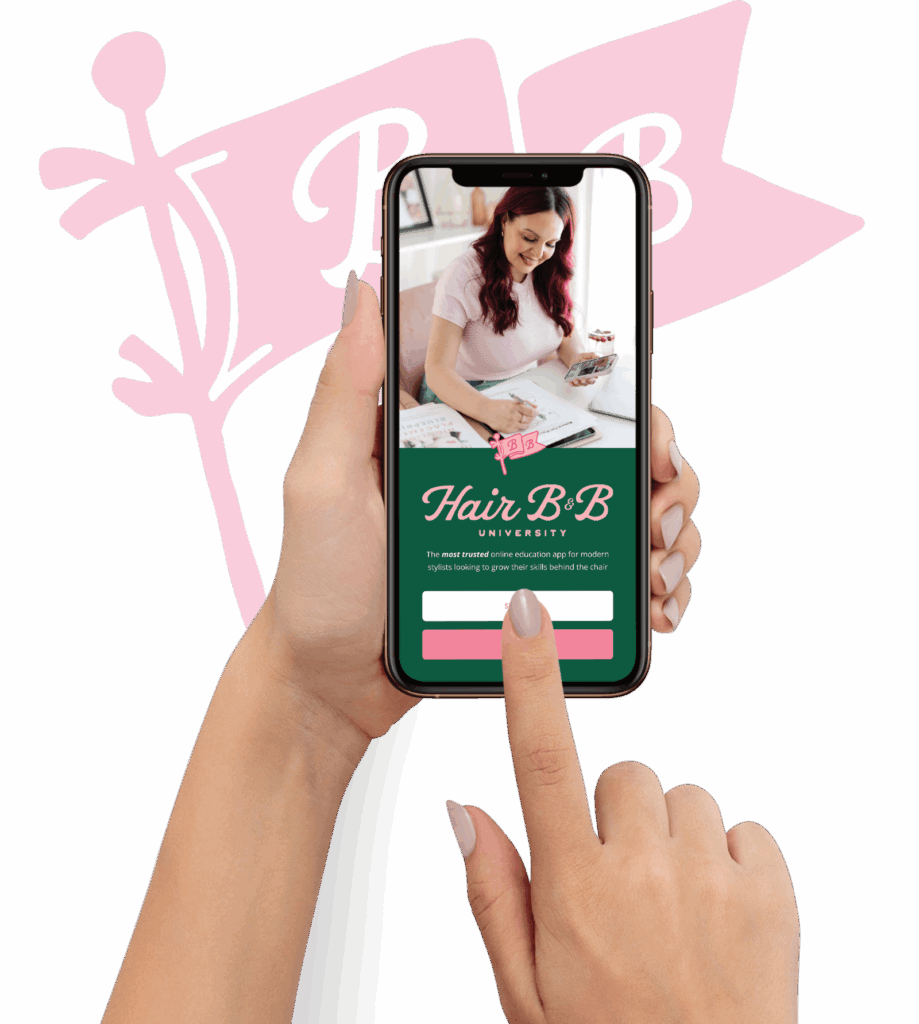
CHECK OUT ALL OF MY EDUCATION COURSES HERE!
As hairstylists and cosmetology students, you’re undoubtedly familiar with the power of a perfect color job. In the world of transformative color, highlights undoubtedly hold the top position. They have the potential to enhance depth, create texture, and even transform an individual’s look entirely. An important but often overlooked aspect of the highlighting process is the placement. This blog will take you through the subtle yet powerful art of foil highlight placement.
Foil highlighting is a technique we’ve all learned to love for its versatility, precision, and, most importantly, its results. Well-placed foils can create everything from a sunkissed effect to bold, statement-making chunky highlights. Here we’ll explore the importance of the right foil highlight placement and how it can revolutionize your hair coloring techniques.
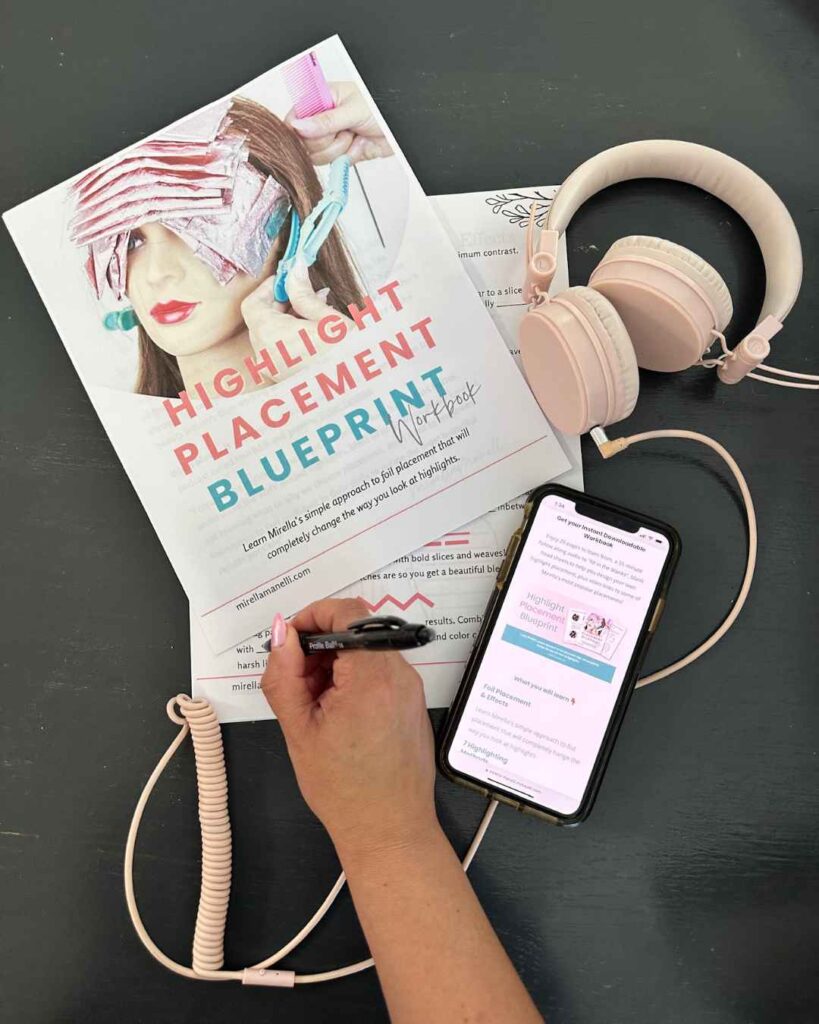
HIGHLIGHT PLACEMENT BLUEPRINT

If you struggle with not fully understanding where to place your highlights, don’t worry, I got you. Introducing the Highlight Placement Blueprint, a comprehensive guide designed to perfect your highlighting skills. This package includes a 20 page digital PDF workbook, and a 35 minute audio guide. You’ll learn the 4 foil placements and effects, seven highlighting methods, and five steps to highlight placement.
Plus, I’ve got some exciting bonuses for you like formulation essentials and toning basics, lightener mixing ratio chart, and exclusive pro hair discounts you won’t find anywhere else. These bonuses are designed to enhance your skills and keep your clients coming back!
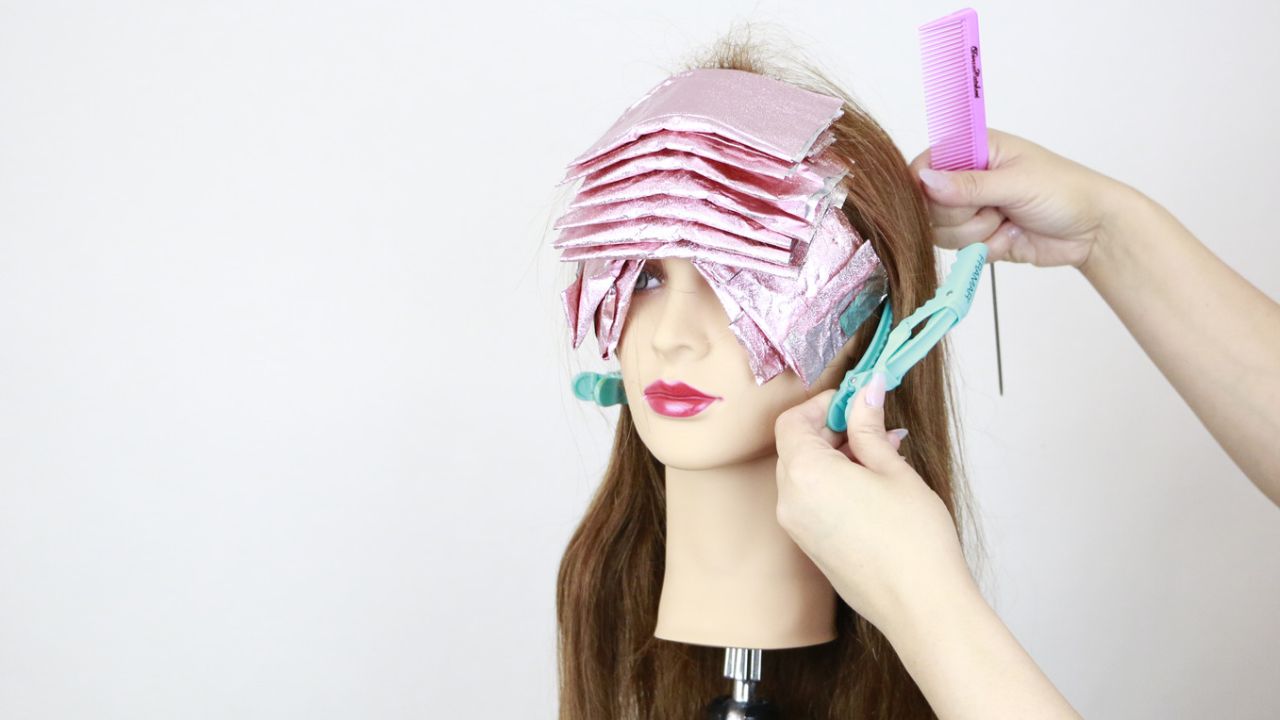
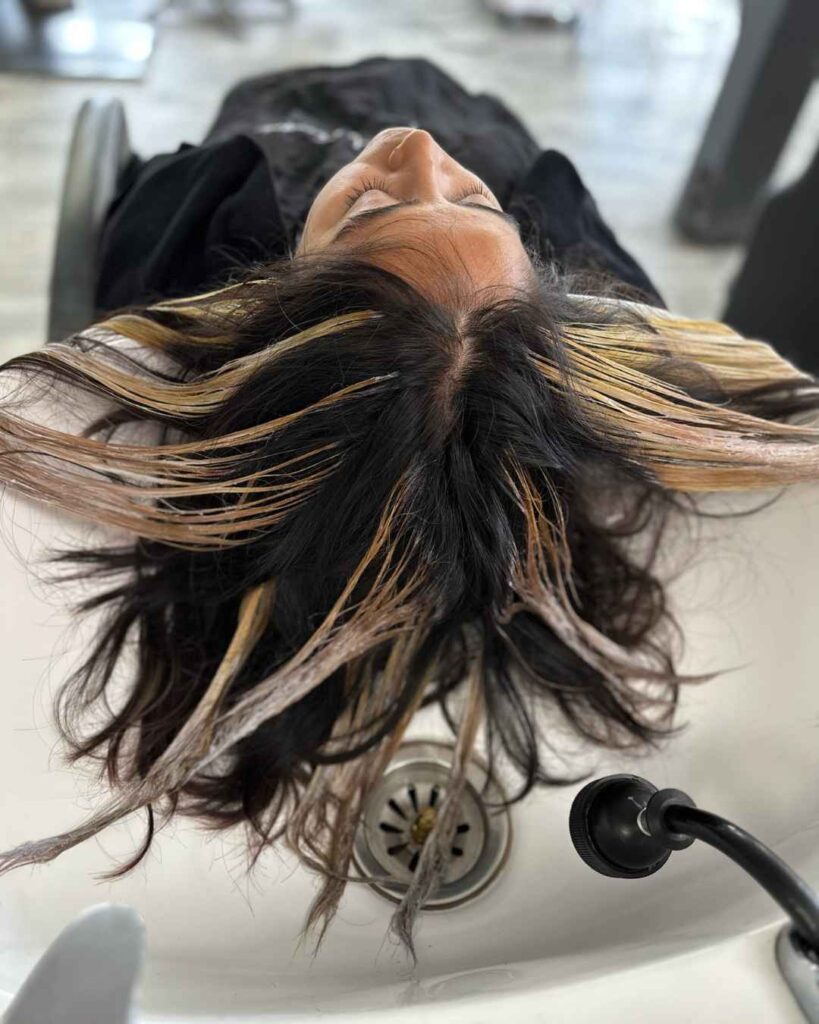
Understanding Foil Highlight Placement
Just like the foundation of a building, the placement of foil highlights forms the base for your canvas. A correctly placed foil will lift, brighten, and add dimension. On the contrary, misplaced foils can lead to a lackluster and uneven appearance. As professionals, we aim for the former and to achieve that, understanding the basics of placement is crucial.
Foil placement should be dictated by your client’s existing hair color, desired look, haircut, and lifestyle. For a natural effect, place the foils along the hairline, crown, and natural parting. For a more dramatic look, you can place the foils deeper into the hair and near the roots. Remember, the placement is all about creating an effect that enhances the client’s features and meets their preferences.
Foil Placement Techniques
Several techniques for foil highlight placement can cater to a range of desired outcomes. All of the placement techniques included below are featured on my YouTube page!
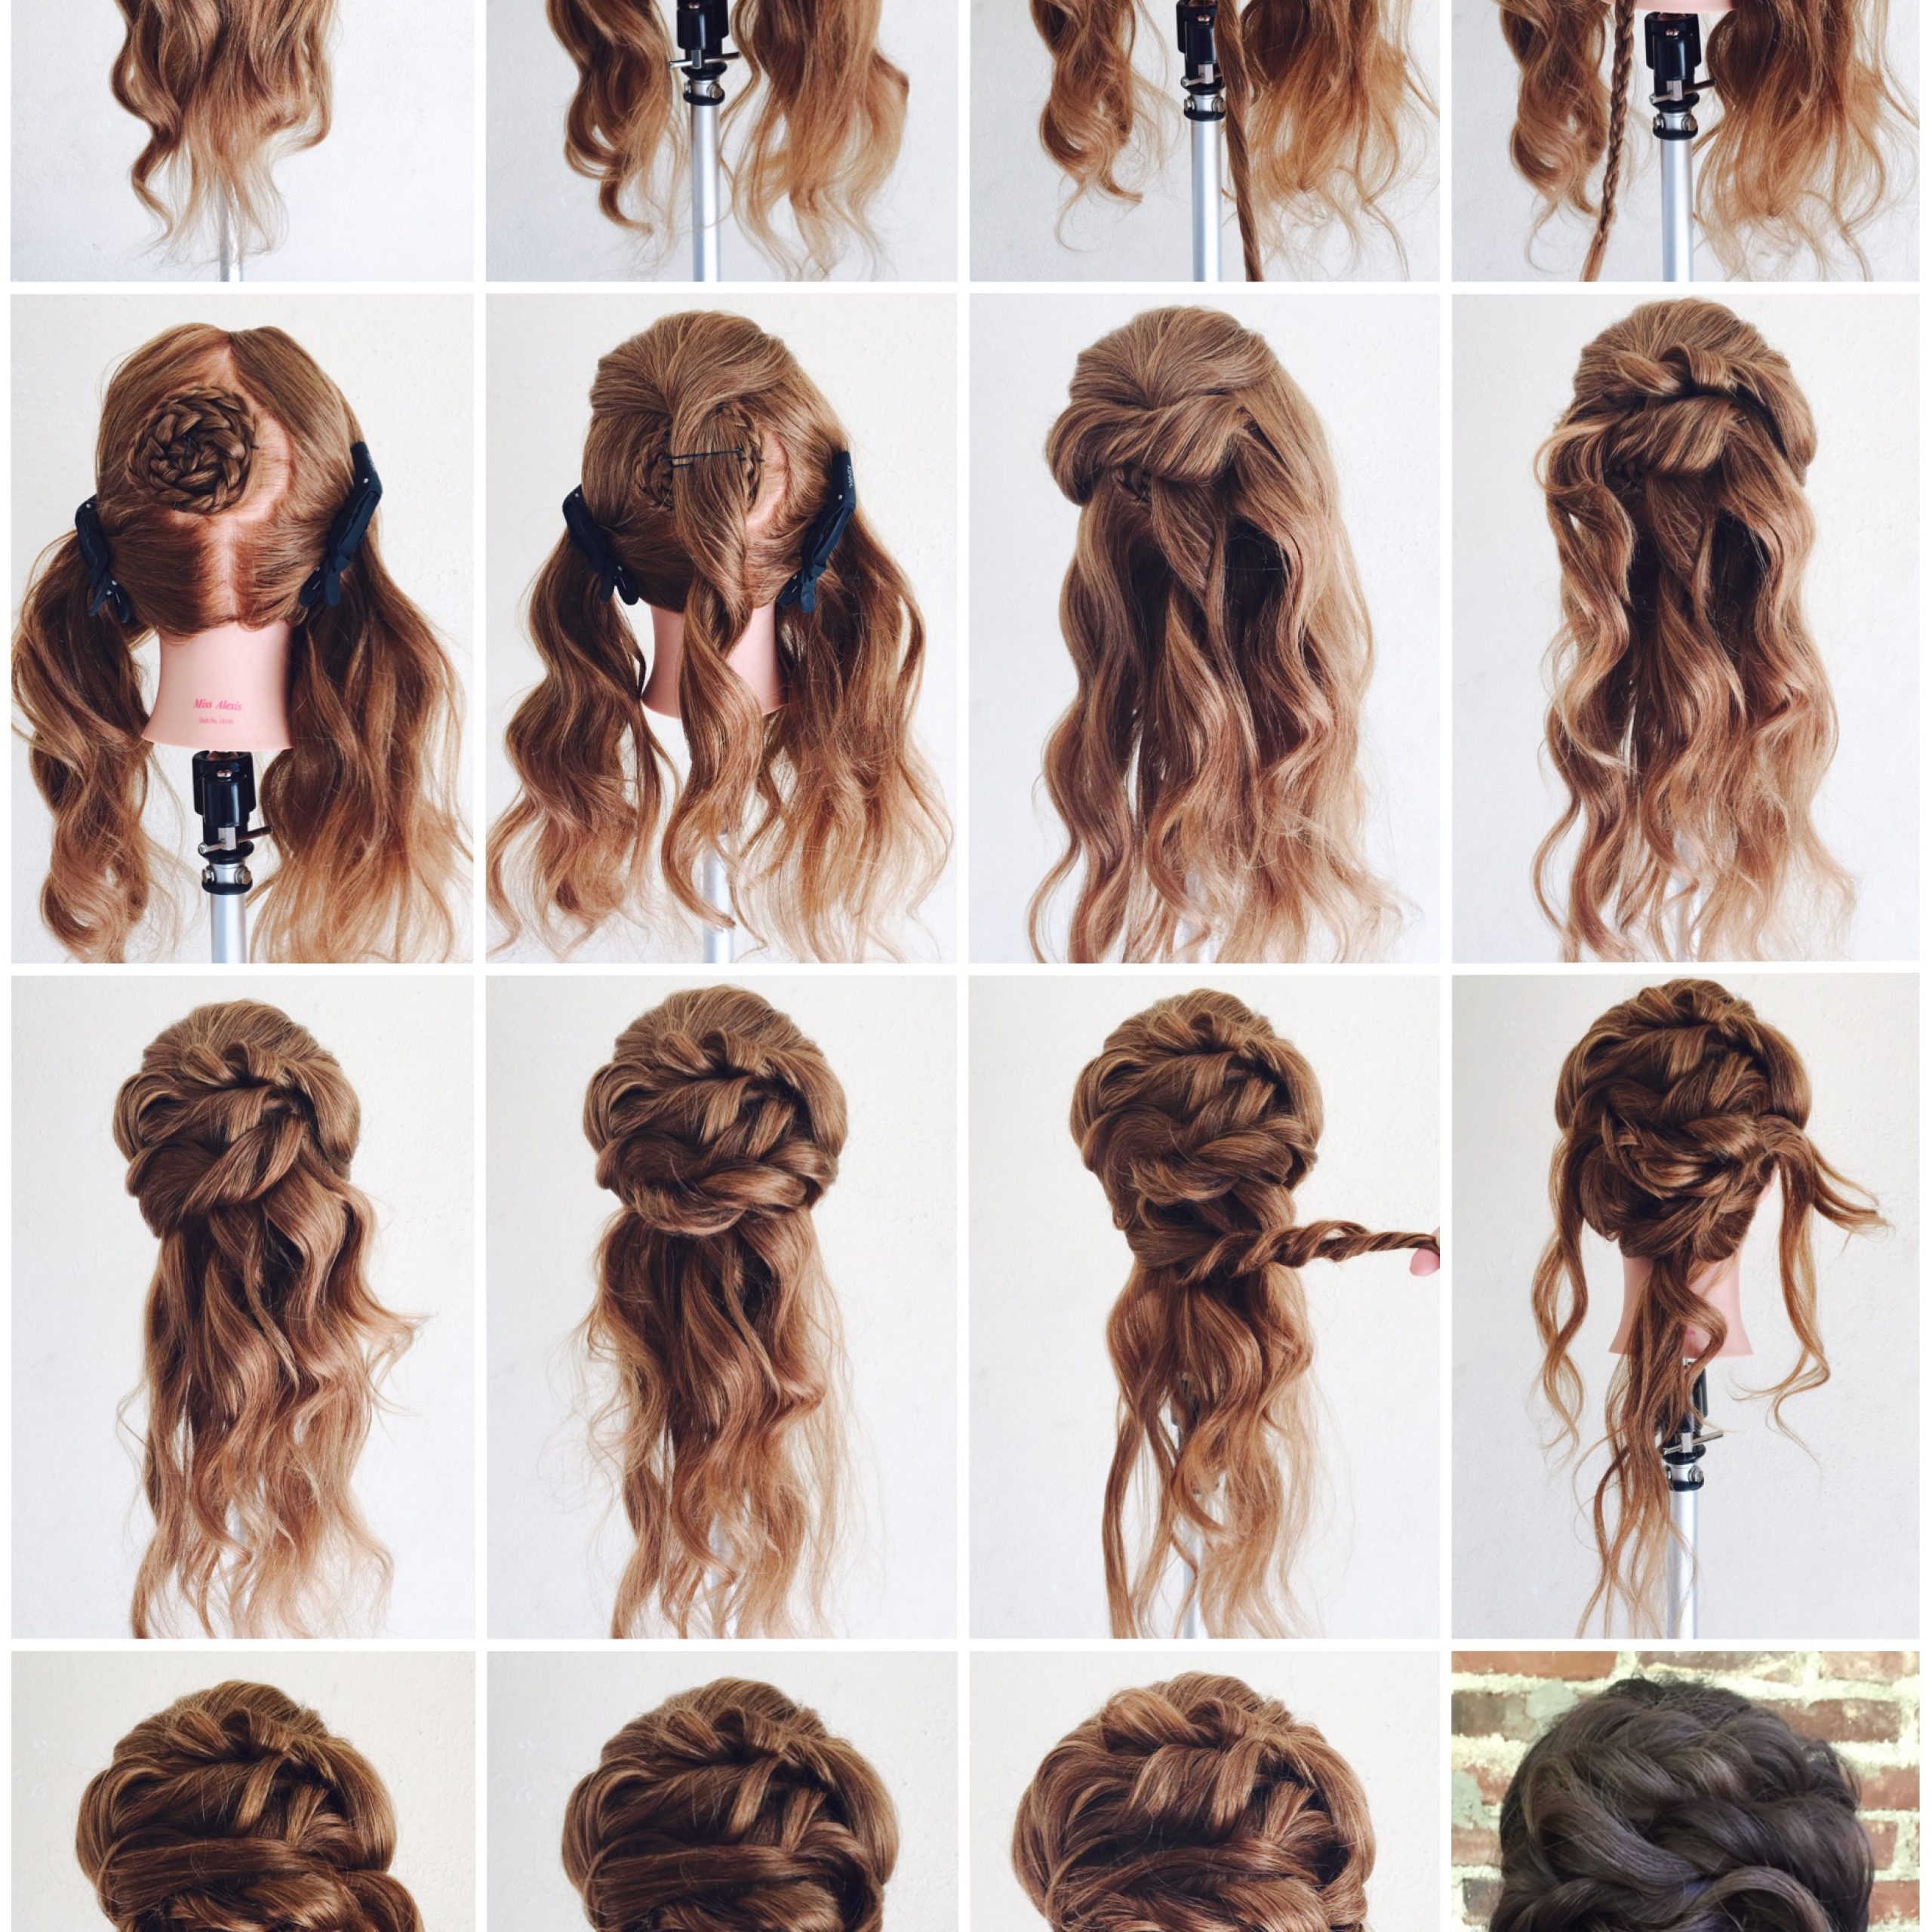
Traditional Weaving
The traditional weaving technique is a time-tested favorite for achieving a balanced, blended highlight effect. This technique involves weaving out thin sections of hair, placing them in the foil, and applying the color. It is an excellent choice for clients wanting a noticeable but not over-the-top change.

Slicing
Slicing is a technique that works well for a bold effect. Rather than weaving out sections of hair, slices are taken from the full section. This will work well for clients who want an overall brighter effect, with less dimension. This technique is excellent for those looking for a dramatic change or to make a statement with their hair color.
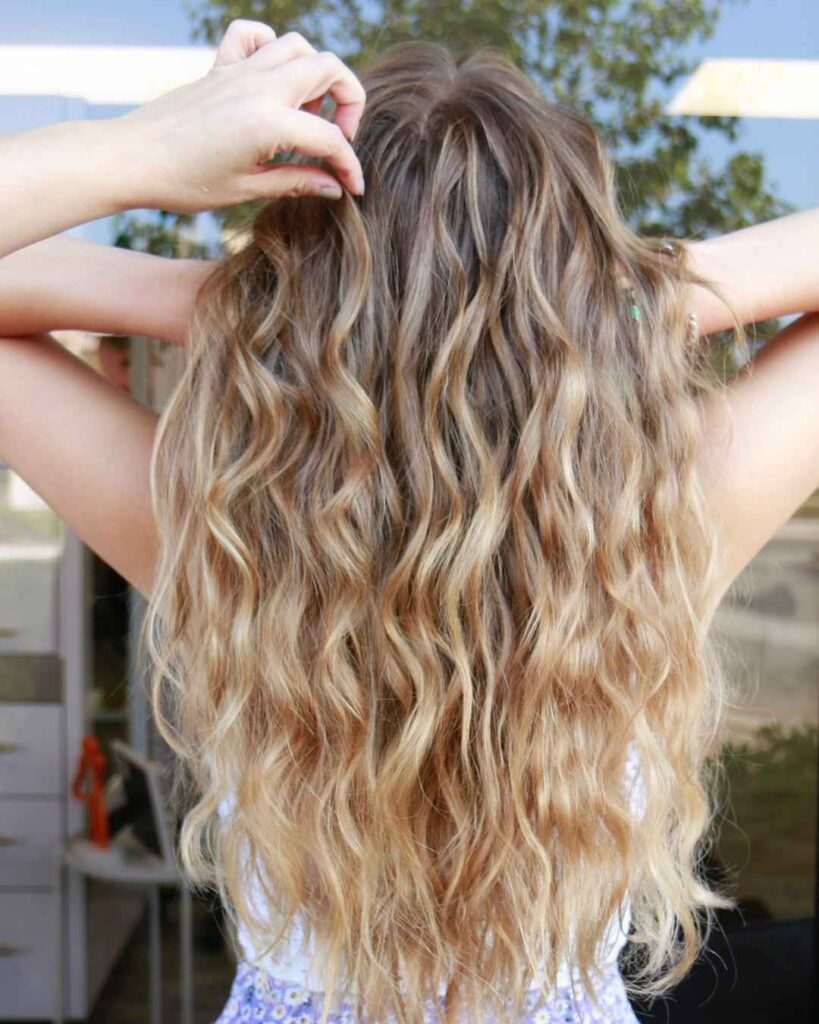
Babylights
This is a technique is probably one of the most common techniques used today. Babylights involve taking very fine sections of hair and applying lightener or color, versus a traditional highlight that has a thicker stitch. This method is great for those seeking a subtle, sun-kissed look, with minimal regrowth lines.
Mastering Foil Highlight Placement
To truly master foil highlight placement, remember to:
- Assess the client’s hair and face shape: The highlights should complement the client’s face shape and haircut. For example, to elongate a round face, place the lighter foils around the face and darker ones towards the back.
- Consider the client’s lifestyle: The maintenance level of the highlights should be in line with the client’s lifestyle. If they cannot come in for frequent touch-ups, consider techniques like balayage or a rooted look that grow out more naturally.
- Remember the rule of depth and dimension: To create depth and dimension, balance the placement of lowlights and highlights. While the highlights will bring out the lighter tones, the lowlights will add depth, making the hair look more voluminous and dynamic.
- Section the hair properly: Proper sectioning ensures even distribution of color and helps you keep track of your work. This way, you ensure every part of the hair receives the attention it deserves.
The art of foil highlight placement is essential to creating stunning and personalized hair colors. Mastery in this area will set you apart as a stylist, allowing you to craft beautiful hair that truly highlight your client’s individuality. With practice and patience, you can transform any head of hair into a canvas for your color creativity.

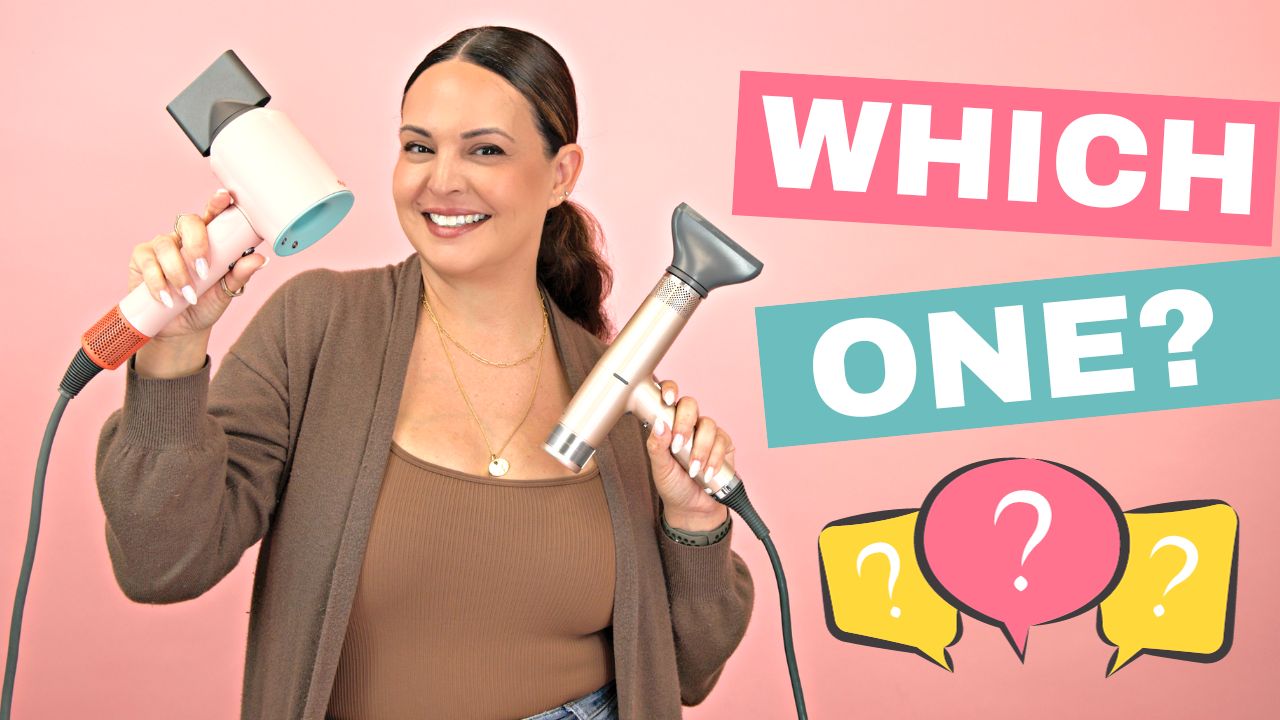
Which professional hair dryer is best? The Dyson Hair Dryer or the Gama iQ2
Haircare has never been just about shampoos and conditioners. With the advancement of technology, the tools we use for our hair have evolved drastically, becoming the ultimate game-changers in achieving salon-like perfection at home. One such breakthrough pro hair dryer that has taken the hair community by storm is the Dyson Supersonic Hair Dryer. However, a formidable challenger has emerged – the Gama iQ2 Perfetto.
In a recent YouTube video, the battle between these two luxury hair dryers was meticulously examined, and it’s a showdown you don’t want to miss!