


Best Bleach for Box-Dyed Dark Hair: It’s a Different Problem Entirely
You followed every instruction. You watched the tutorials. You bought the bleach everyone talks about. So why didn’t it work? Here’s what’s actually going on with box-dyed hair, and what to do instead.
Finding the best bleach for box-dyed dark hair is more complicated than most tutorials admit. Box dye creates a completely different lifting challenge than natural dark hair — and using the wrong approach doesn’t just stall your results, it can cost you your hair’s structural integrity. This guide breaks down exactly what makes box-dyed hair so resistant, what to look for in a bleach formula, and how to build a realistic multi-session plan that actually moves the needle.
Why Box-Dyed Hair Is Not the Same as Natural Dark Hair
Here’s what most tutorials get wrong: they lump all dark hair into one category. It’s not one category.
When I’m working on virgin dark hair, hair that’s never been chemically colored, I’m dealing with natural melanin. Melanin behaves predictably. It lifts in a known sequence. In fact, with the right technique, the results are at least consistent, even if they still require skill.
However, box dye is an entirely different situation.
At-home box dyes are made for maximum deposit and staying power. That means they pack the hair shaft with dense synthetic pigment molecules that are actually larger than natural melanin. Moreover, they bond differently inside the cortex. The whole point of a box dye formula is that it doesn’t move, because a dye that fades quickly gets bad reviews.
Layer that on top of itself two, three, or five times over the years and you’ve got an unpredictable mix of synthetic color sitting at different depths, in different concentrations, across hair that may also have wildly inconsistent porosity from root to end.
That’s not a hair color problem. Instead, it’s a structural puzzle.
The Porosity Problem
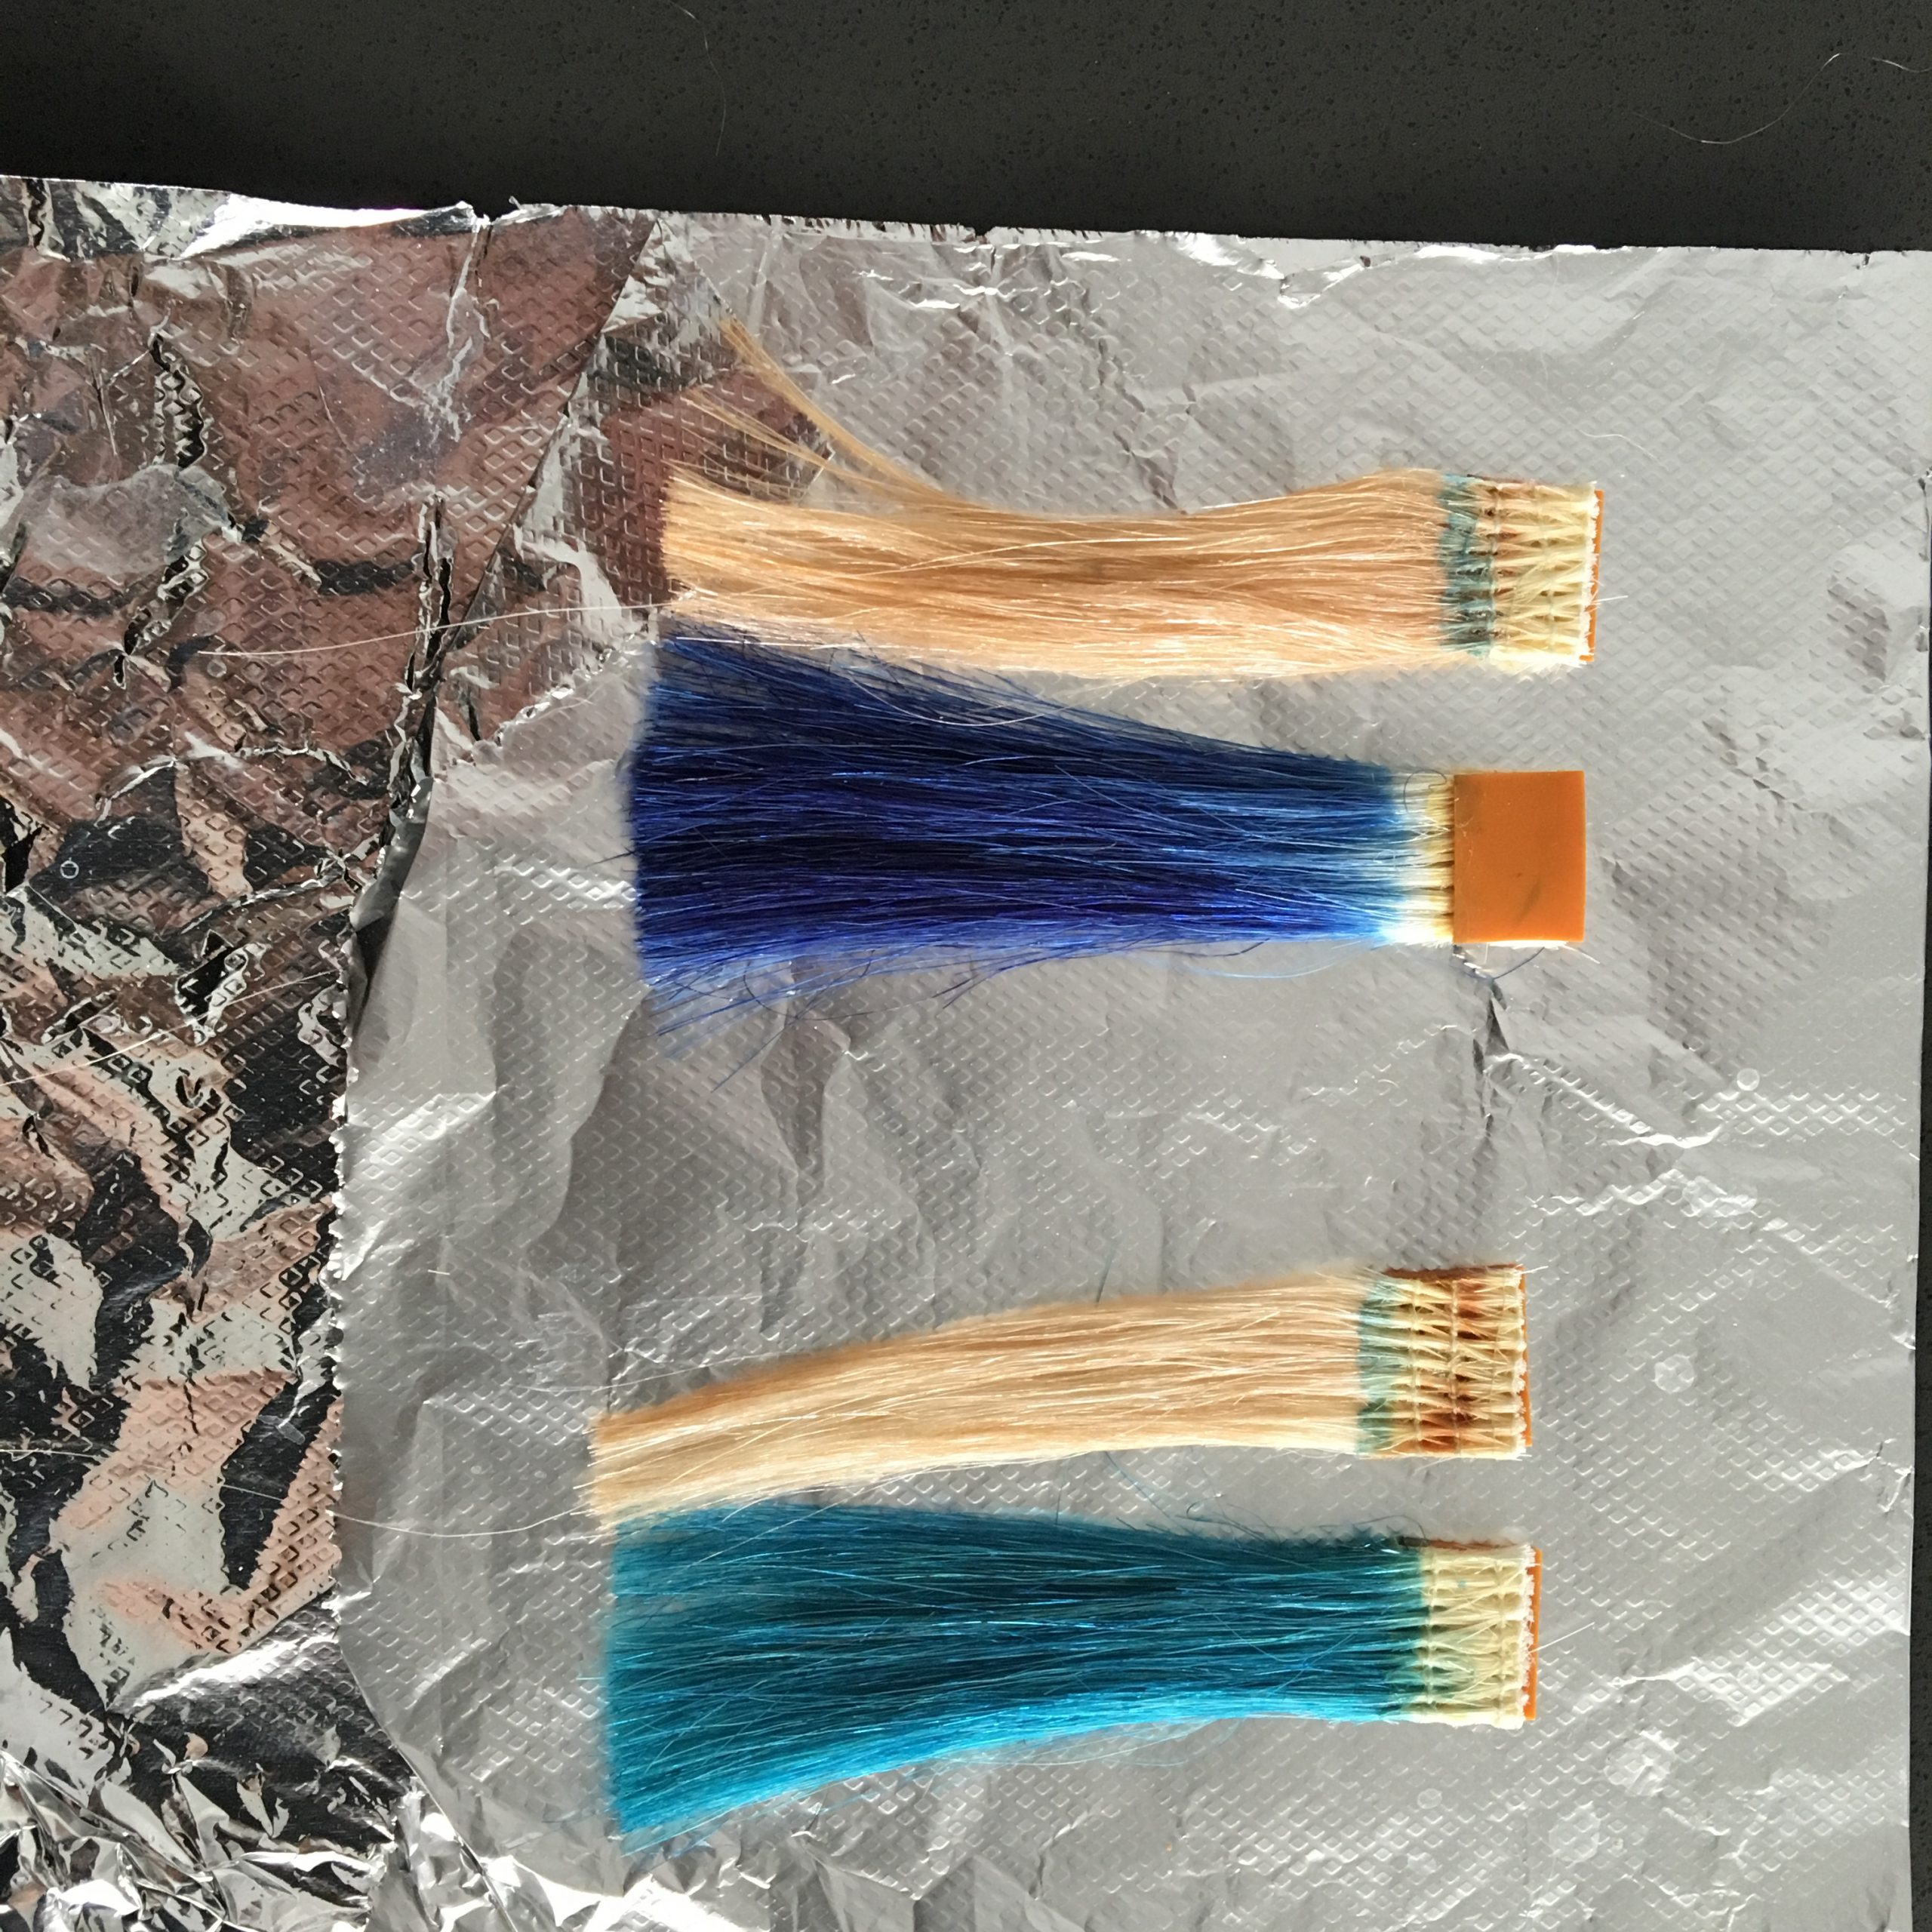
Add the porosity factor on top of that. Box-dyed hair almost always has compromised cuticle layers, especially toward the mid-shaft and ends. Bleach rushes in, processes unevenly, and then rushes right back out. You end up damaging the structure of the hair without actually shifting the pigment, because the bleach is reacting with the strand itself rather than the synthetic color. This is why the orange sticks. It explains why your roots lift while your lengths stay dark. Consequently, you can do everything right and still feel like you failed. The formula was the problem, not you.
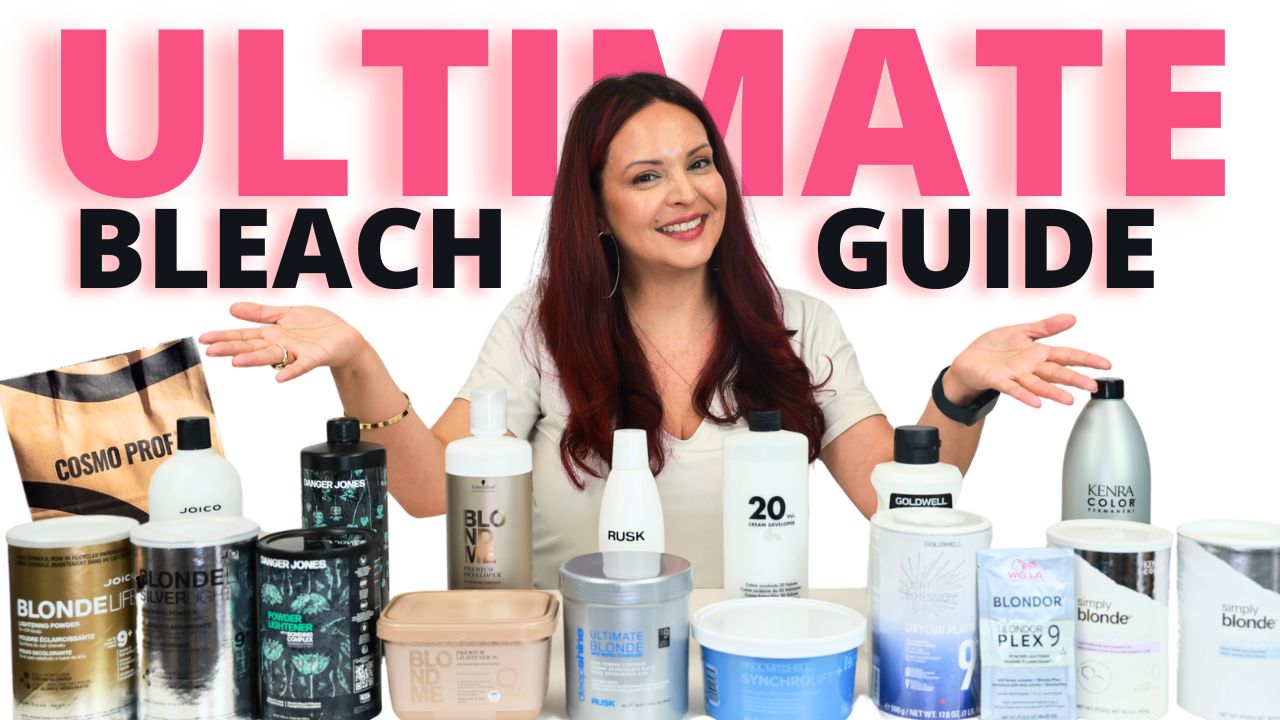
What to Look for in the Best Bleach for Box-Dyed Dark Hair
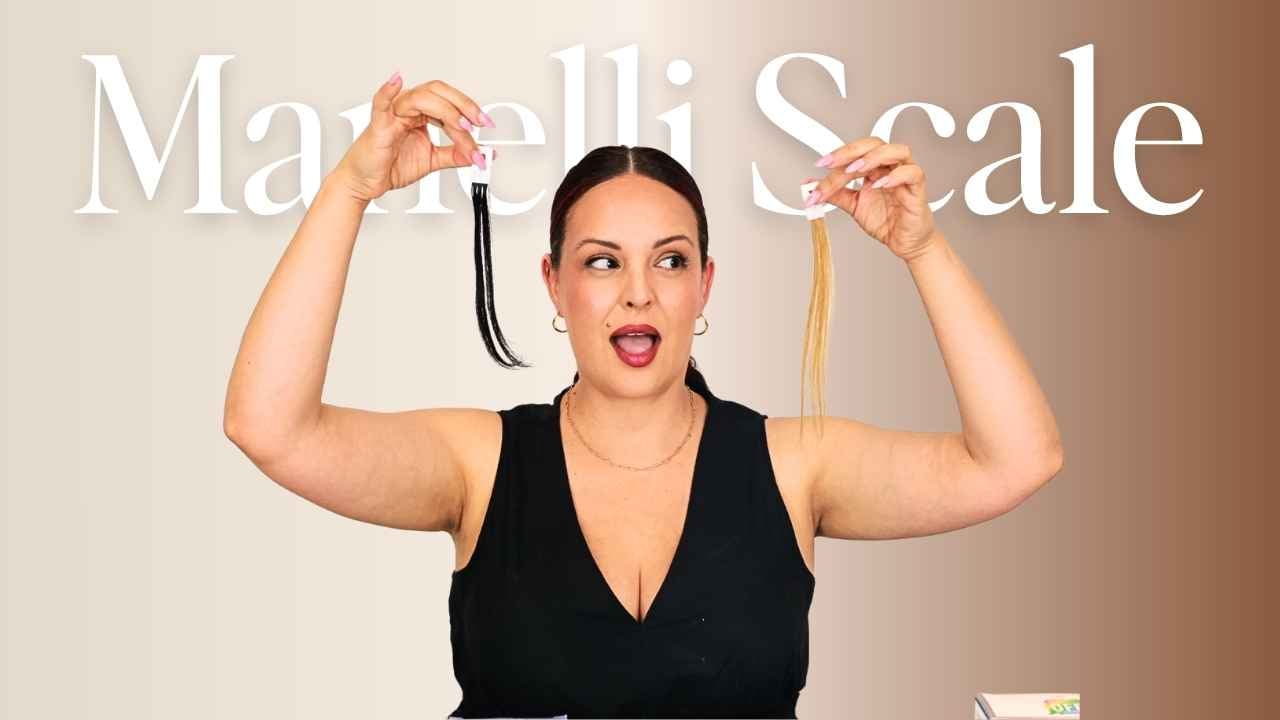
Not every bleach is right for this job. When you’re working through layers of synthetic pigment, these are the qualities that actually matter for box-dyed dark hair. They’re also exactly what I evaluate on the Manelli Scale, my 100-point bleach rating system.
| Quality | Why It Matters on Box-Dyed Hair | Manelli Scale Category |
|---|---|---|
| Controlled swell | Swells cuticle enough to penetrate without blowing it open on porous ends | Swell + Integrity |
| Thick viscosity | Stays where placed — prevents bleed that causes banding through layered dye | Viscosity |
| Moderate lift used strategically | Penetrates resistant pigment without destroying compromised structure | Lift + Integrity |
| Bond-supportive formula | Cumulative sessions require cumulative protection | Integrity |
| Predictable timing | Allows section-by-section monitoring on non-uniform hair | Timing |
Controlled Swell and Penetration
You want a bleach that opens the cuticle just enough to reach the synthetic pigment layer without blowing it wide open on already-porous ends. On compromised hair, an aggressive formula will damage the structure before it ever clears the color. Look for bleaches that score well in both Swell and Integrity on the Manelli Scale. Those two categories exist specifically to measure this distinction.
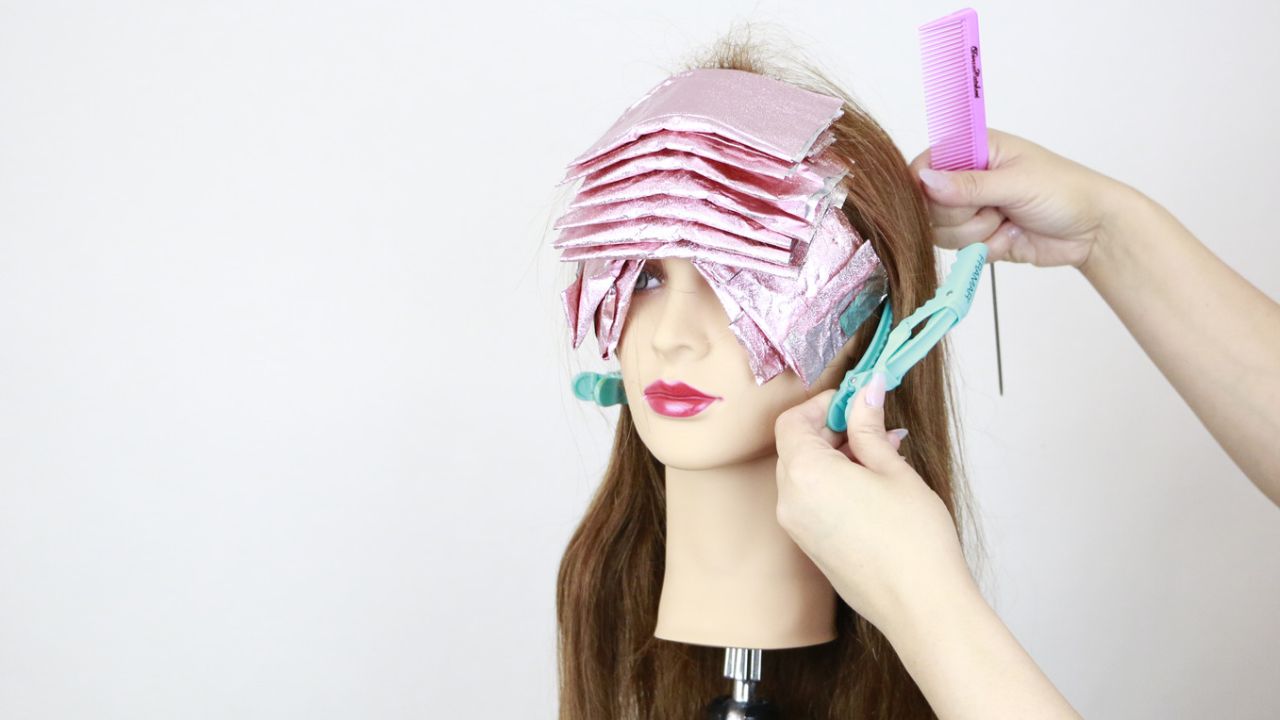
Consistent Viscosity
Thin, runny bleach on layered box dye creates uneven results every time. You need a formula that stays exactly where you put it. A thick, creamy consistency gives you control over saturation and keeps the product from bleeding between sections during processing. That migration is what creates banding, those horizontal stripes of uneven lift that are so hard to correct afterward.
Moderate Lift, Used Strategically
I see this mistake constantly. People assume more lift power means faster results on resistant hair. In my experience, that’s actually backwards. Maxing out developer on damaged, porous hair causes breakage and still leaves orange, because synthetic pigment doesn’t respond to brute force the way melanin does. For example, a 20-volume application that actually penetrates the cortex will outperform a 40-volume application that damages the surface and stalls right there.
Bond-Supportive Formulas
If your bleach doesn’t have bond protection built in, add a bond additive. Consequently, this is non-negotiable when you’re doing multiple sessions on box-dyed dark hair. Your goal is to lift a little more each time without compounding the damage. That means protecting the disulfide bonds every single session, not just the first one.
What to Avoid
- One-step promises. If a guide is telling you that you can go from box-dyed black or dark brown to blonde in one session, it’s either ignoring your hair type or setting you up for breakage. I’ve seen what those sessions look like. It’s not worth it.
- High-volume developer on compromised ends. Your roots might handle 40 volume just fine, but your ends probably can’t. Do a strand test before every single session. It’s the only way to know what you’re actually working with that day.
- Skipping recovery time. Additionally, after each bleach session, your hair needs a real break. That means a toning treatment, a protein-moisture check, and ideally two to three weeks before your next bleach. Rushing this step is the most common reason box-dye removal goes sideways.
- Repeating the same formula when it stalled. If your last session plateaued at Level 6, running the same bleach again won’t get you further. Therefore, something in the approach needs to change, not just the timing.
How Many Sessions Should You Realistically Expect?
Honestly, the real answer is at least two sessions, and often three to four, depending on how many times box dye was applied, what the original shade was, and the current condition of your hair.
Furthermore, each session needs a clear, realistic goal. Not “I want to be blonde.” Something specific like “I want to lift from a Level 3 to a Level 5” or “I’m targeting the mid-shaft warmth this time.” That’s the kind of intention that actually moves the process forward.
| Session | Realistic Goal | What to Assess After |
|---|---|---|
| Session 1 | Lift 2–3 levels; break through initial dye buildup | Elasticity, porosity, even lift distribution |
| Session 2 | Push into warm gold or copper territory | Integrity check; is toner possible yet? |
| Session 3 | Approach pale yellow; tone if ready | Toner readiness, breakage check |
| Session 4+ | Refine and target remaining warmth | Full Manelli Scale evaluation on final bleach used |
Progress with box-dyed dark hair is rarely a straight line. Some sessions will genuinely surprise you. Others will plateau. What matters is that you’re making clear, informed decisions at each step rather than just repeating what didn’t work and hoping this time is different.
You Need a System, Not Just a Product
The best bleach for box-dyed dark hair isn’t a single product. Rather, it’s the right product used inside the right protocol, repeated with intention over the right number of sessions.
In contrast to guessing and adjusting on the fly, using the Manelli Scale gives you a structured way to evaluate what your bleach actually did each time. You look at Lift, Integrity, and Neutralization after every application, and you build an honest picture of how your hair is responding. That’s how you stop repeating the same plateau.
Frequently Asked Questions
What is the best bleach for box-dyed dark hair?
Why is box-dyed hair harder to bleach than natural dark hair?
How many bleach sessions does box-dyed dark hair need?
Can you bleach box-dyed dark hair to blonde in one session?
What developer volume should I use on box-dyed hair?
Explore Hair B&B University →