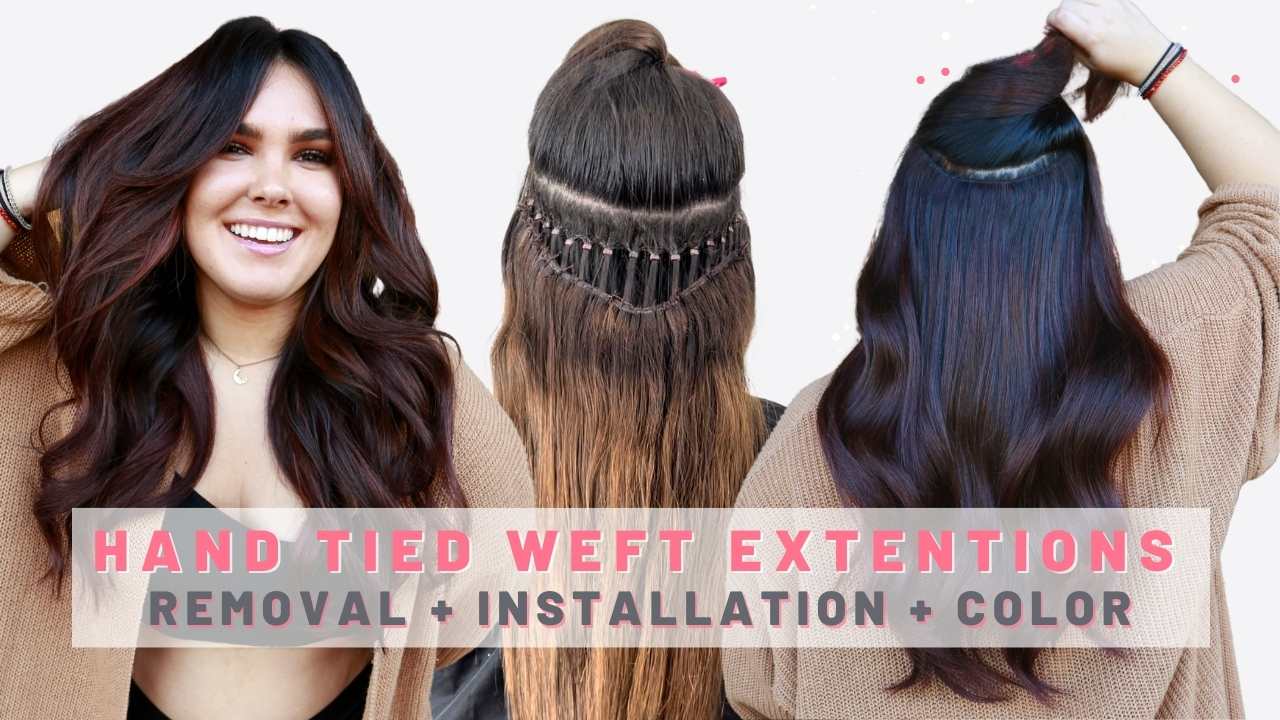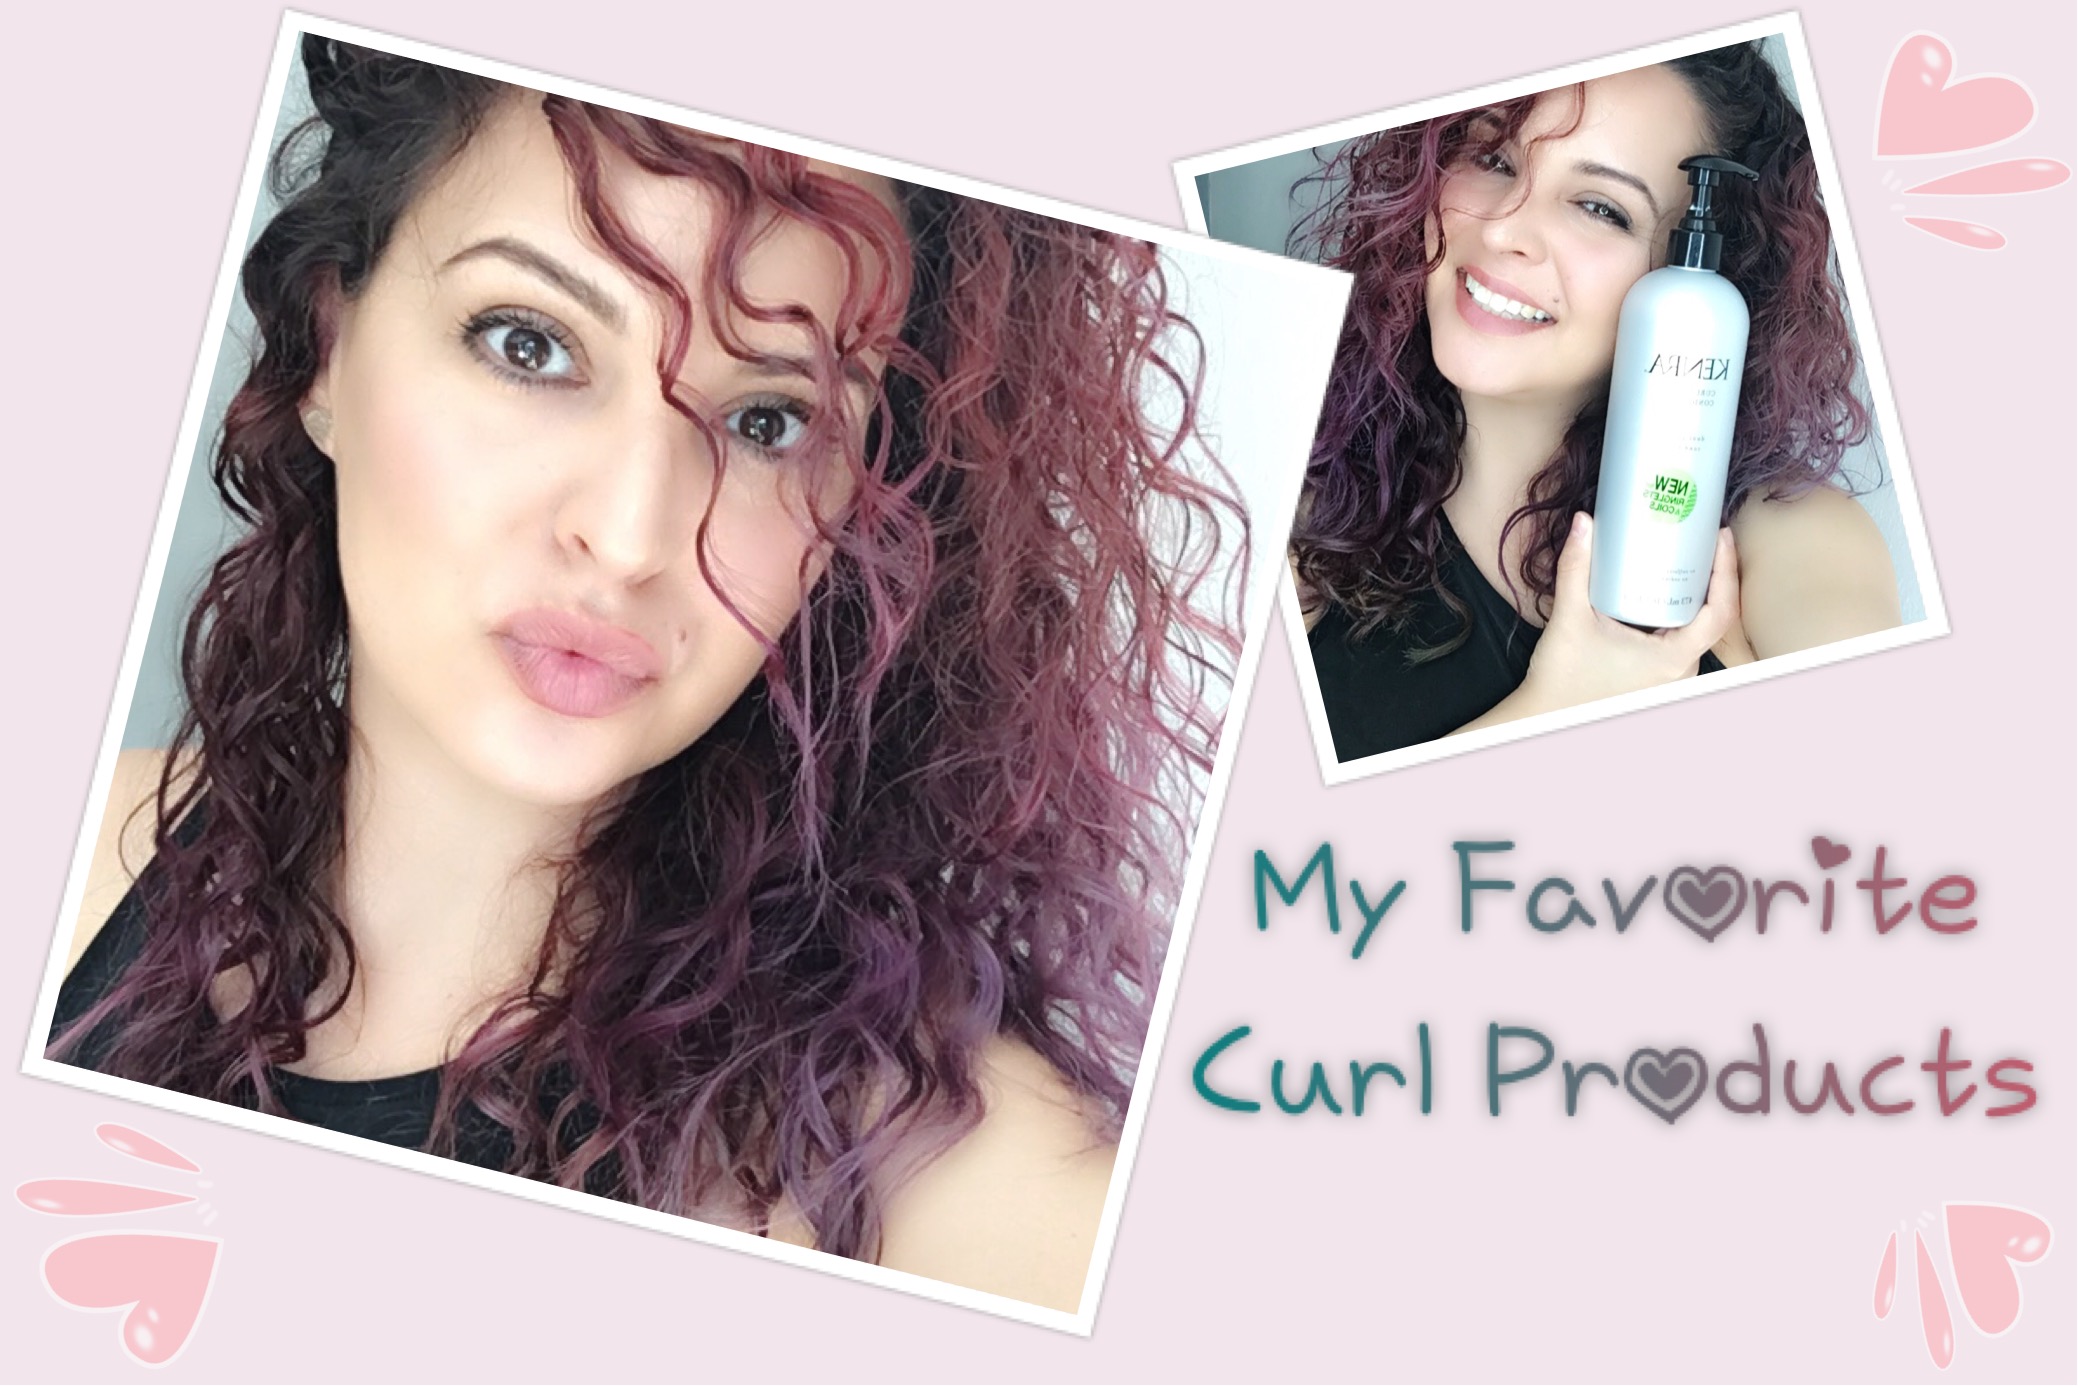


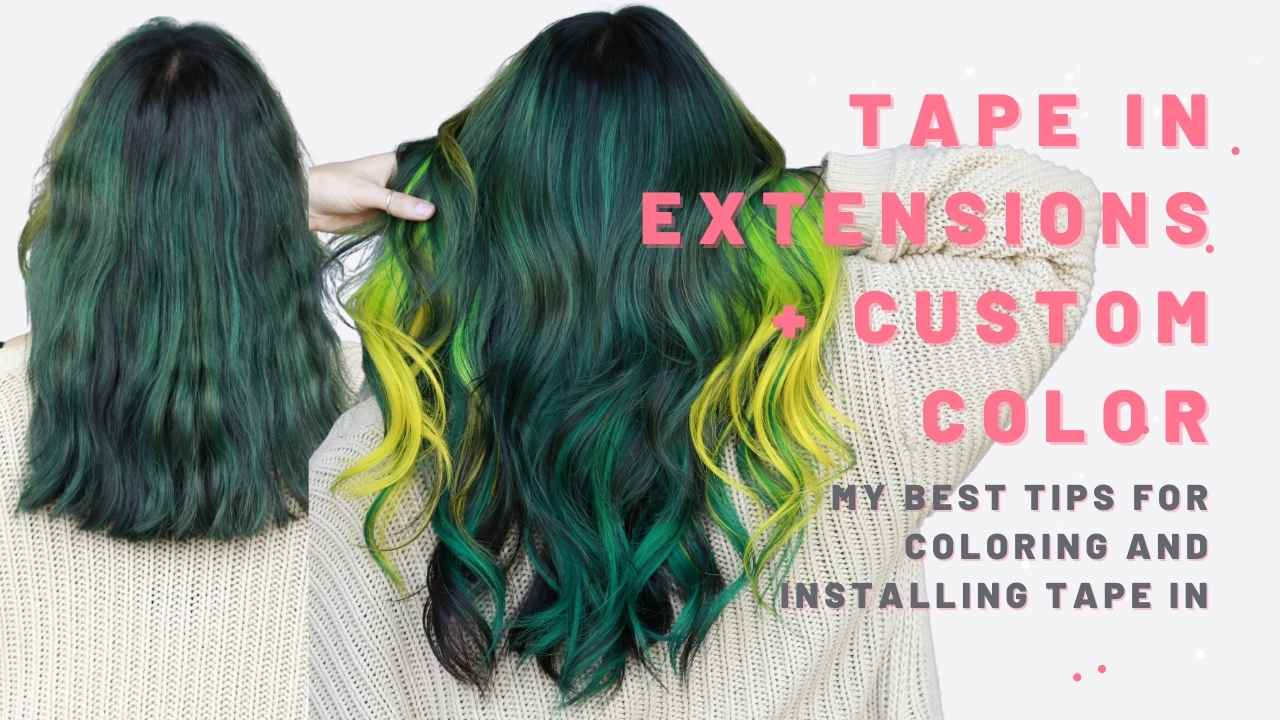
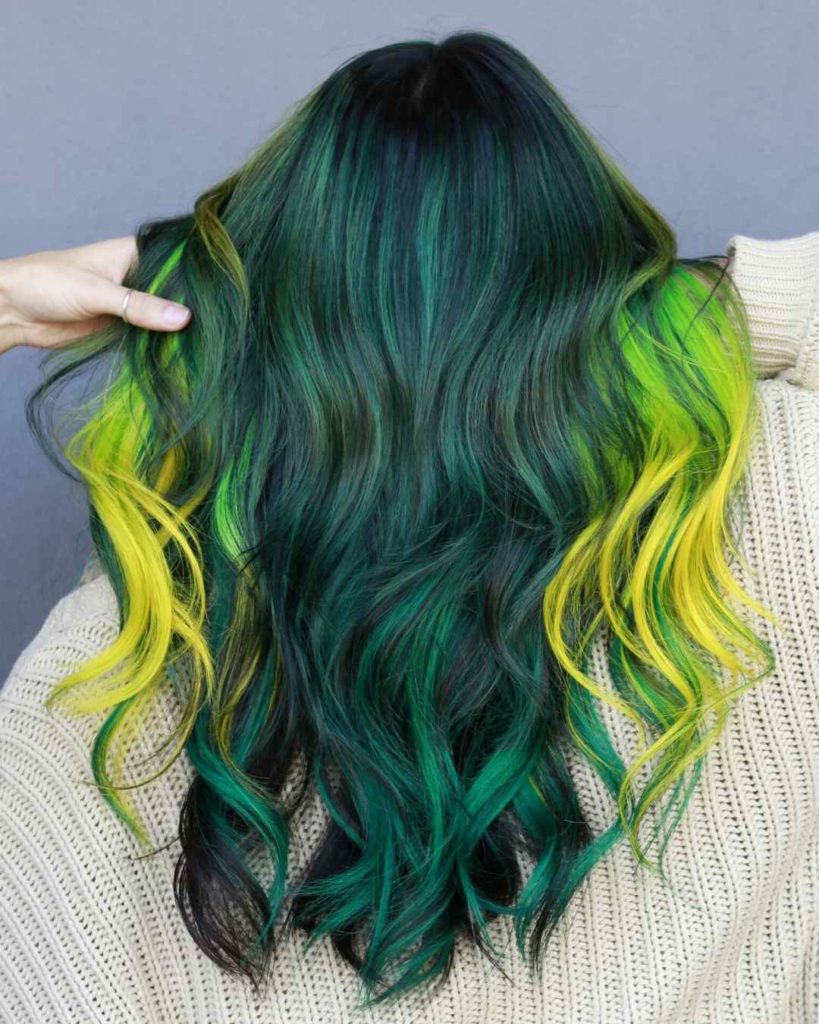
In this video tutorial, I am going to show you how I Install and custom color Donna Bella Tape- In Hair extensions using Kenra Creatives!
This video tutorial is for all my vivid ladies and gentlemen that want that pop of color without having to lighten their hair to a level 10. It is super easy to custom color hair extensions, plus it will give your clients a bit of extra volume.
The process
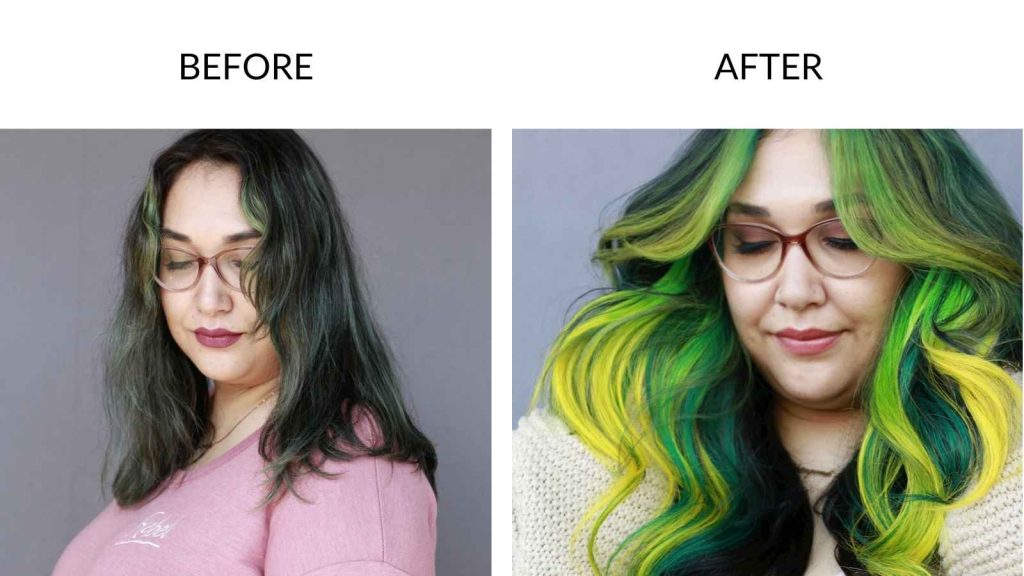
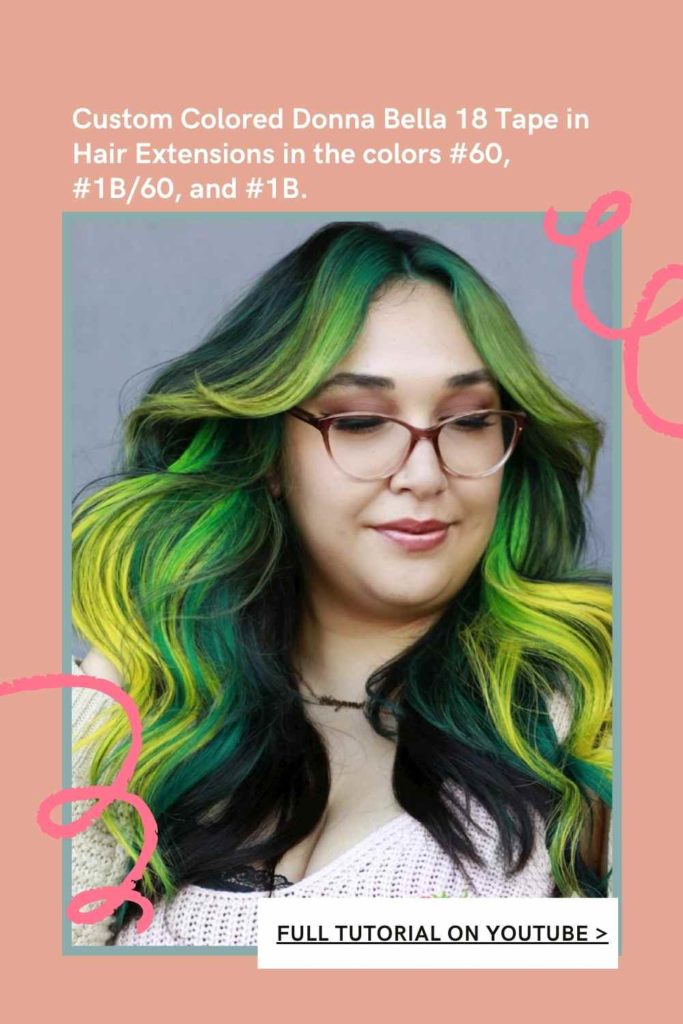
I mentioned in the video that I previously highlighted my models hair in a separate video. In our first session together, I color-matched her with my Donna Bella Hair extensions color ring. Donna Bella has so many color options so I knew I was going to be able to find something that worked for us. Because my model Yadira has a vivid color on her ends that was slightly different than the green that Donna Bellas has, I figured it would be a perfect way to show you how to custom color hair extensions.

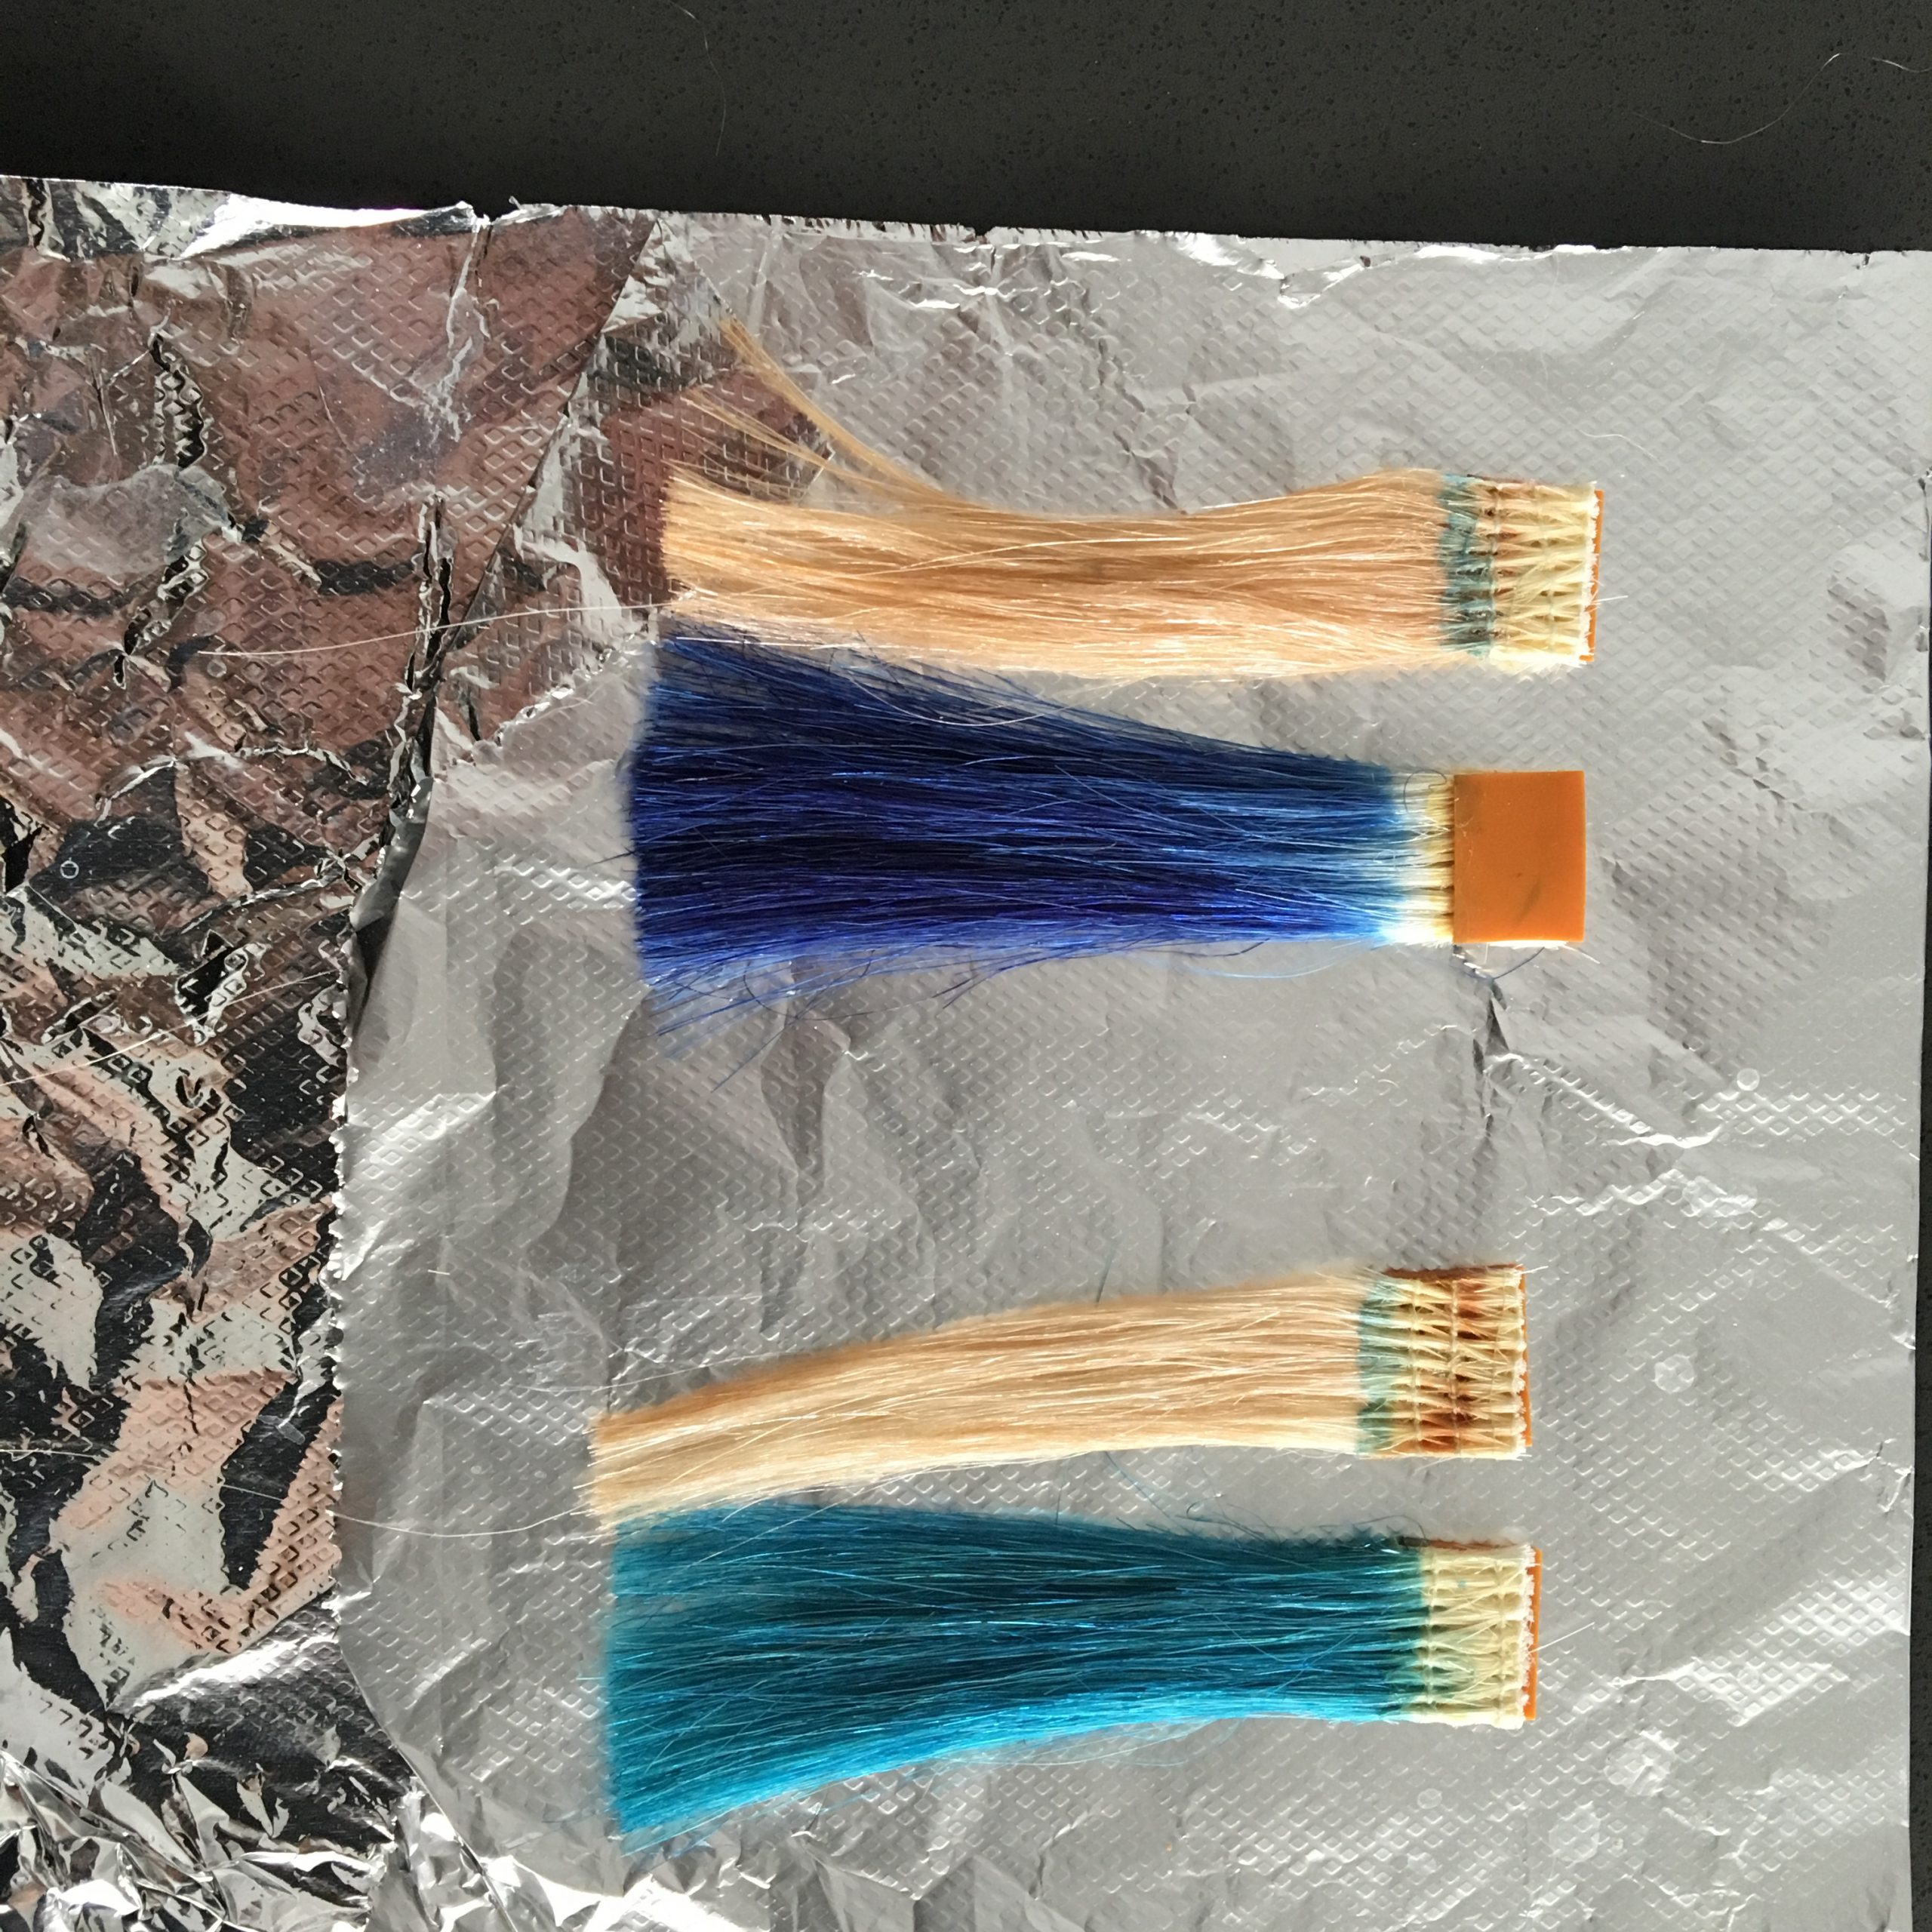
I found that 18inch Tape in Donna Bella Hair Extensions Colors #60, #1B/60, and #1B would be our best option for the tape-in extensions. Once I received those, I used a mixture of Kenra Creatives Blue, Yellow, and True Black to create my 3 shades. Then, I applied the Kenra Creatives to my tape-ins, I let them process for 20 minutes at room temperature.
Once they are rinsed with cool water and color safe shampoo and dried 100% you are able to install them!
For clients that have a thicker density, make sure you get enough packs of hair. At least 6-8 packs of hair is recommended, but you may have to get more if your client has lots of hair. It is always better to have more hair than not enough.
After installation, fine tune your clients hair with cutting and styling. Educate your clients on how to properly style their hair with the extensions in. Don’t forget to let them know what they should do to properly maintain their extensions, such as brushing them every day, and drying them immediately after getting them wet.
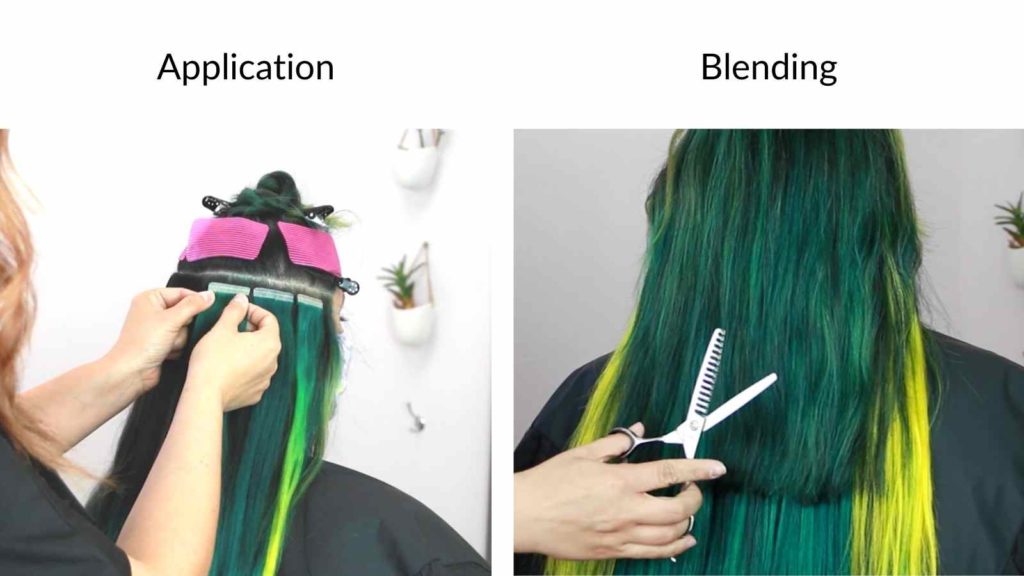
Tape-In Extensions Installation
My model has fine hair, but a lot of it. The goal was to give her length while blending out her harsh line. I used 18 inch tape-ins in horizontal sections throughout the hair. Keep in mind you want to have at least a two finger width around the hairline to ensure when your client puts her hair up that you can not see the tapes.
The best way to blend and match someone’s thicker density is by taking back to back sections. You can see in the video they are about a half an inch away from each other.
When doing tape ins, you must have clean sections. 97% of damage from hair extensions is caused by sloppy stylist work, so you need to be careful. My favorite tools to keep a clean section is my Quick Pick from Donna Bella, and my Velcro Sheets that help push the baby hairs up and away.
When installing tape-ins, I find the easiest method to be taking the extension and pressing it straight on to the head so it can pick up an appropriate amount of hair. From there, you can take your Quick Pick and pick out any cross hairs that should not be in your section. Then, take the other side of your sandwhich and press it together.
Beware, Donna Bella uses medical grade tape, so they are super sticky. You only want to press the sandwiches firmly together when they are clean and perfectly aligned.
Tips to Blend Tape In hair Extensions
You want to always dry cut your extensions. If they are wet, you won’t be able to see the lines as easy as you would if it was dry. The goal is to create a beautiful blend between the extensions and the natural hair. You will want to use techniques that will add texture and movement. Point cut when using shears and cut vertically when using a razor.
Remember, what you see is what you get. Start by cutting your perimeter by point cutting, then blend from the top down using your tool of choice. Cutting extensions is visual. Step back, away from your client, to get the full view to avoid over cutting.
Be patient and don’t rush the cutting process. If you are unsure about cutting more, you can always invite your client back in to adjust the cut after they have washed them for the first time. Being open and honest with your client will help build trust in your relationship.
Tips for Coloring Tape in Hair Extensions
When choosing extensions to use with a vivid color pick a lighter base extension to start with like Donna Bella 18inch color #60 or #1B/60 (which is what I used in the video) so your semi or demi-permanent colors are as bright as possible.
You want to use a semi or a demi like Kenra Professional Creatives because it is not recommended to lighten any of the Donna Bella hair extensions!
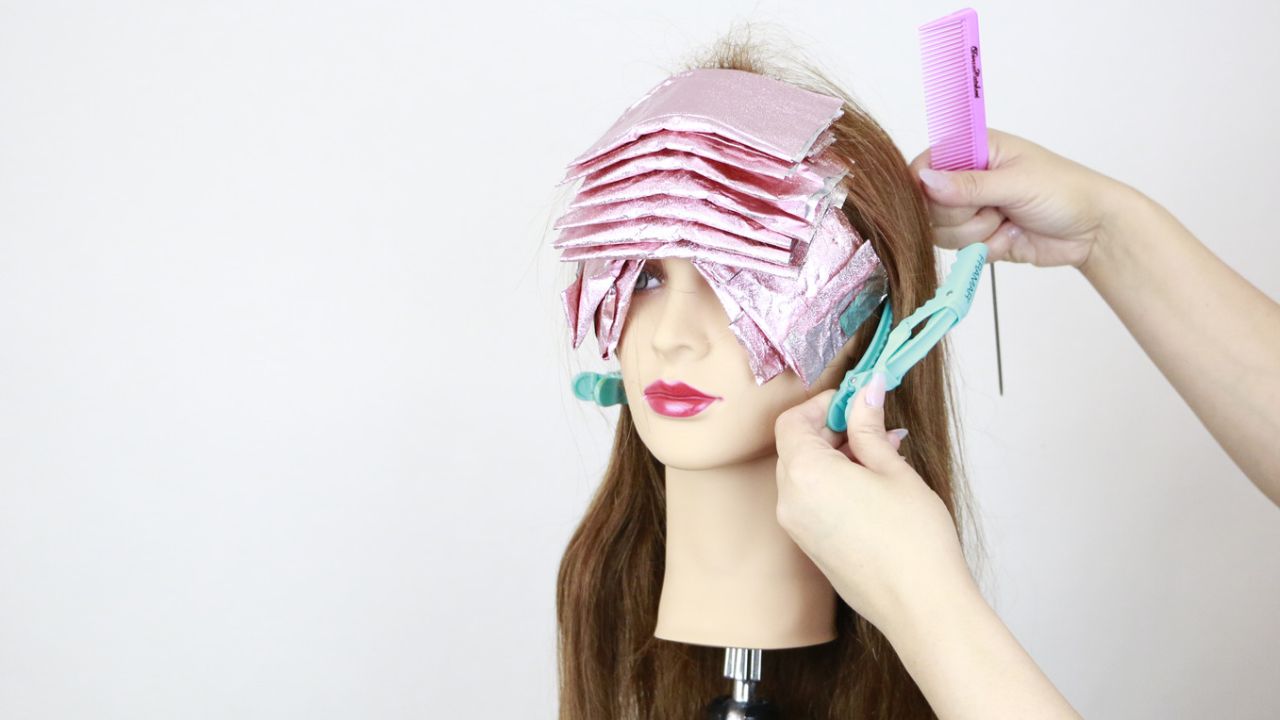
I love to prep my extensions flat on a table and I use @framar Funked Up Film to separate my extensions so they don’t bleed. I prefer the clear film instead of a foil because I can clearly color match the extensions together. This is especially useful when you are working with two or more tones like I am!
Don’t be scared, you need to flip your extensions to make sure they are fully saturated on both sides. No dry pockets here! Let your color process for at least 20 minutes, or as stated by manufacturer directions, and rise your vivid colors in cool water for maximum color retention.
Prep your extensions by 100% drying them before installation and you’re done!
Do you like my blog posts? Click here for more!
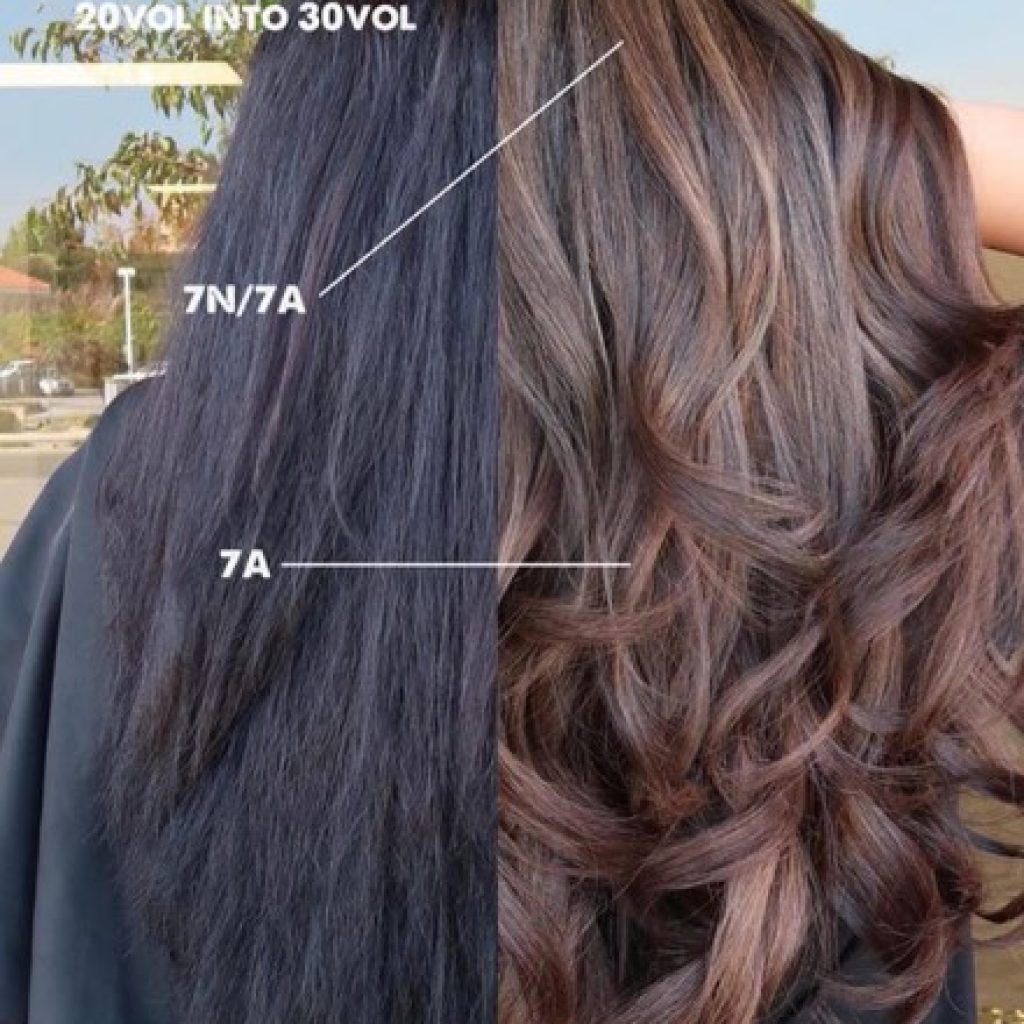
I understand the feeling when a client with black box dye wants to become a shiny blonde in one go. Unfortunately you and I both know, that is NOT going to happen! A black box dye color correction is one of the hardest services to complete, just because everything is so unsure. How will she lift? Will her hair be okay after this? Don’t worry, in this video, I go step by step on how I transformed my client’s hair.