


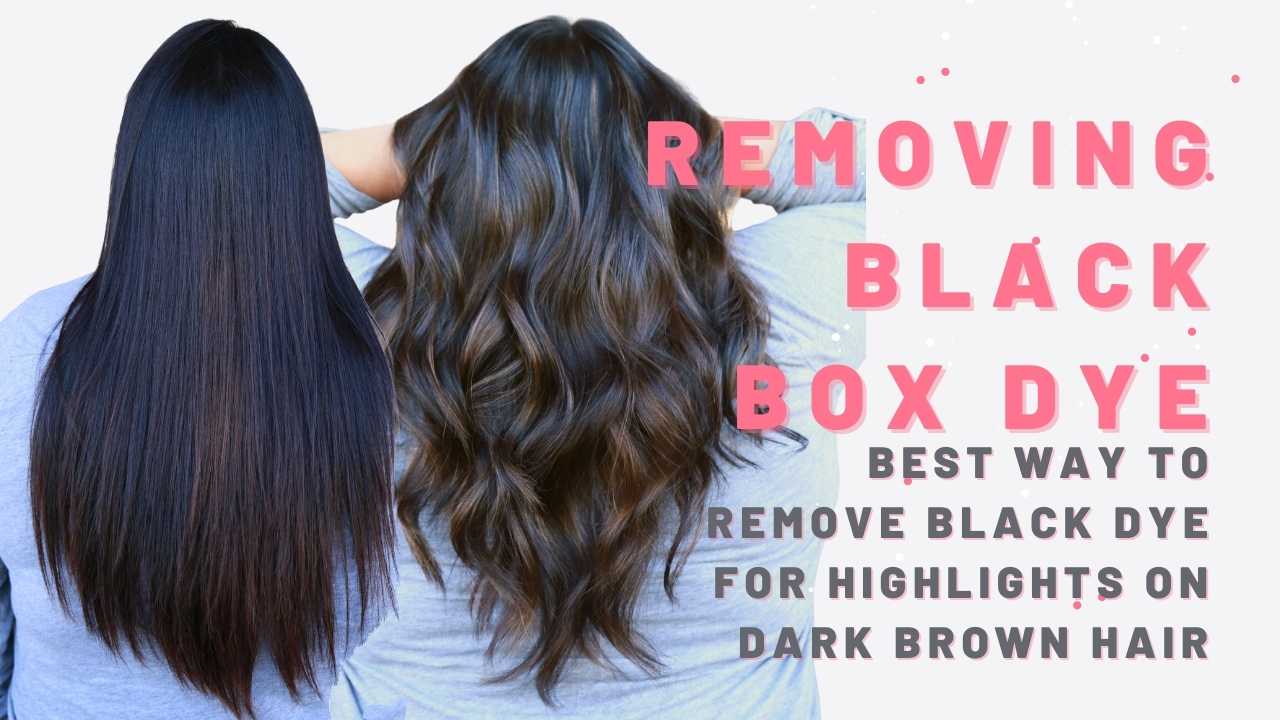
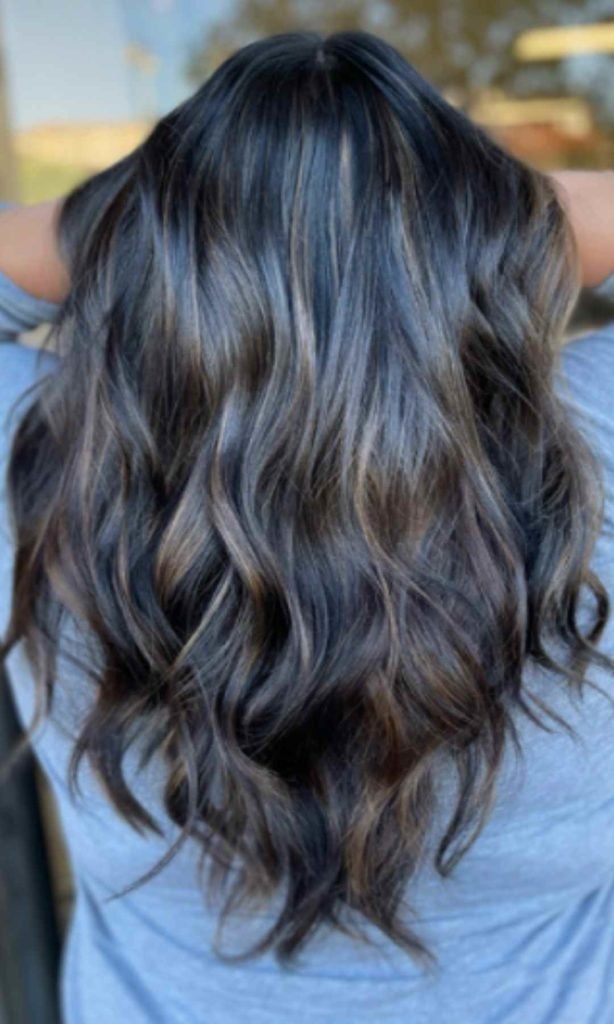
Black box dye is a hairstylist’s worst nightmare. Like, THE WORST! But black box dye while trying to go lighter is a challenge I’m willing to take. In this video tutorial watch me remove black box dye color with all of my favorite tools.
Removing black box dye is not easy especially when it’s been colored twice with black cherry! Follow along with these essential steps for the simplest way to do this color correction and create some beautiful highlights on dark brown hair.
The Process
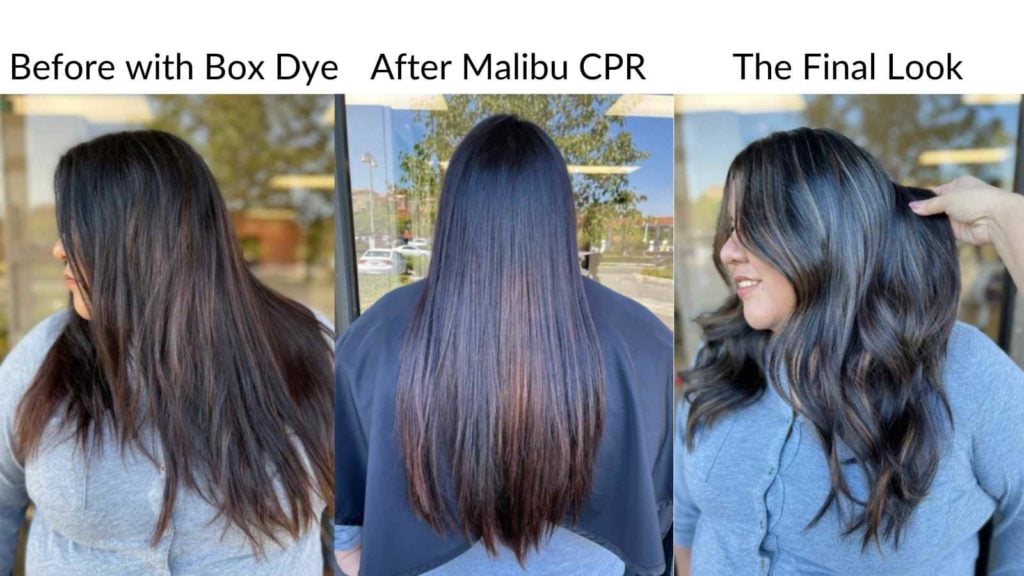
When working with black box dye, it is super important to know what the client put on their hair. She disclosed that she used black cherry box dye, so I knew I needed to remove some of the metals from that color. Box dye contains a lot of metals and minerals that can react with the lightener so it is imperative to get those out before you touch it with lightener.
My favorite way to remove unwanted minerals is Malibu CPR. Malibu CPR, aka Color Pigment Remover naturally removes unwanted pigment without compromising the integrity of the hair or lifting natural hair color. I always start my color corrections off with this treatment to reduce any detrimental surprises later, like your client’s hair melting off!
To prep the hair for the CPR, I cleansed the ends with a clarifying shampoo. Kenra Professional clarifying shampoo is one of my favorites because it deeply cleanses the hair without drying it out. I just wanted to remove any product build-up to get the most out of my CPR treatment.
After mixing the CPR with 2oz of lukewarm water as per the directions, it created a gel consistency. I thoroughly saturated the hair with the treatment and let her process under the dryer for a full 45 minutes. It is recommended to let CPR sit for 15-45 minutes, so I wanted to let it sit the whole time.
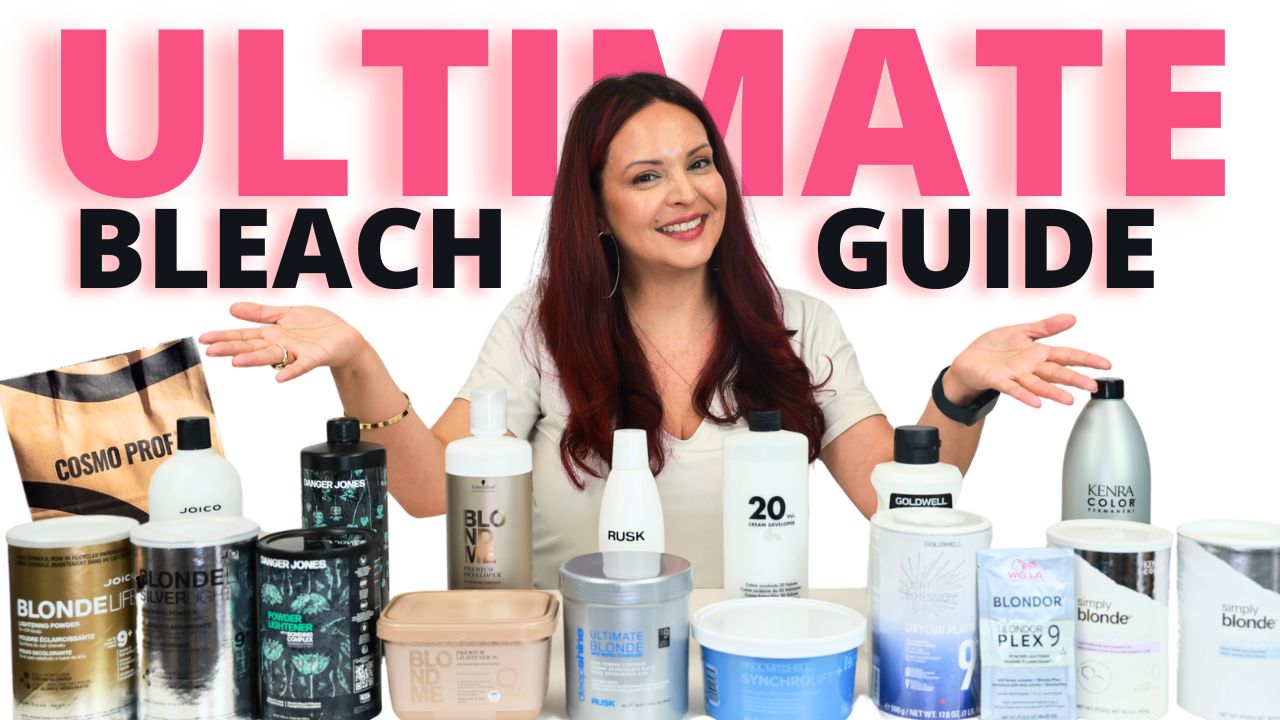
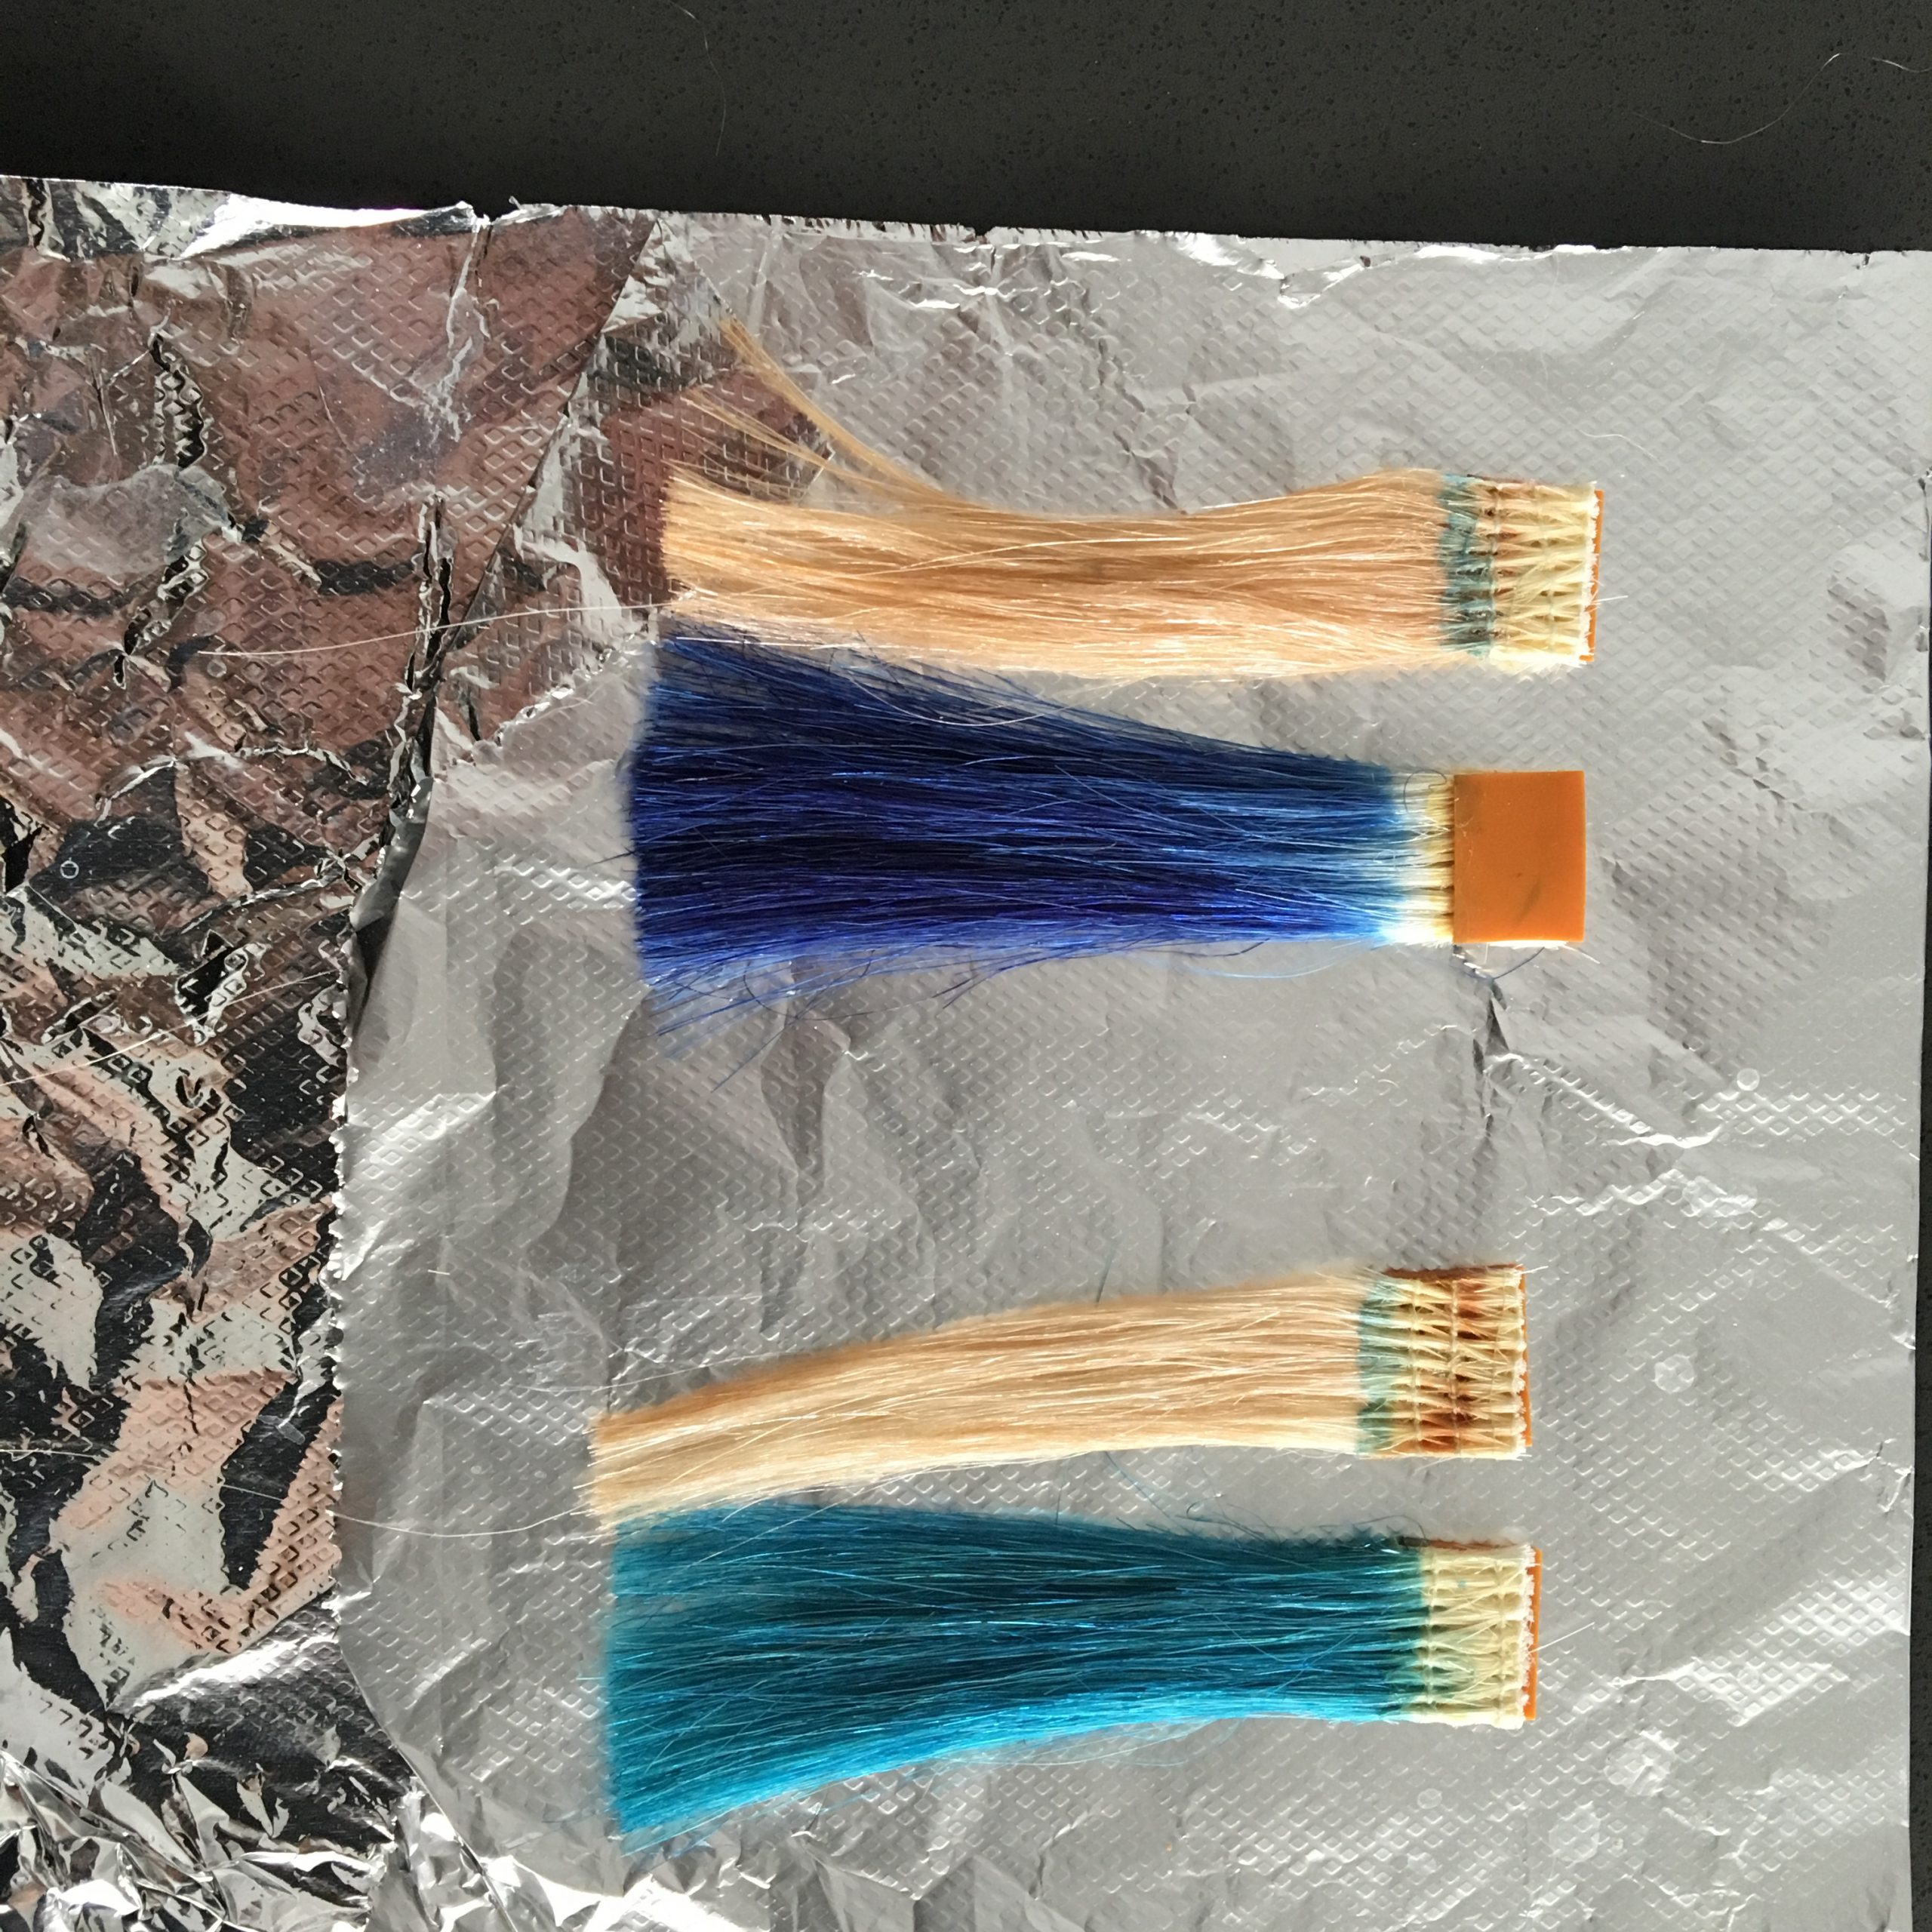
Check out these hair color removers I tested on black box dyed hair from Sally’s Beauty
Going in with Lightener
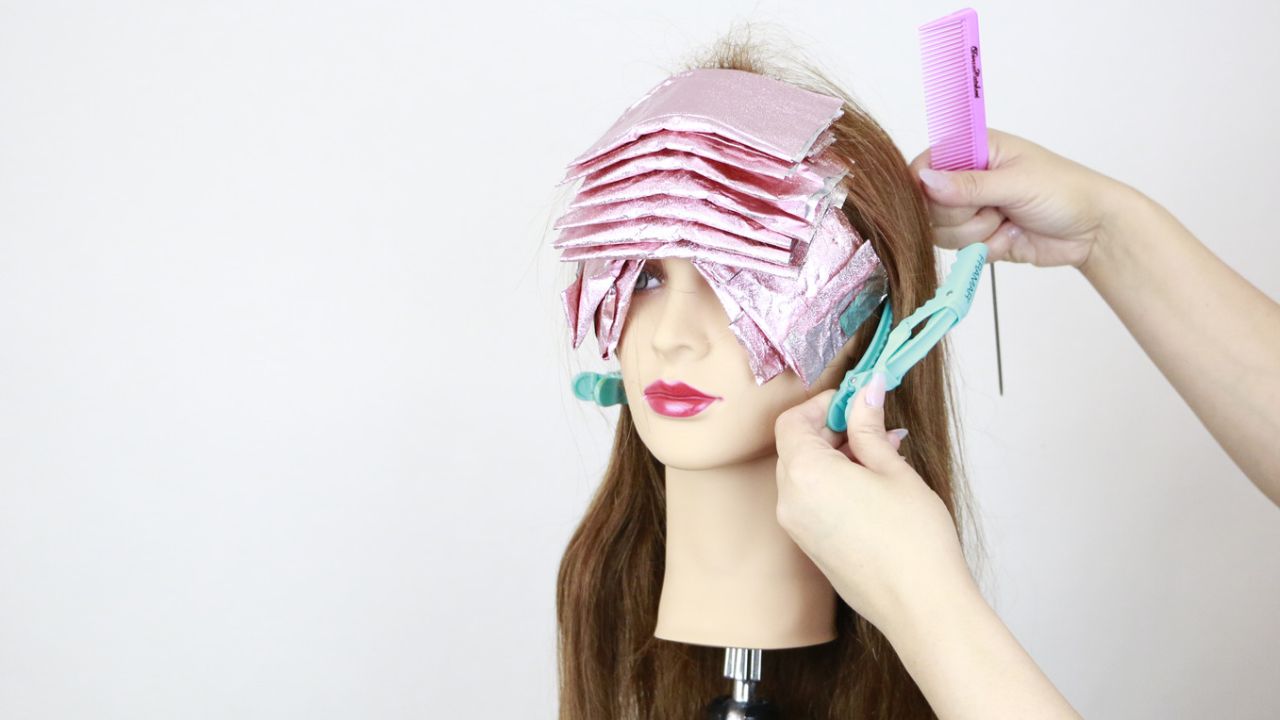
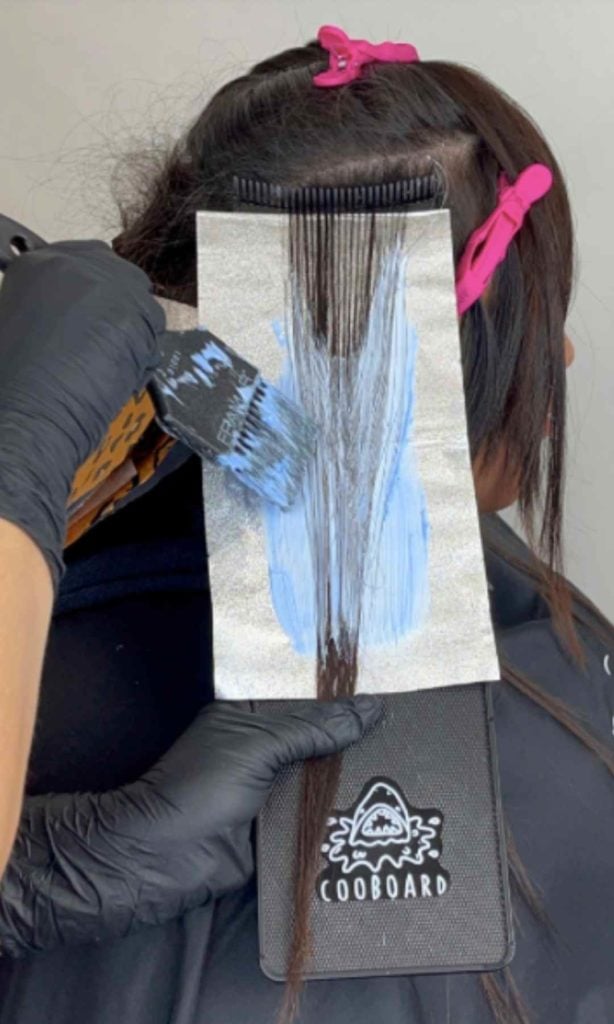
On my model, we were able to lift out some levels of the black cherry box dye which was perfect for us wanting to go lighter. Going in with my Kenra Professional Blue Powder Lightener at 30 volume developer, I started in the back with my teasylights.
I like going in with a diagonal angle to create lots of dimension and diffusion at the same time. To create clean sections, I am using my Coo Board and my Power Painter from Framar for a quick application. In between the foils I am using 4B to help control the residual warmth from the box dye.
CLICK HERE TO SHOP FRAMAR!
Throughout the entire back section, I am doing a mix between baby lights and slices with a heavy tease. I am also doing a bricklay section for a lot of depth. On the sides, I am doing a diagonal back section for added brightness and a teasylight. If you want to see 4 different foil placements and the effects they create CLICK HERE!
One way I like to cut down on time is by using my Framar weaving combs. It is a quick and easy way to get foolproof weaves. Some may call it cheating (I’m looking at you Tik Tok trolls) but I just call it effective! On my top mohawk section, I used my Framar weaving comb to get beautiful babylights across the top. I am still adding my 4B formula in between the foils to control warmth.
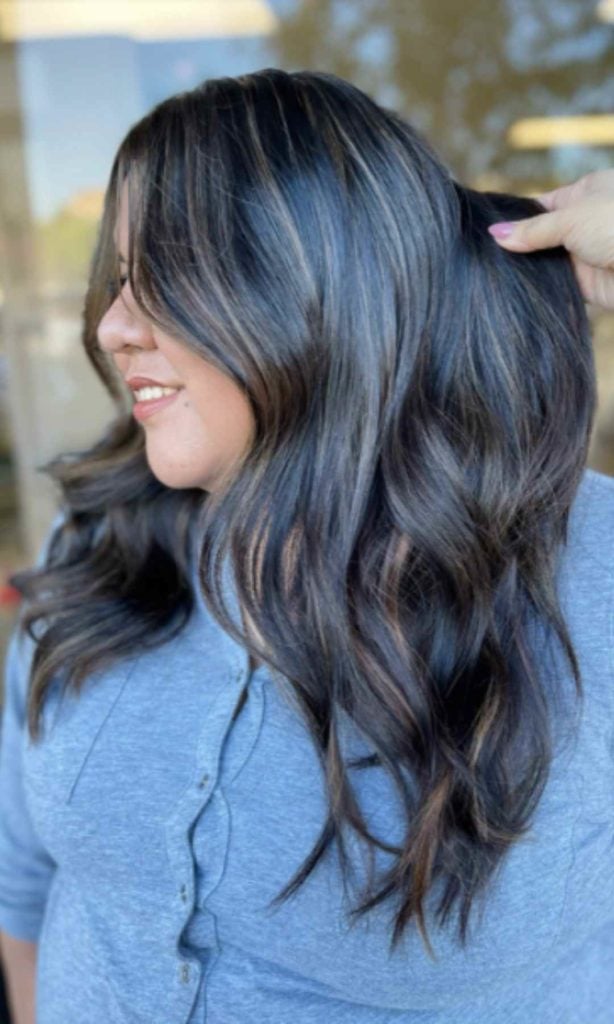
My client wanted a very subtle money piece, so I went in with 3 back to back babylights around her hairline. This is a great way to give brightness around the face without having it be too overpowering. If you want to see a bolder money piece tutorial, CLICK HERE! To see a video on a more natural money piece CLICK HERE!
Ready to gain confidence behind the chair? Join me in Hair B&B University
When my client has more fragile hair around the hairline, I would switch to a more gentle lighter such as beyond bond lightener. Beyond Bond lightener is great because it has a dual bond complex. In my case, my client’s hair was pretty healthy, so I stuck with what I was using.
As you can see in the video, my client still has some residual warmth left over from the box dye. I did all I could do, (CPR for 45 minutes as well as a heavy-duty lightener) and I did not feel comfortable leaving the lightener on longer. I decided to go in with a pre-toner to color correct. She had a lot of warm orange banding, so SV rapid toner and a ribbon of GrBl rapid toner was what I chose to combat it with.
You have to be careful with the GrBl because it is meant to go on levels 4-6 hair, so use it wisely. I left it on for 5 minutes and then went in with my final formula. Starting off with 6NuA for her root tap around her money piece and her mohawk section. I love doing the root tap first to help blend out the line of demarcation as much as possible. It goes on first, therefore it sits the longest and it helps blend all the harsh lines. I then process her final glaze formula for a full 15 minutes and rinse with warm water.
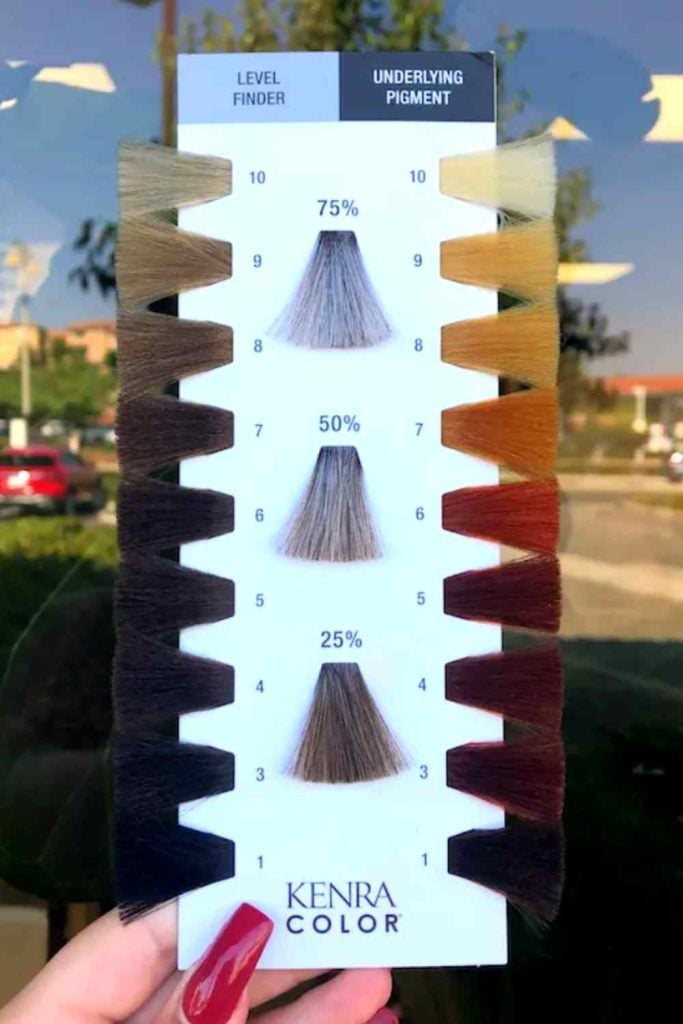
Why should you Pretone?
Pretoning essentially creates an even canvas. Think about it, if you put blue hair dye over a yellow canvas, their hair will probably turn green. BUT, if you preteen a yellow canvas with purple (a purple toner or purple shampoo), it helps eliminates unwanted tones. You then have a more even canvas for your desired end tone.
In my case, we wanted a more even blonde. If I just went in with 7N over the warmth, you would still see a band. I was able to create a more even canvas with the blonde because I pretoned the orange out. If you want to watch a video on the effects of toning click here.
Benefits of Malibu CPR
- Releases unwanted pigment from oxidized hair color
- Removes up to 3 levels without removing the natural pigment of hair
- Preserves the integrity of the hair
- Removes mineral and other buildup from hair
It is always my go-to before a color correction! Shop Malibu here!
Final Formula
Blue Powder Lightener 1:2 30Vol
Demi 4B 1:2 9vol
Corrective toning with SV and GreenBlue Rapid toner 1:2 9 vol
Final colormelt toner Demi 6NUA into 7N 1:2 9vol