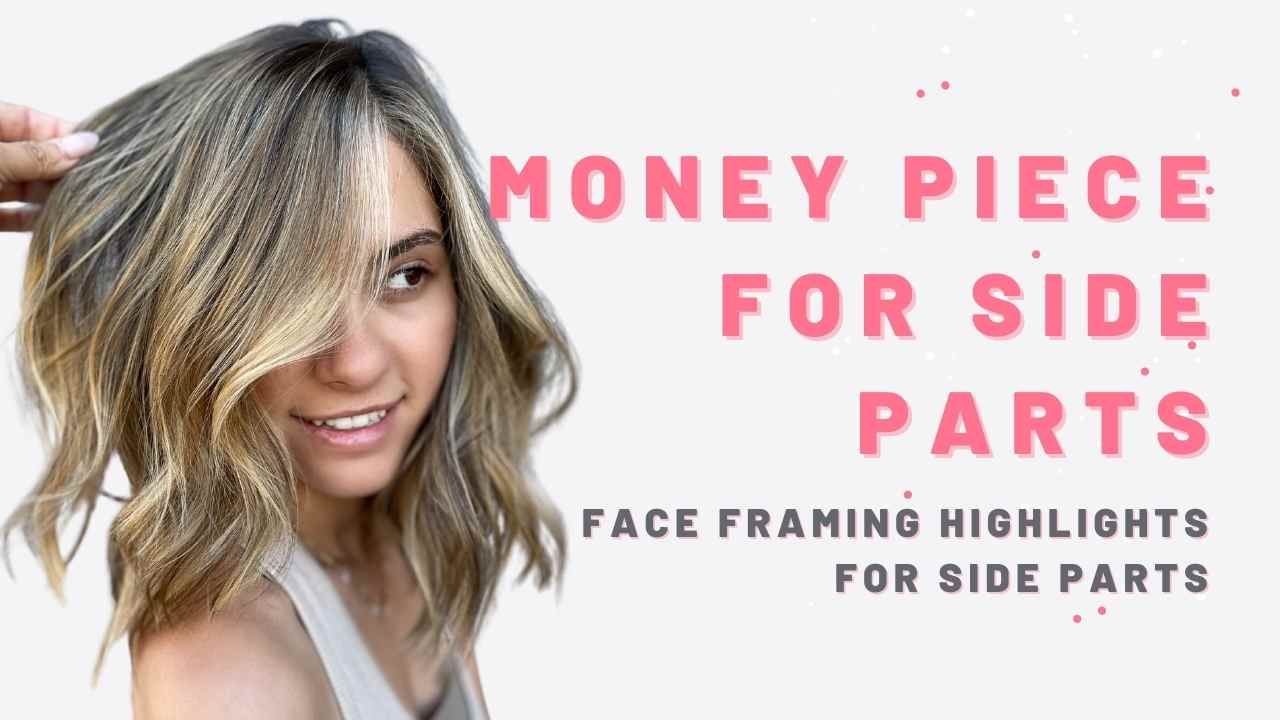
In this video tutorial, I am going to be showing you how I created this Golden Money Piece Highlight for Side Parts!
We are bringing money piece highlights back! This 90’s trend is coming back in full force, and I am here for it! I myself even rocked a bold money piece back in the day. Even though society says side parts are out (thanks Tik Tok) I am going to show you how to create a bold money piece for side parts! Because let’s be real, side parts are timeless.
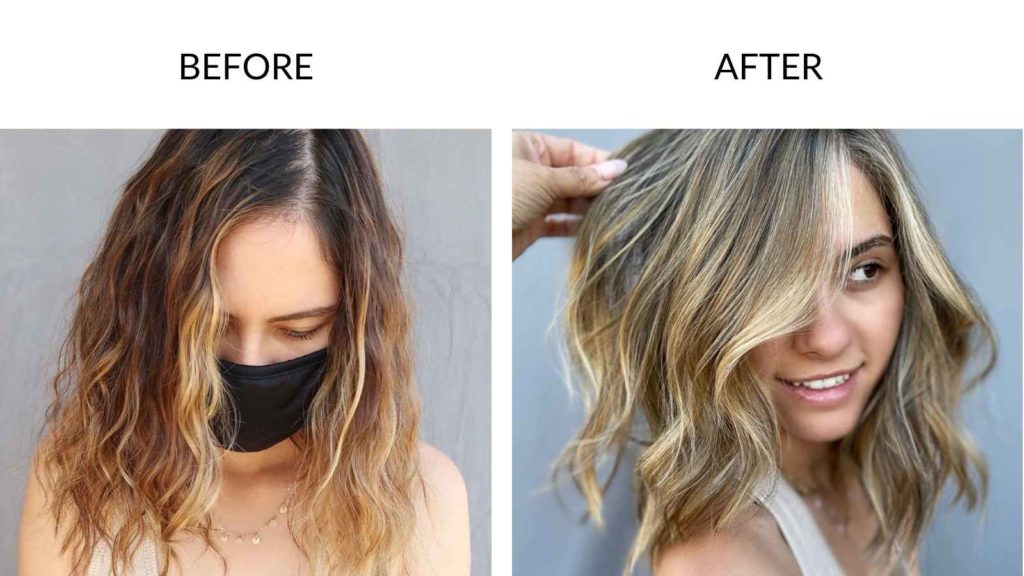
The Process
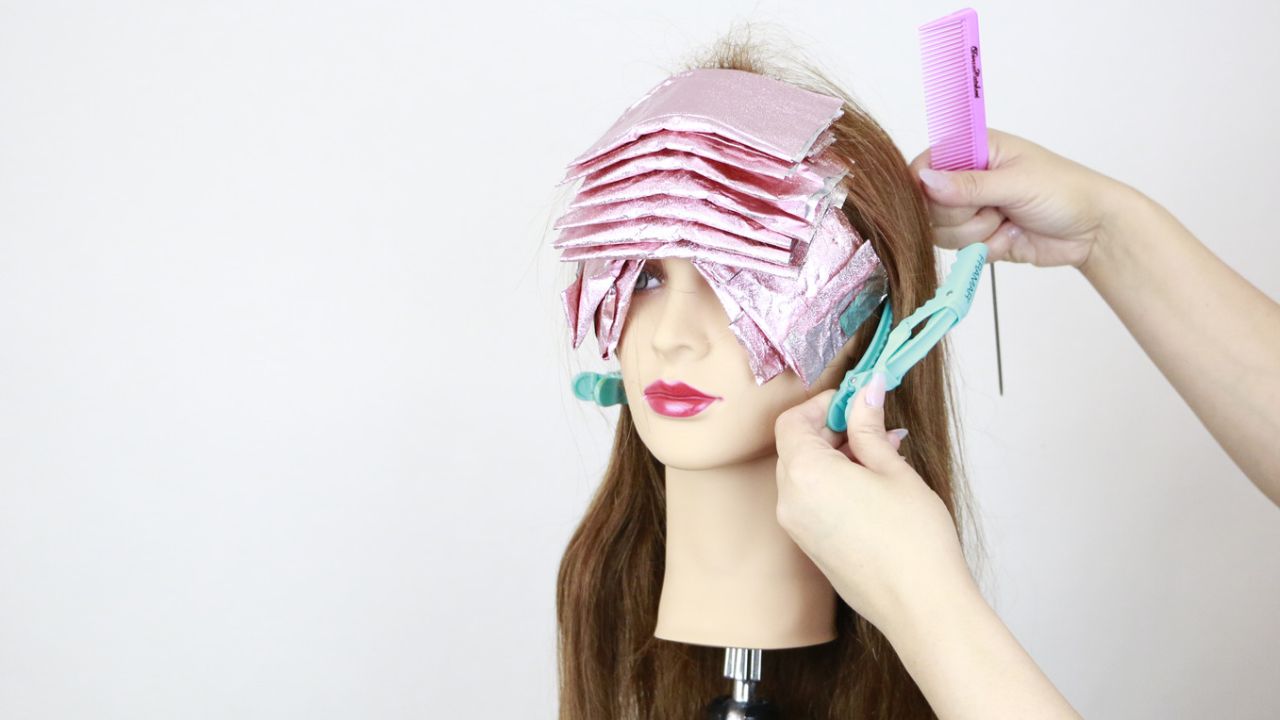
When working with a side part, you want to make sure you know where the hair lives. You can easily determine this by letting the hair naturally fall as demonstrated in my YouTube video. If you skip this step, it is possible that your money piece could end up wonky. Once you finish with the highlights and babylights, I like to finish off the section with a teasylight to give the ultimate blended effect.
Moving on to the sides, I like to take some highlights right along the hairline, so when she pulls her hair back it is nice and bright. In the very back, I did a bricklay section with a mixture of babylights and teasylights just to brighten her up. My clients hair is pretty fine, so in the front I took thicker sections to create bolder pieces. If she had thicker hair, I would recommend taking smaller sections to get a blonder look.
At the bowl, I gently brushed out her teasylights and did a root smudge to blend the line of demarcation right at her hairline. I used 9GG as her final formula and toned her for the full 15 minutes to get a golden blonde finish!
Different types of Foil Placements for Highlights:
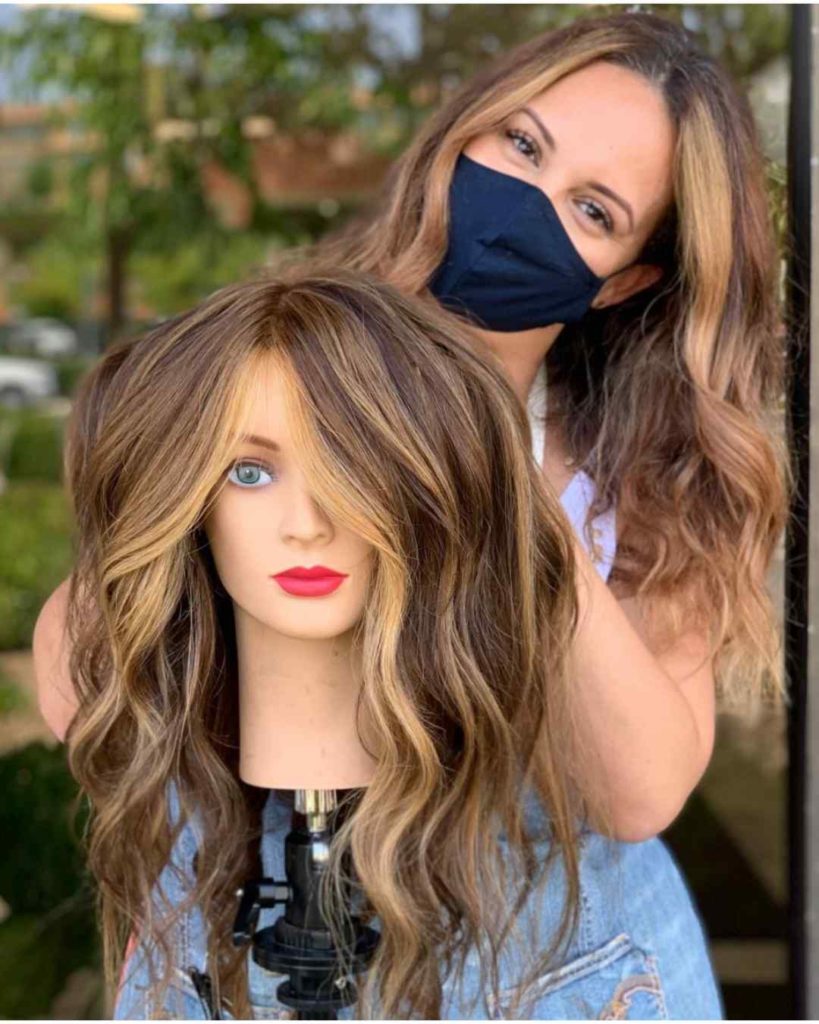
Horizontal– Horizontal foil placement creates overall brightness, high diffusion, natural-looking highlights, color correction, can create a stopping point.
Vertical- Vertical foil placement gives a high contrast effect, but it also gives the illusion of longer hair by making the highlight look like a ribbon of brightness.
Diagonal Forward or Back– Depending on the foil placement on the head, this can create soft contrast or high contrast. This placement is a nice marriage between horizontal and vertical.
Click here to read more about foil placements!
If you want to know more about foil placements check out this video here!
Babylights versus highlights:
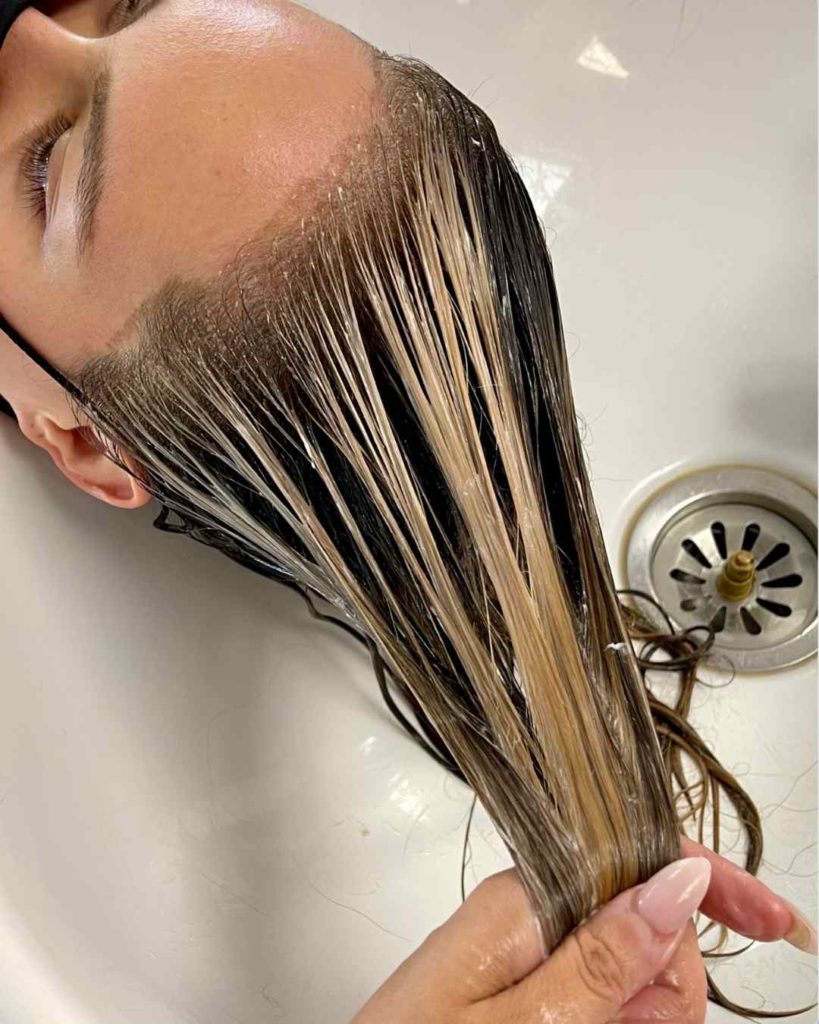
Both babylights and highlights are going to give you a dimensional and bright end result. however the difference is that babylights have less space in between the weave (aka a super fine weave), leaving a really soft, blended and bright look. I chose to do babylights around the hairline to make it brighter around her face.
After 3 back to back babylights, I started to weave highlights. As you can see in the video, highlights have a little but more space in between the weave, making it more dimensional. Highlights have the power to be really chunky (think Kelly Clarkson in the early 2000’s) or more natural as demonstrated in the video.
Overall, I would use babylights if you are wanting a brighter end result and highlights if you are wanting a more dimensional end result.
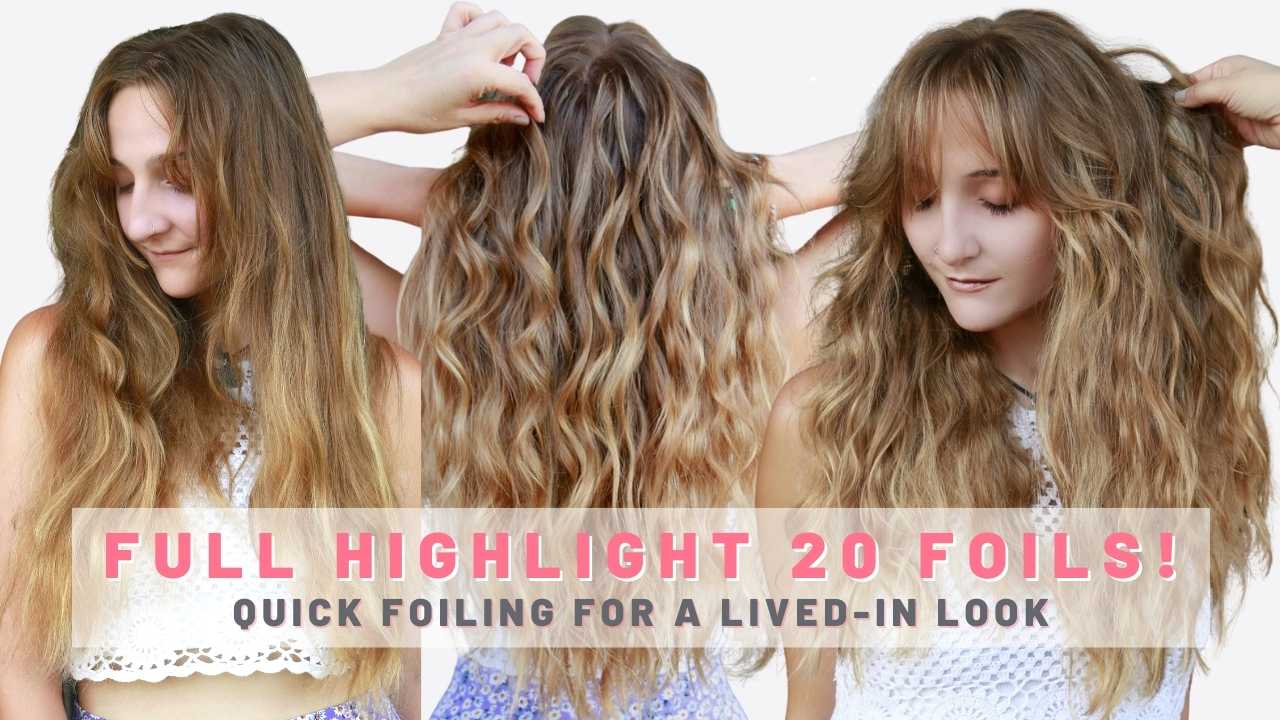
Click here to watch me do a full head of highlights!
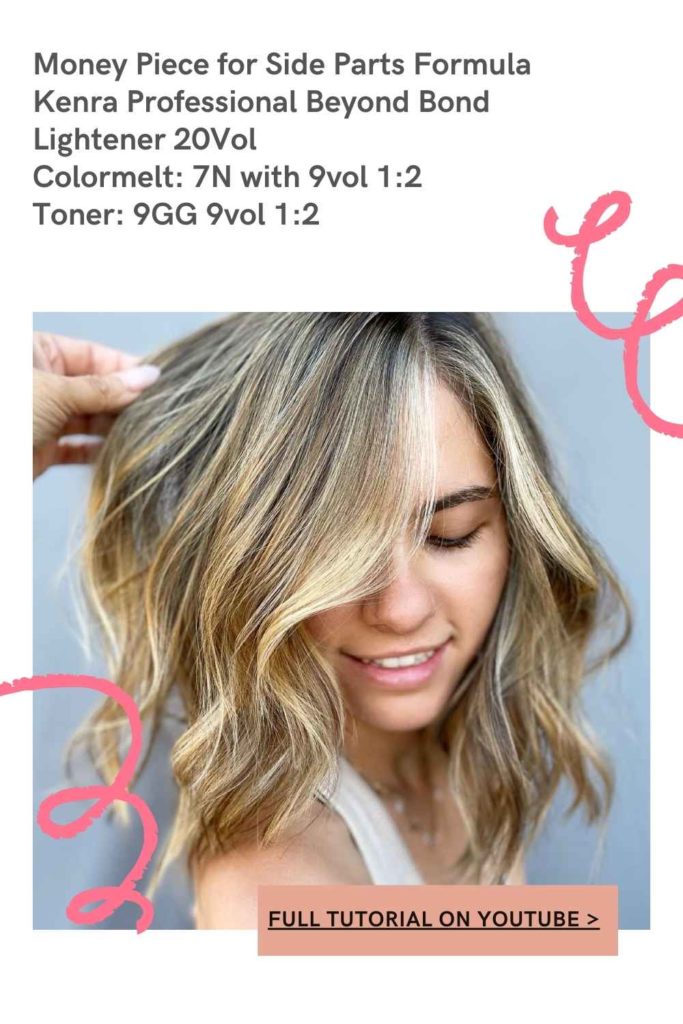
Final Formula:
Beyond Bond Lightener with 20 volume developer 1:2
Colormelt – 7N 9 volume developer 1:2
Toner – 9GG 9 volume developer 1:2
Do you like my blogs? Check out another one here!
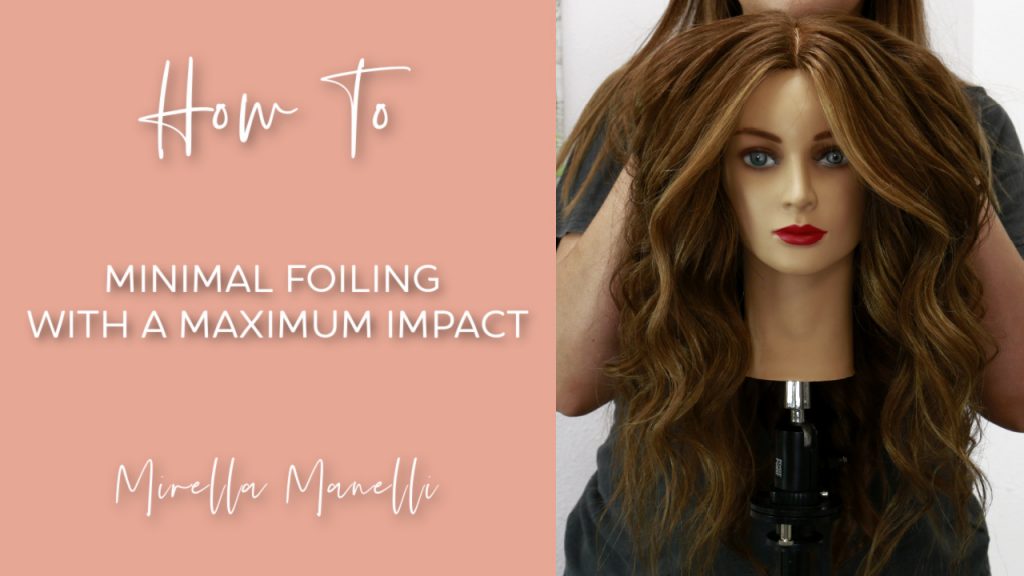
In this video, I show you how to highlight hair using minimal foils for a maximum impact. I only use 13 foils! This placement for highlights is a mixture of a wearable money piece and diagonal forward teasylights on the sides.
