


In this hair tutorial, I will be teaching you how to use Malibu CPR color remover in a color correction to get a low-maintenance look.
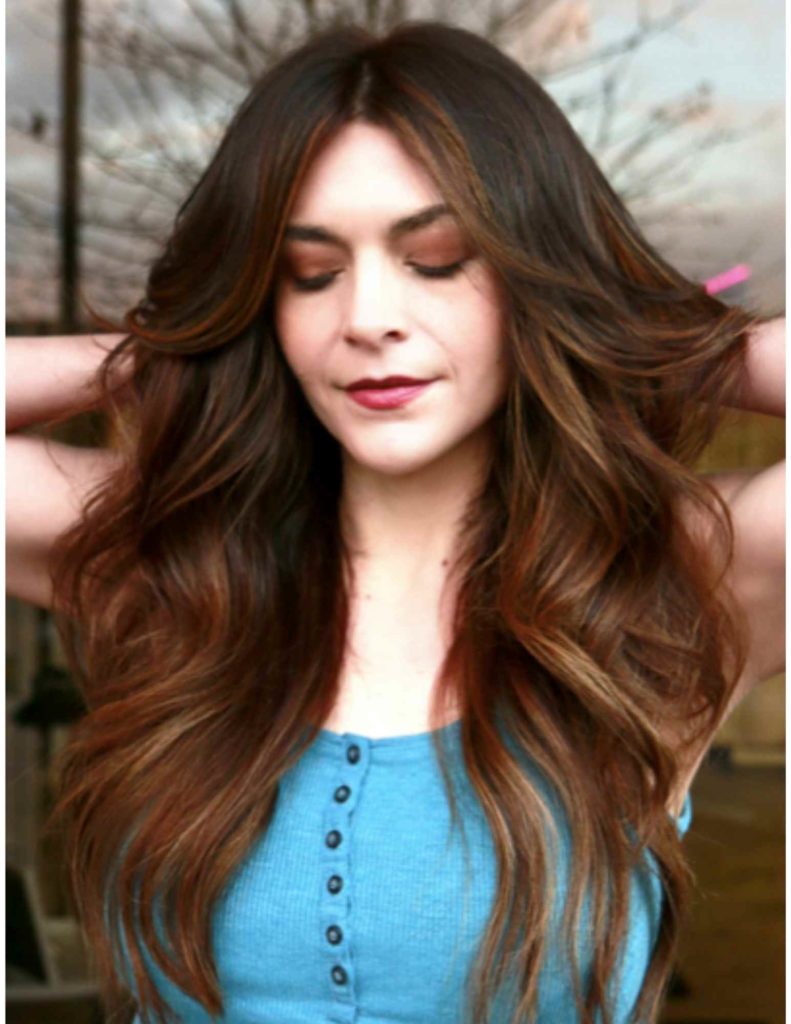
If your client is super dark with permanent hair color but wants a subtle change, this hair tutorial may be useful to you. I will be teaching you how to use Malibu CPR color remover in a color correction to get a low-maintenance look on brown hair. I finished her look off with some hair extensions for volume.
The Process

I always love a good hair color correction, but I especially love it when clients know what they have on their hair! Luckily for me, my client was a hairstylist! She knew exactly what hair color formula she had on her hair.
However, I like to be safe rather than sorry. As most of you know, whenever I am doing any color correction, I use Malibu CPR color remover. I first shampoo my client with Kenra Clarifying shampoo, being careful to not exfoliate her scalp. Try to focus it more on the ends of your client’s hair, as we will be putting this under the dryer.
I first mix up one packet of Malibu CPR color remover in a bottle with 2 ounces of lukewarm water. Shake it and it will turn it into a gel. Then, generously put it all over the mids to ends of your client’s hair. It is designed to be put under heat for 15-45 minutes.
It is designed to remove unwanted pigment and minerals from oxidized hair color. This is perfect for someone with box dye or permanent hair color looking to go lighter. Malibu CPR helps reduce the risk of a chemical reaction when putting lightener box dye.
As mentioned, you are able to let your client process for 15-45 minutes. I decided to do 30 minutes and it was enough for me to be able to remove some wanted tones. You are able to work on the hair directly after processing, so I dried her and got to work.
CLICK HERE TO SHOP MALIBU
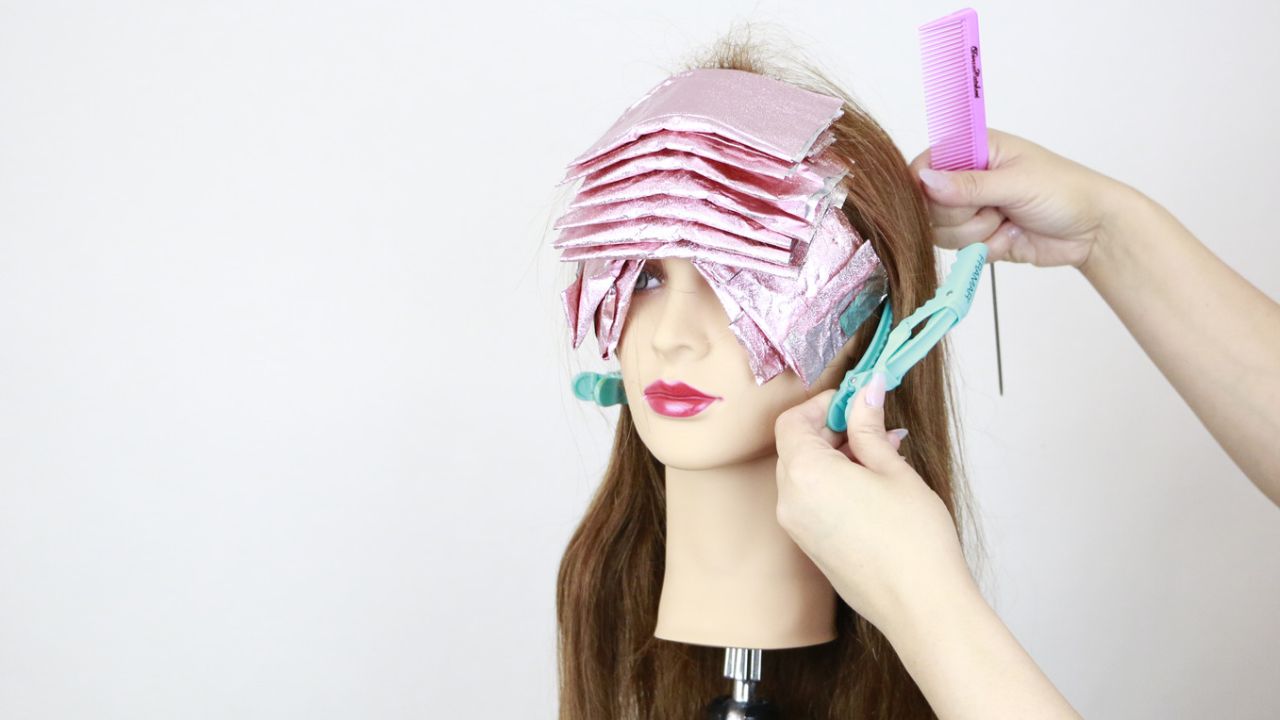
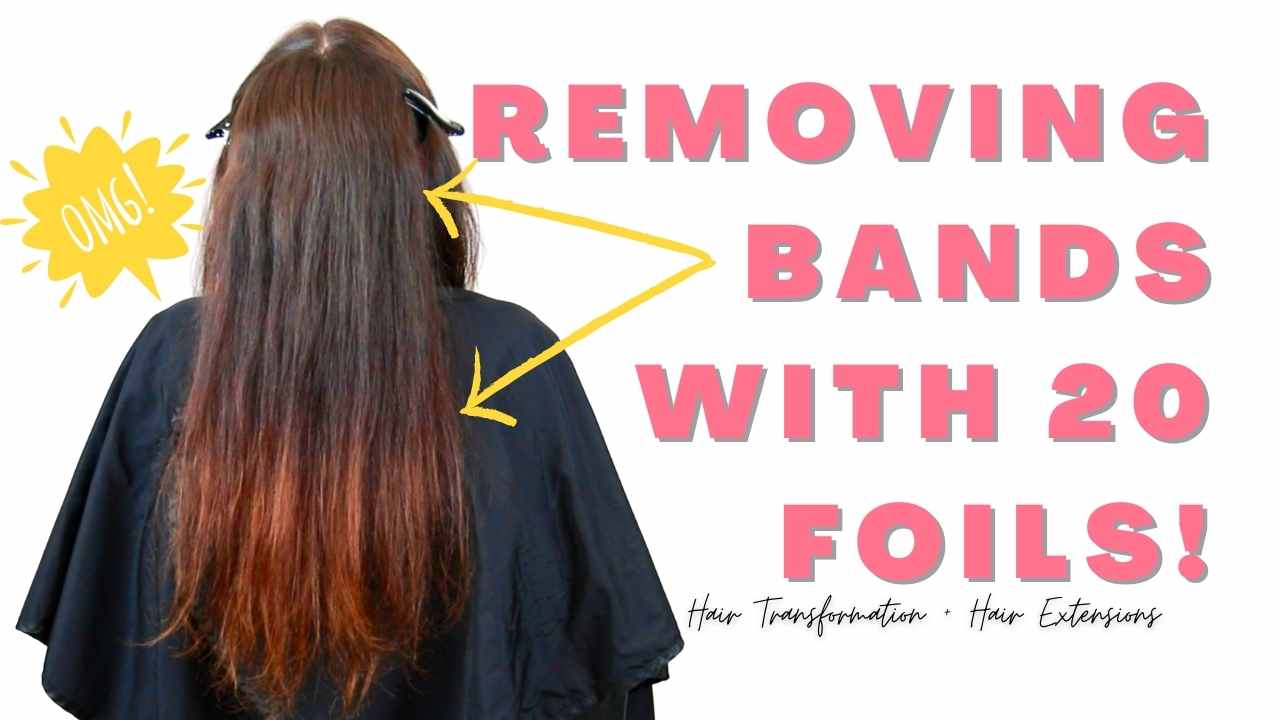
Once her hair was dry, I am able to start the lightening process. Taking V sections starting at the back of her head to create a blended effect. Don’t forget when creating your placement, it is important to think about the end goal.
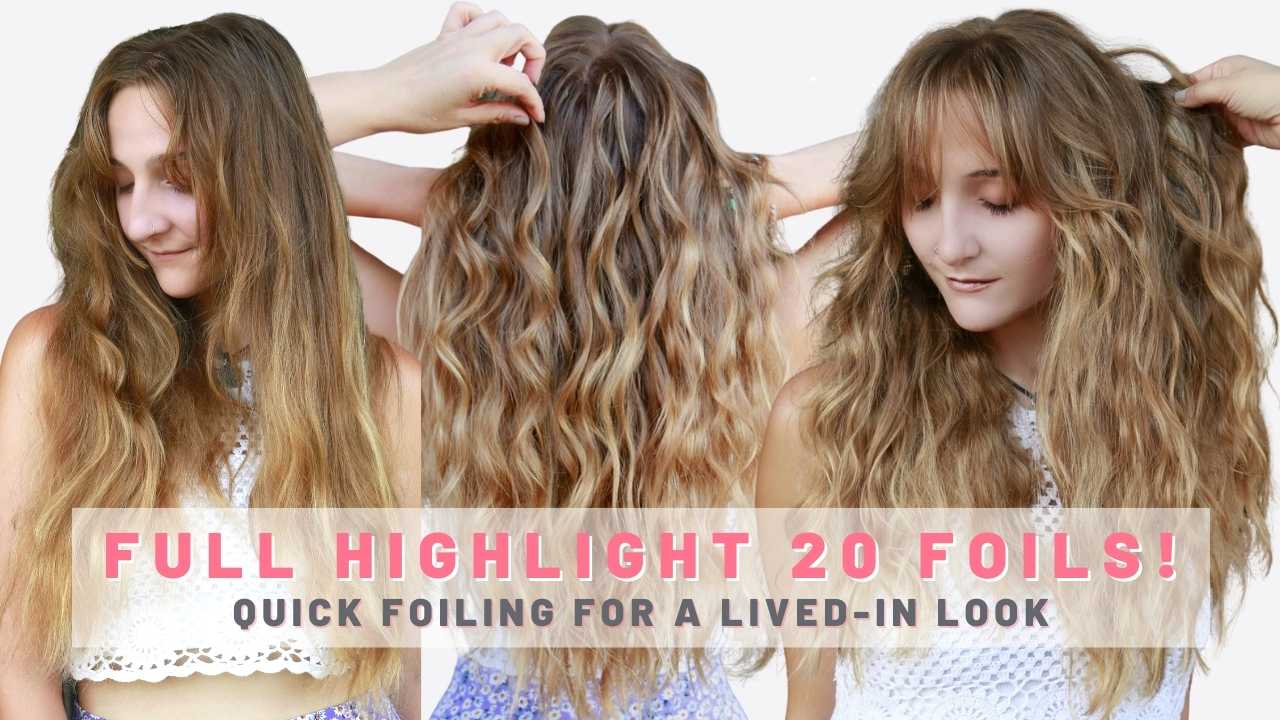
She was going for a very lived-in look, therefore it is important to create depth. If she wanted to be really bright and blonde, I would have probably gone in and done more horizontal sections.
I am also utilizing my favorite tools for this look. I already started by using Malibu CPR, and I continued by using my Framar Dreamweaver comb, my Cooboard, and my Framar 8×11 foils. Also, my power painter is a must when creating a lived-in look.
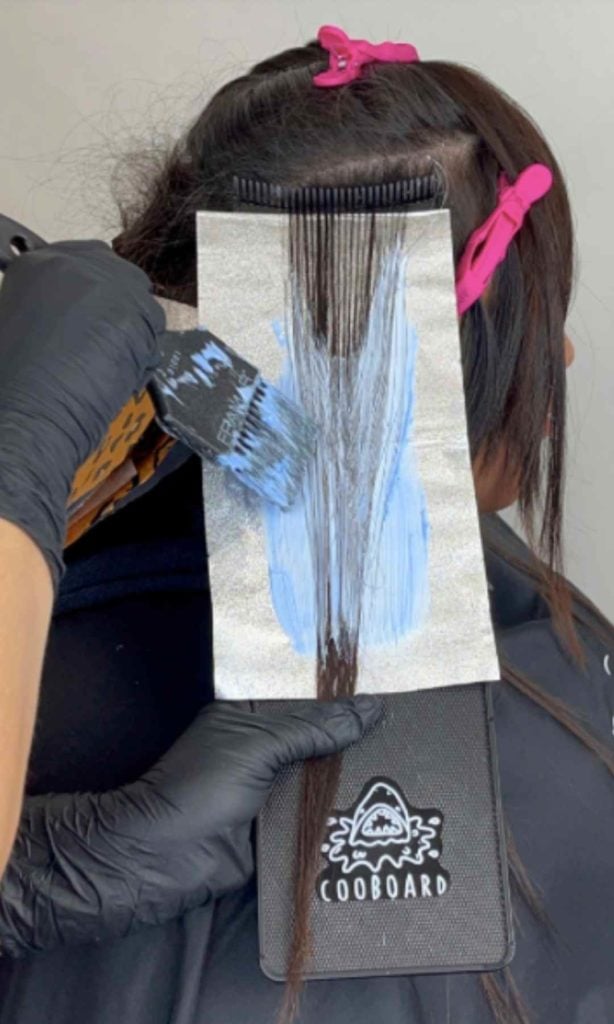
Throughout the back of her hair, I am continuing to brick lay until I get to the very top. Something to note with this look is that the more tease you do, the more blended it will be. The Cooboard is great for a perfect tease, so the further you go down, the more you will tease out.
I am using No Ammonia lightener on my client because I want a little bit of lift, but I also want it to be super gentle on her hair. I love No Ammonia lightener, for this reason, it leaves the hair feeling super soft. This lightener also is able to be lifted up to 7 levels in one application!
After I finished the back, I am moving on to the front interior. Remember, foil placement is super important. I am taking just 3 horizontal teasylights on the interior of her hair to create some brightness, but I am being very careful to angle my paint. You can see I am taking it up higher towards her face, and lower on the opposite side. If you want to see 4 different foil placements and the effects they create, click here!
As I get to the top, I am now going to create some diagonal back sections. This is because I still want it to be super dimensional and less bright up top. The money piece will still give you a lot of brightness, so don’t worry about it being too dark.
Brunettes tend to like to keep some of their natural around their hairline, so for her money piece I am taking a weaved teasylight on both sides of her hairline. On top, I am going to take a 1/2-inch section and weave out the back of that section. This will give her a very natural look that she can grow out without having to get it touched up every couple of months.
USE CODE MIRELLA FOR 10% OFF DONNA BELLA HAIR EXTENSIONS!
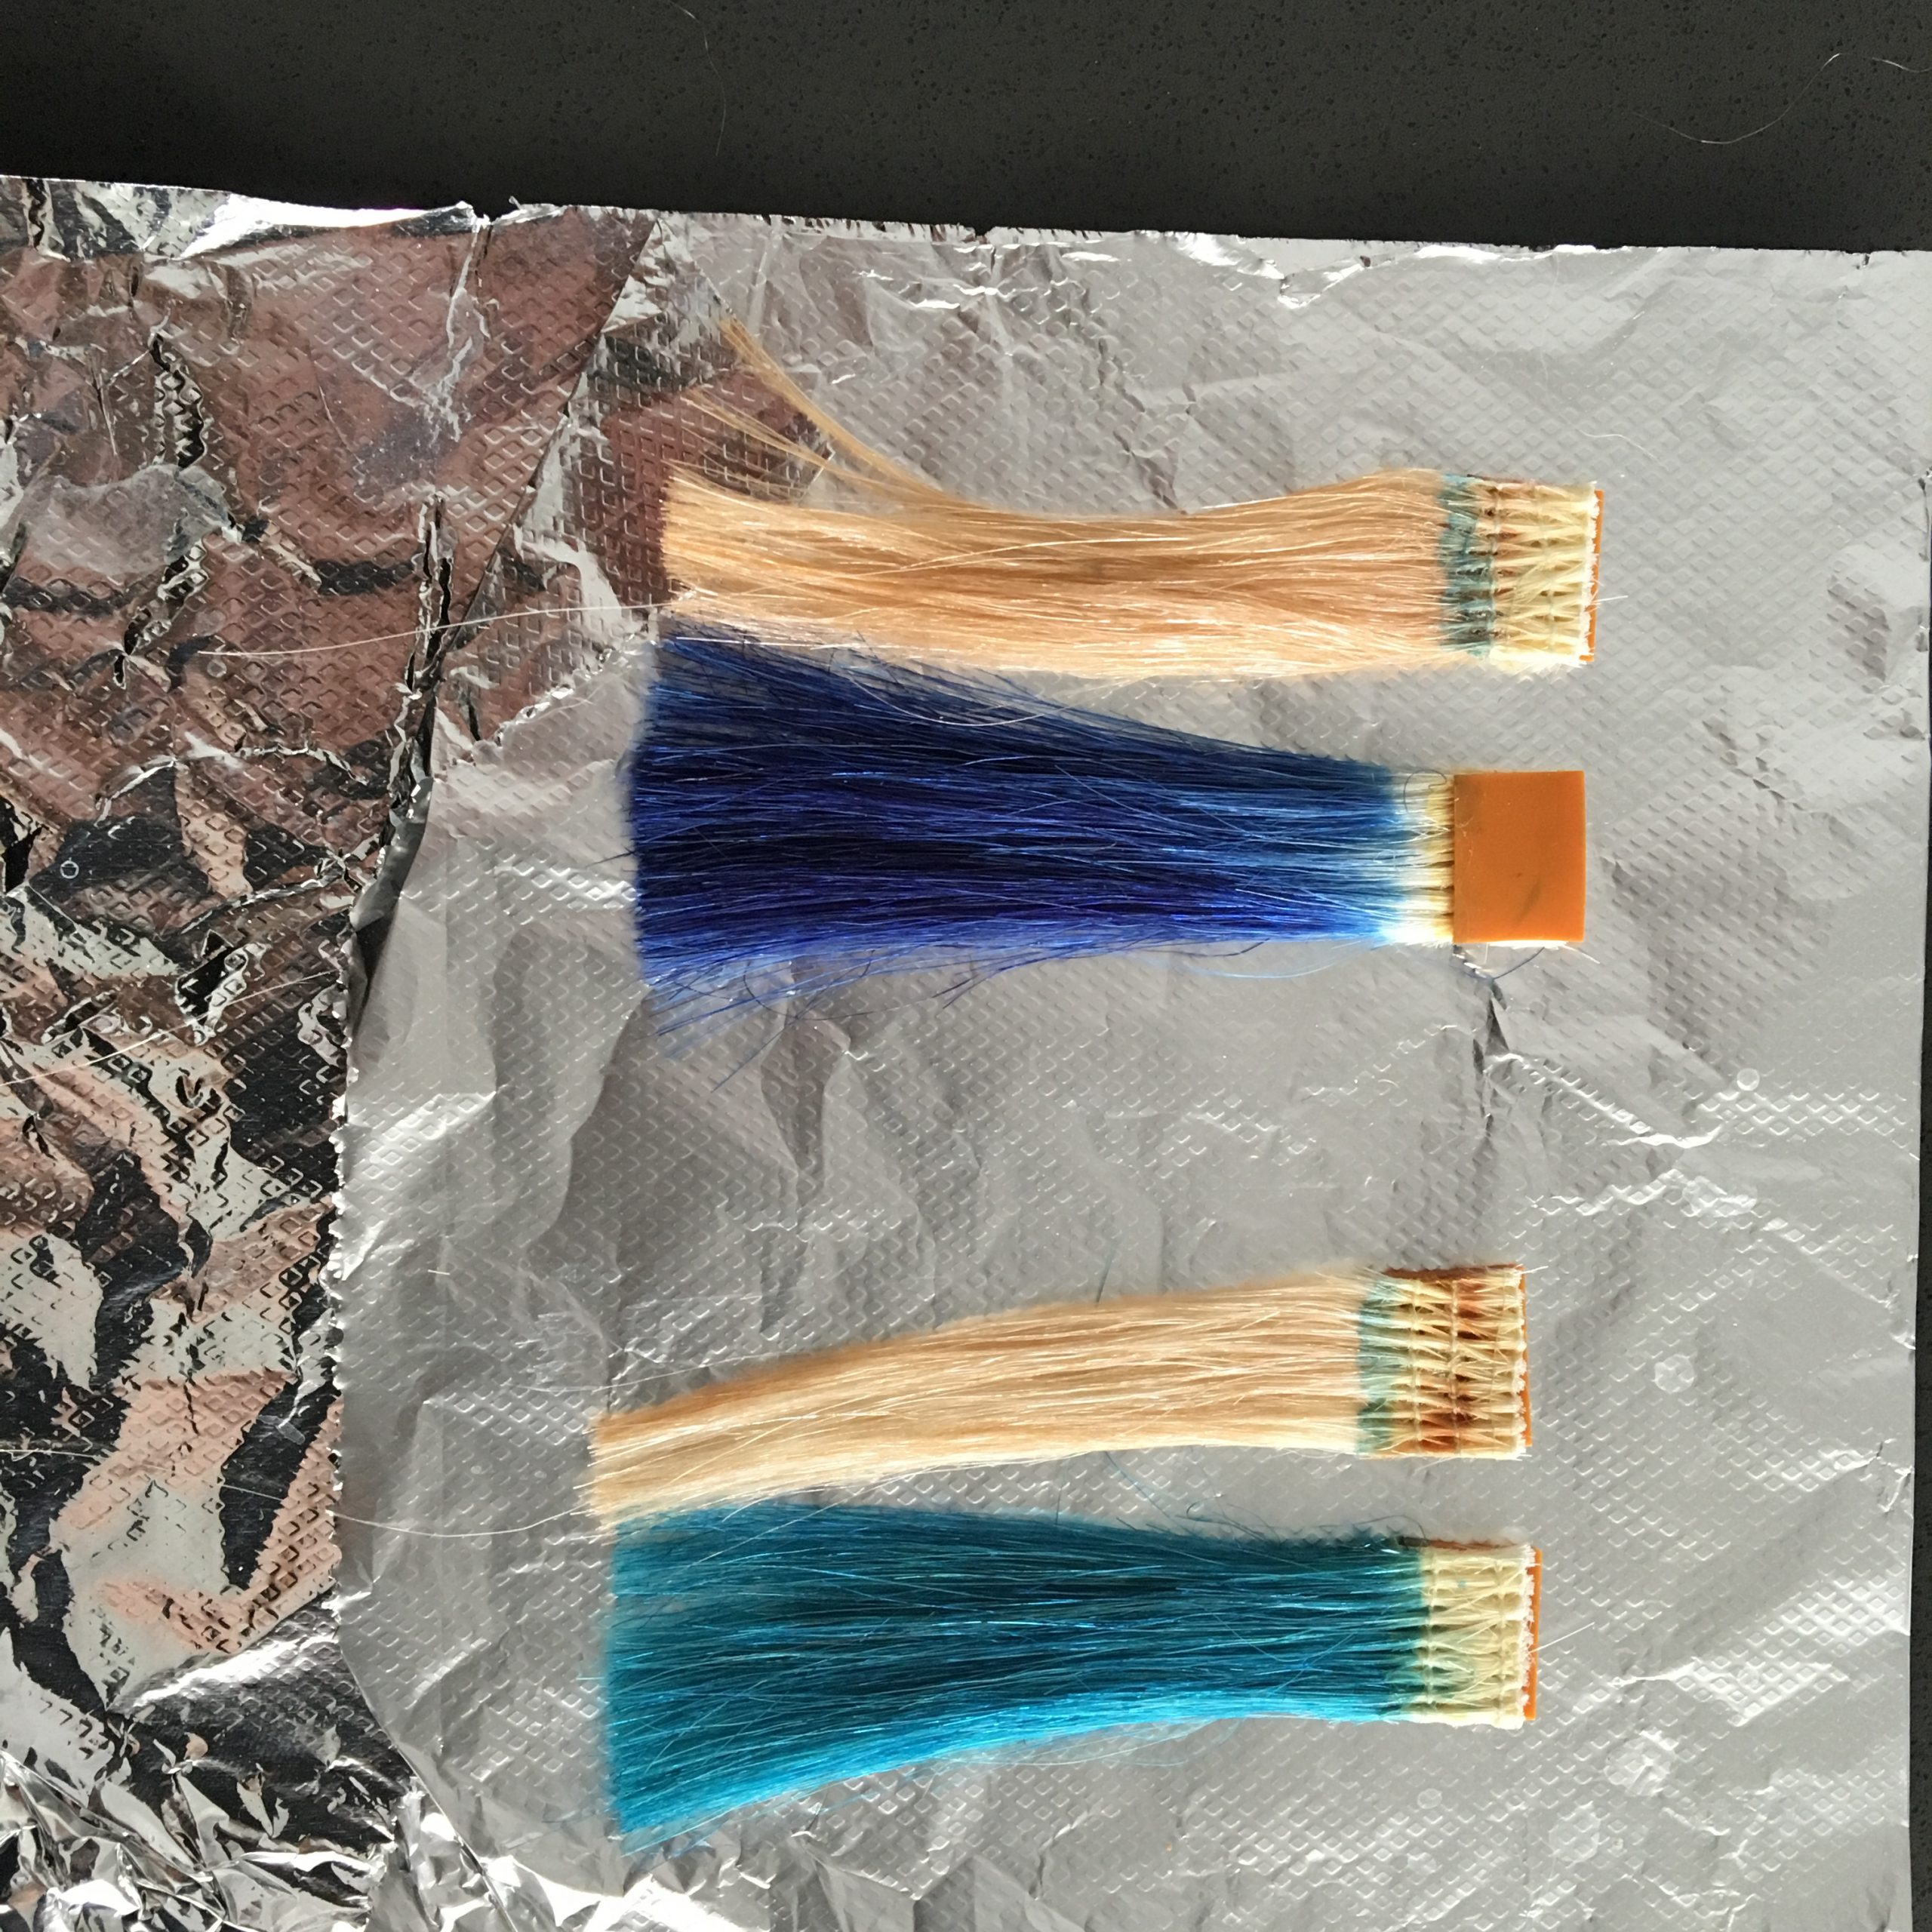
While my client is processing, I am going to prep her extensions. We are just looking for fullness, so I am taking a half pack of Donna Bella hair extensions in color. First, clarify the extensions with Kenra Professional Clarifying shampoo. I am then using Kenra Studio Stylist Express 10 in 6NB minute color to melt down the base on the extensions.
I always recommend doing a color melt on wet hair to make sure they are fully blended. Then, I blended it into 9G in the SSE line. It is important to also use the Porosity Equalizing Spray by Kenra because it really allows the color to take evenly on the extensions.
After 10 minutes, her extensions were done, so I rinsed and prepped them for the installation. Once my client was done processing, I started applying her final glaze formula. On damp hair, I used 5G from SSE and blended that into 8NB and 9G. We wanted this for mostly grey coverage, and the 5G will cover all of her grey 100% even on damp hair for only 10 minutes.
When creating the perfect colormelt, I like to comb through every section with my Framar The Emperor Color Brush. This brush gives me a lot of control, but I know that I won’t drag the color too far down and it will give me a beautiful blend every time.
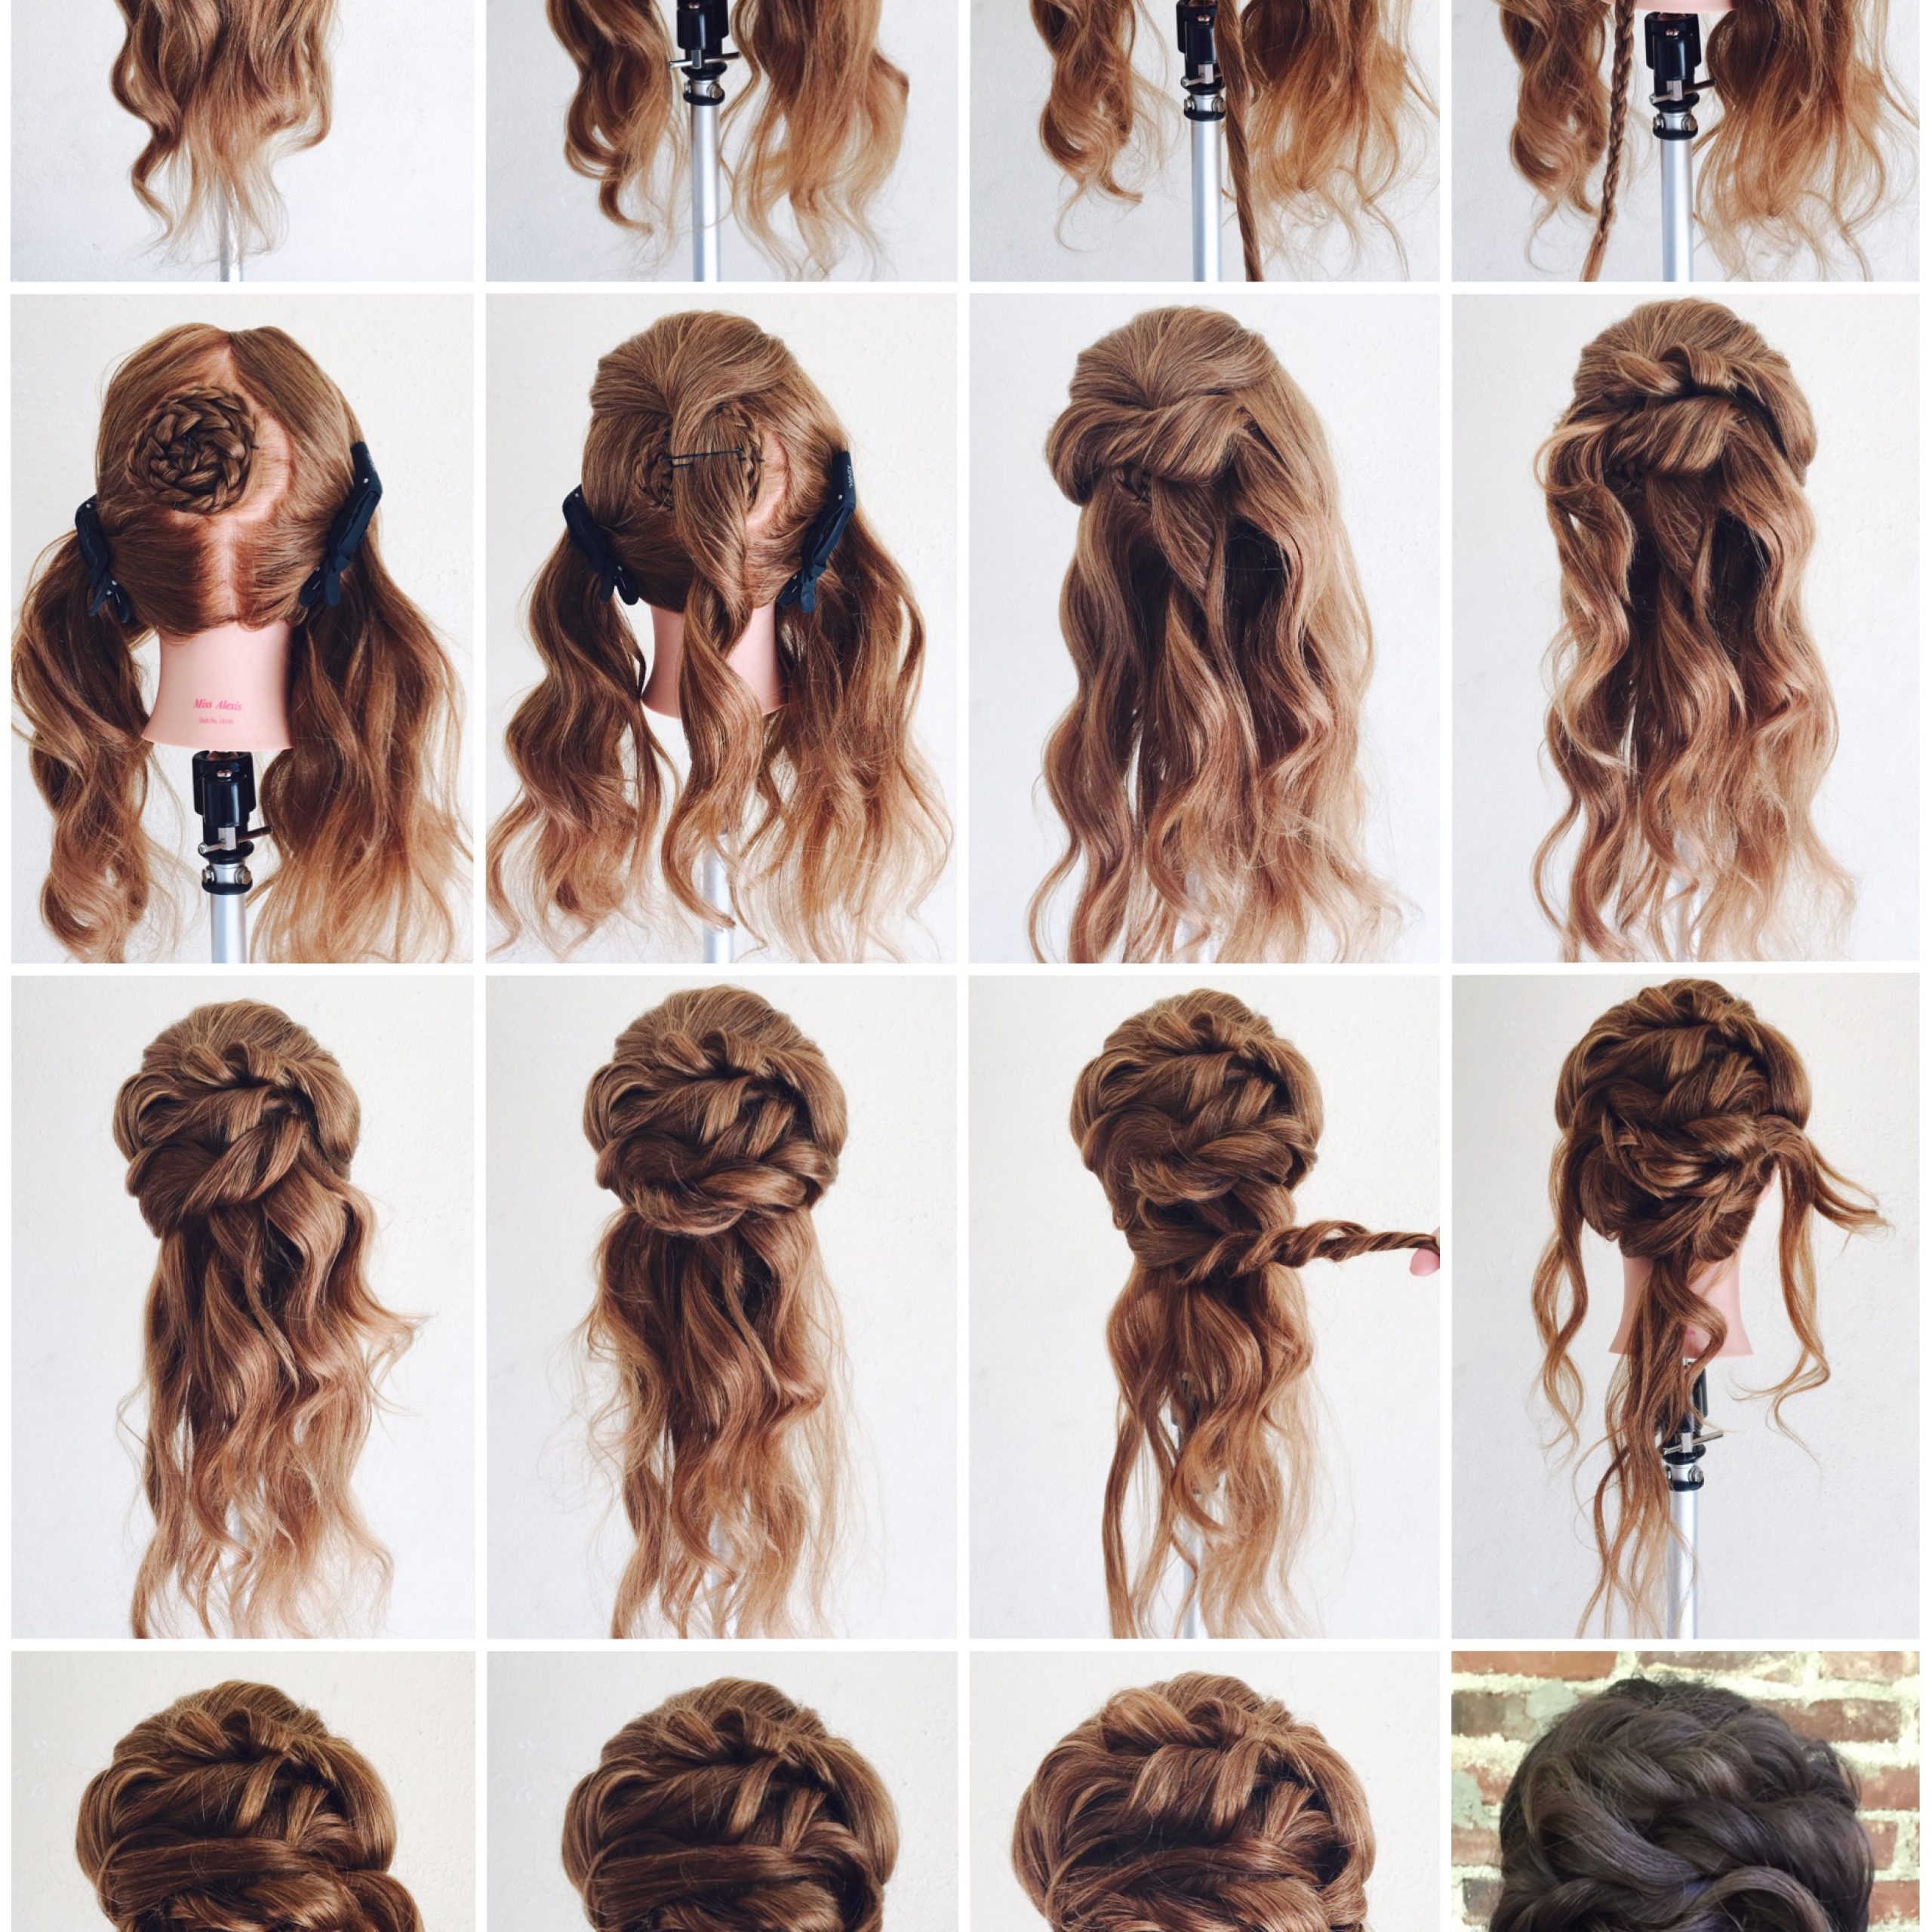
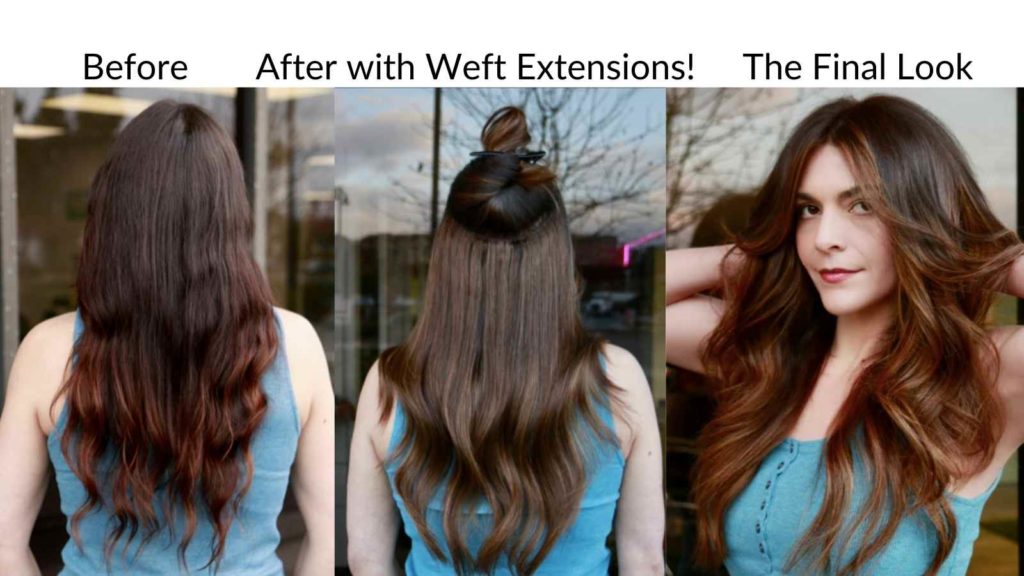
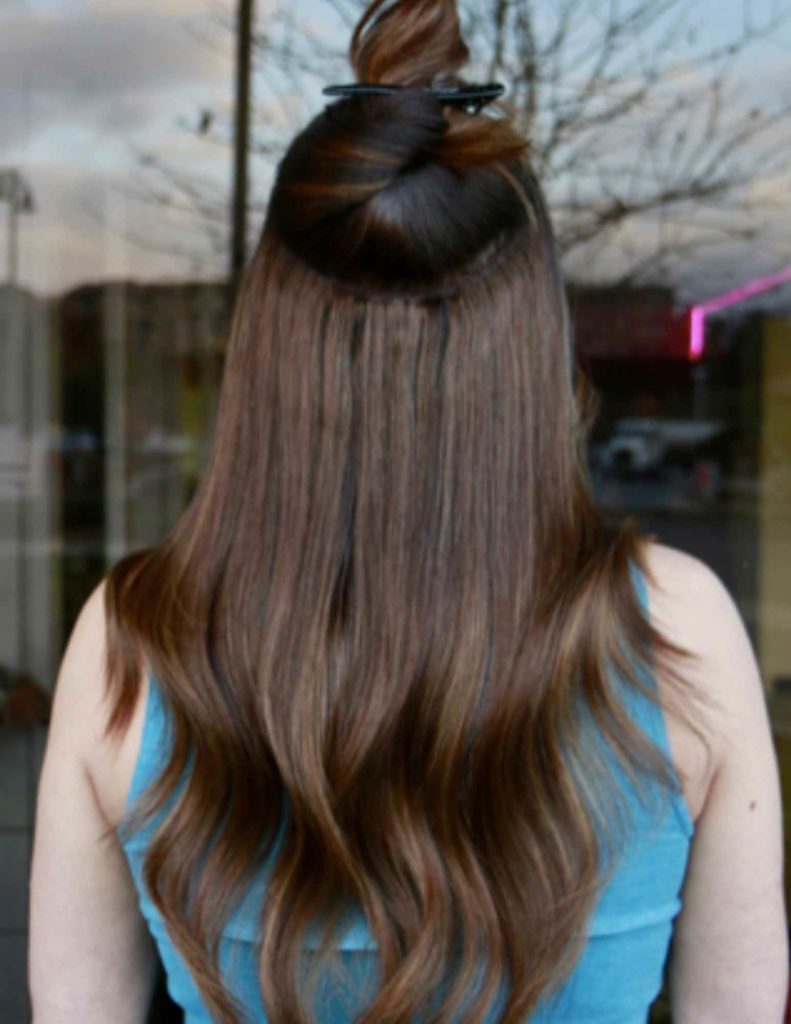
Once we rinsed and dried her completely, it is time for extensions! We are only doing one row, just for volume. To create a beautiful blend, I always like to create a really deep horseshoe section. Make sure you are high enough away from the hairline that you won’t see the extensions, and you can do that test with a rat tail comb. Simply take the comb and lift the hair on top of it and if you can still see the comb, you can see the extensions!
Always use silicone beads when doing weft extensions because they will not slip. If you use other types of beads, it is likely they will slip. After inserting all of your beads, properly measure your extensions and secure them in place with your Donna Bella mini clips.
When sewing your weft into place, start a couple of beads back. This step is super important when securing your weft into place. Always sew on the right and left sides of the bead for maximum security. When tying off your weft, go back a couple of beads like when you started. This is to ensure that if the weft unravels, it doesn’t completely fall out.
Benefits of Malibu CPR Color Remover
As stated on thier website, Malibu CPR:
- Releases unwanted pigment from oxidized hair color
- Removes up to 3 levels without removing the natural pigment of hair
- Preserves the integrity of the hair
- Removes mineral and other buildup from hair
My favorite tools for Hair Extensions
Donna Bella Strand Organizer – Can you believe I JUST found out about this?!? This amazing strand organizer changes the hair extension installation game for good. The Donna Bella Strand Organizer will keep all that loose hair suspended and secure while you work. You don’t need two trays any longer, just simply place the hair over this stand and yore good to go! Shop Strand Organizer here!
Donna Bella Mini Clips– If it weren’t for these mini clips, I would be lost when doing extensions! They are a must-have, and the best part is that you can use a million of them and they don’t get in the way! They rarely slip and are perfect for getting rid of any flyaways. Shop Mini Clips here!
Donna Bella Luxe Tool- This tool is the ultimate tool for hair extensions. Not only is it ideal for inserting silicone beads for weft extensions, but it is great for removing them as well. It also has a grooved part that allows you to easily remove Keralinks as well as I-Link hair extensions. Shop Luxe tool here!
Donna Bella Loop Tool- A must-have for I-link and Silicon bead hair extensions! You are easily able to insert the beads on the loop tool and it slides off into the hair perfectly. Shop loop tool here!
USE COUPON CODE “MIRELLA” TO SAVE 10% OFF YOUR DONNA BELLA PURCHASE!
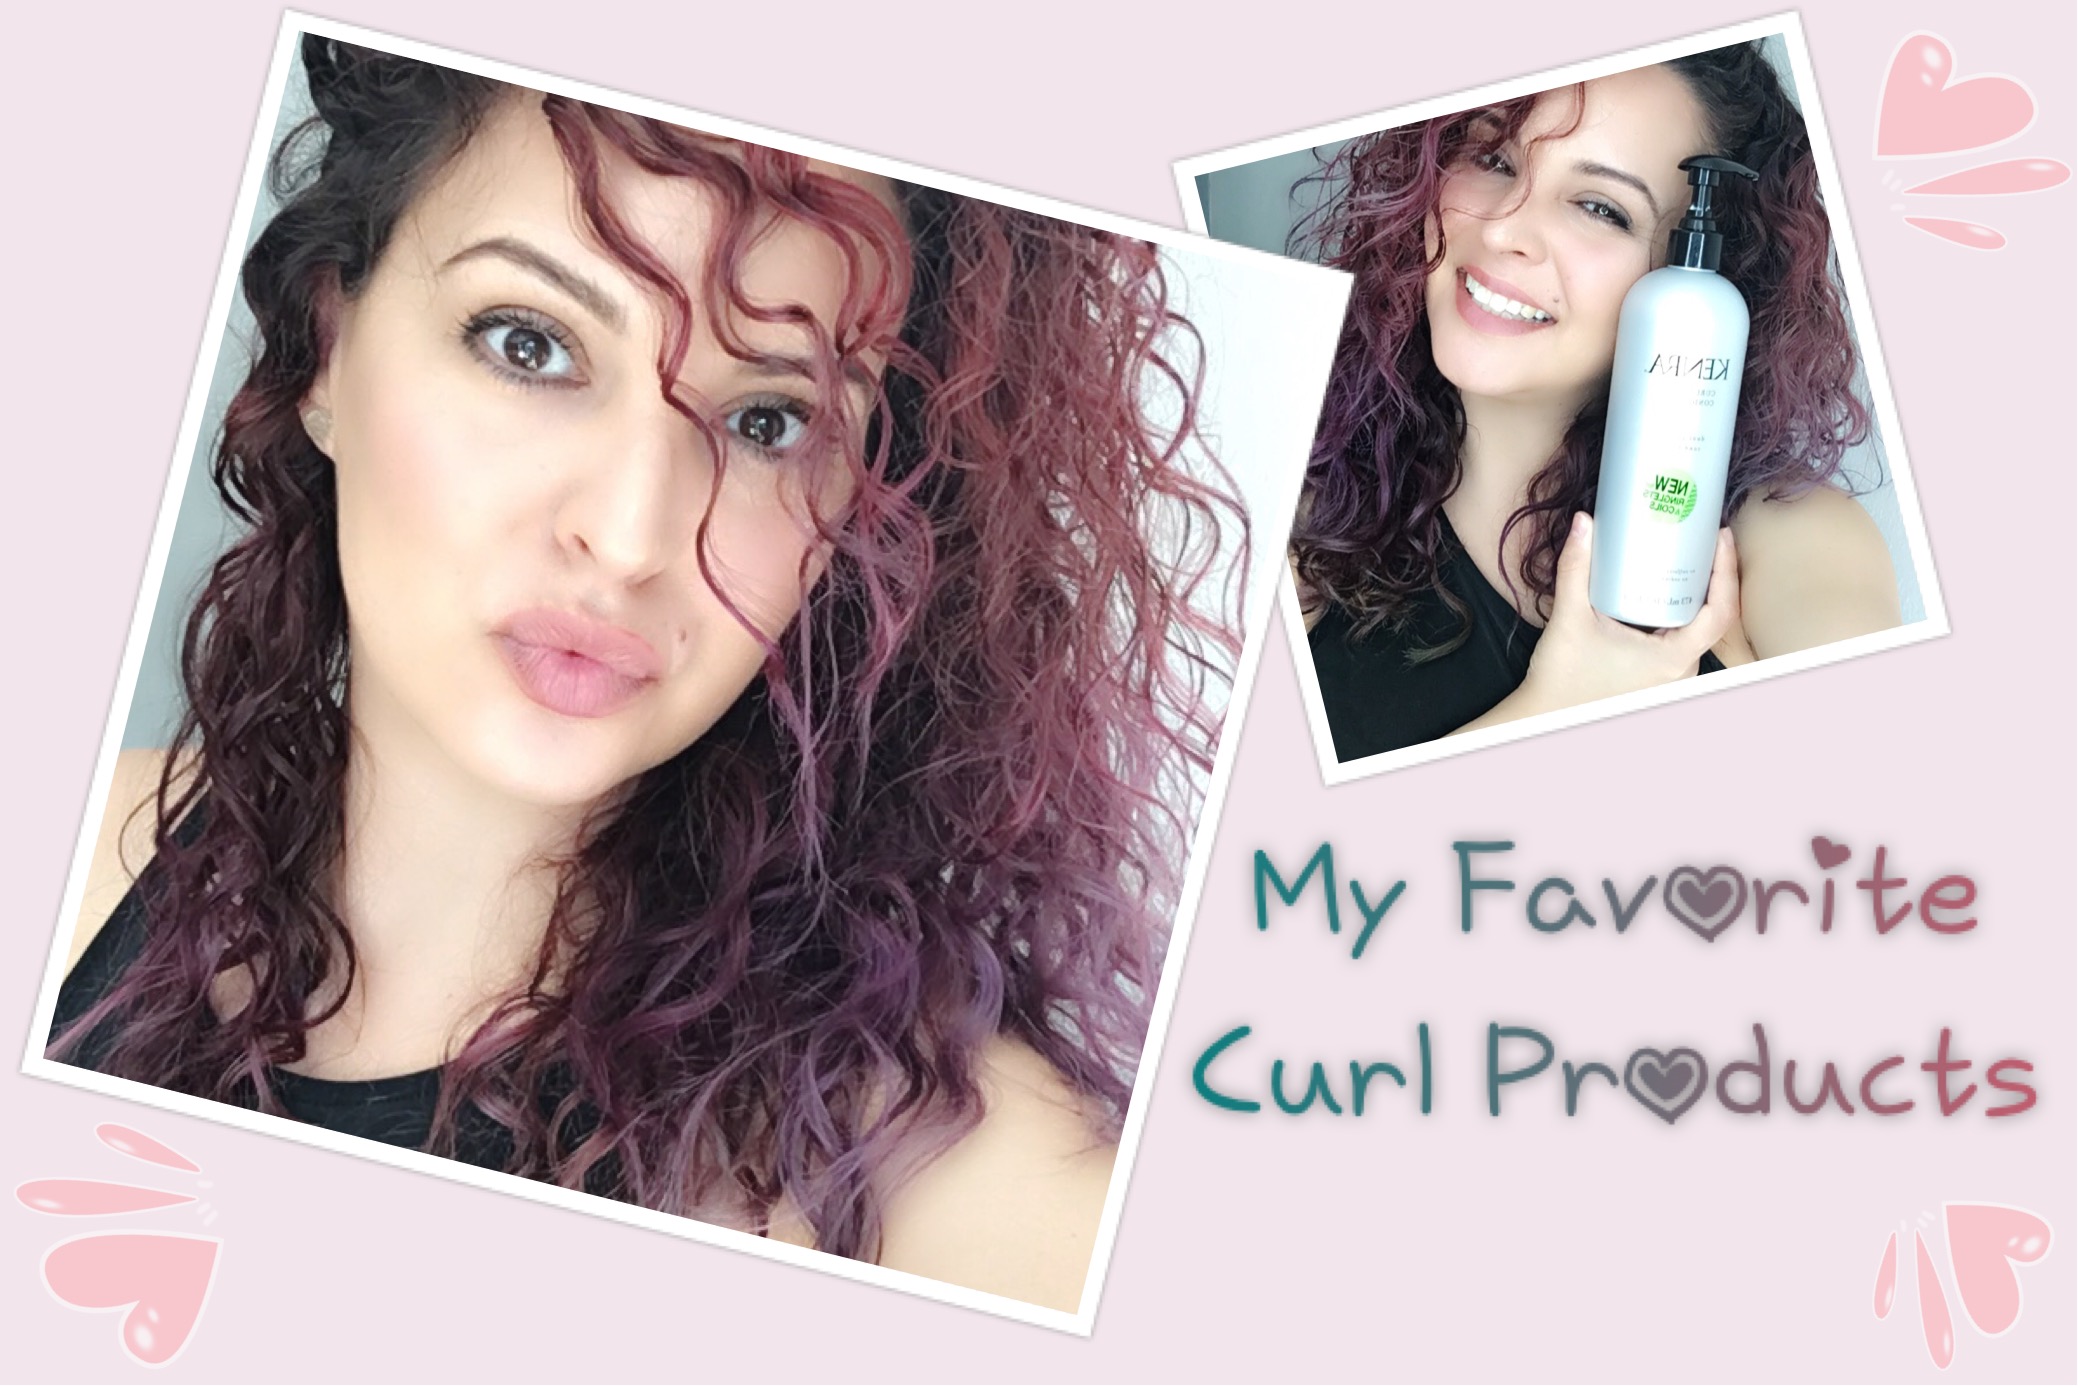
In this blog, I go over the best styling products and tools for hairstylists! They have completely changed the game for me!
In this blog, I go over the best styling products and tools for hairstylists. These are my absolute favorite hair tools and products for beginners and seasoned stylists! They have completely changed the way I do hair and I simply can not do a client without them. From styling tools to balayage boards, read on to find out my favorite hair tools and products!