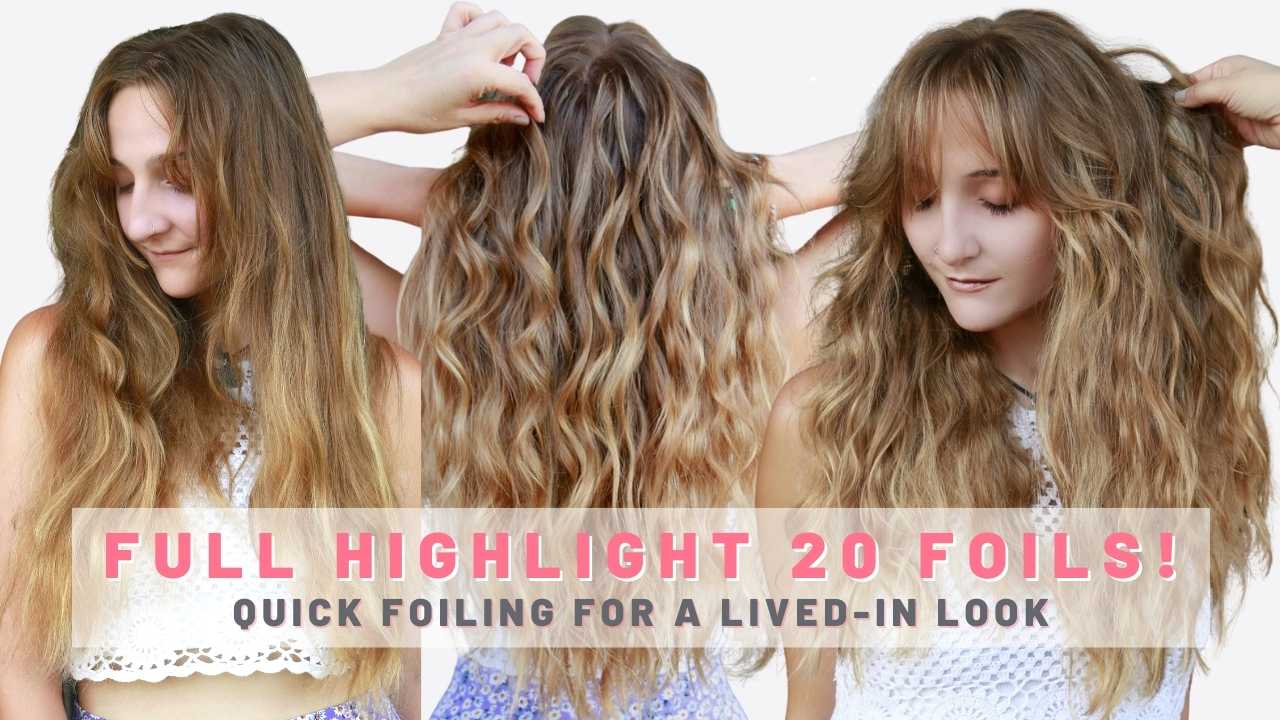


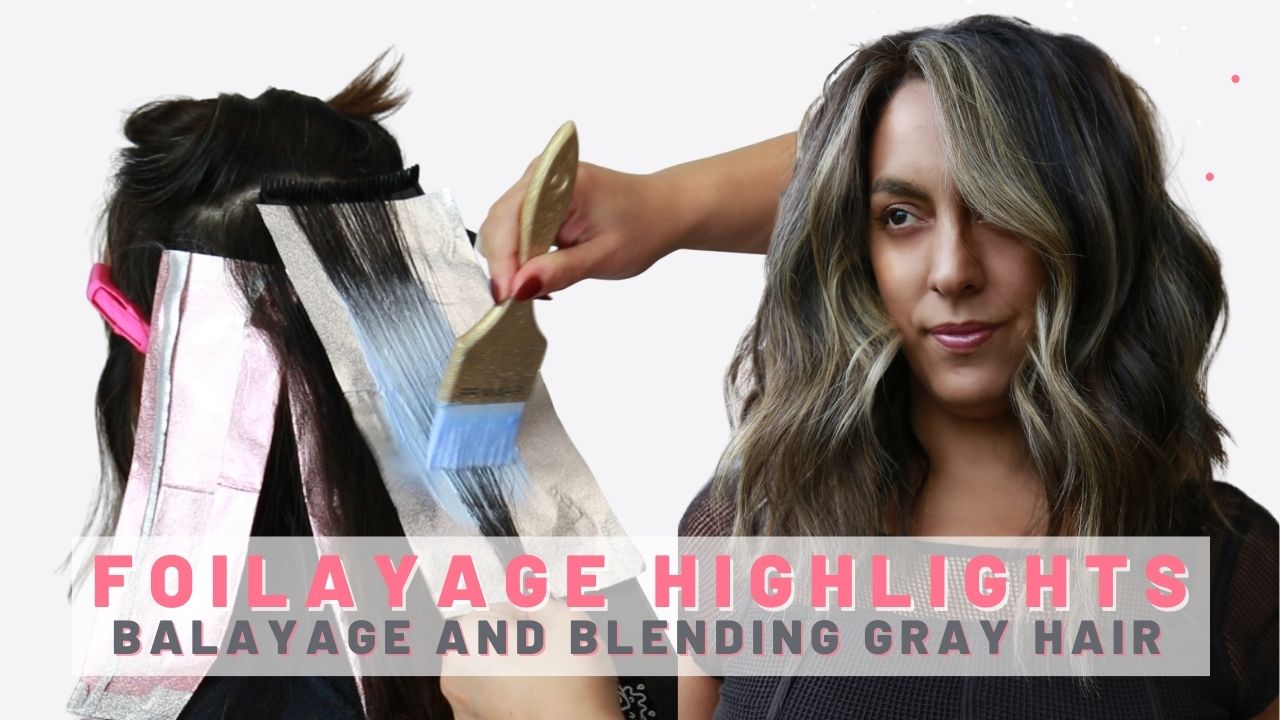
In this video, I show you how to do a balayage with foils, a technique more commonly referred to as a foilayage!
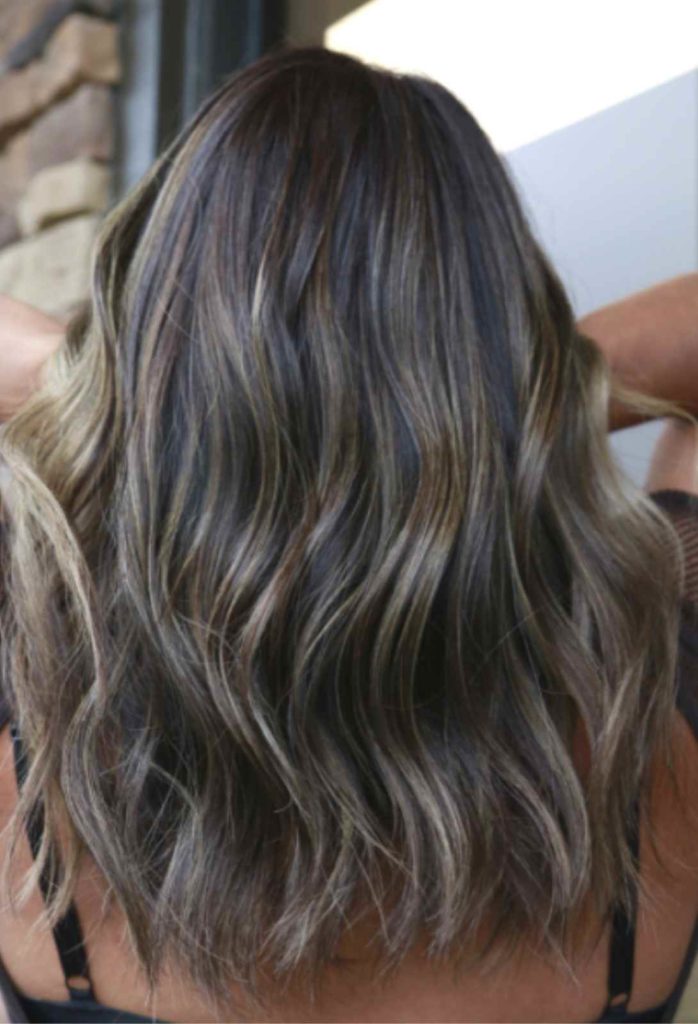
In this video, I show you how to do a balayage with foils, a technique more commonly referred to as a foilayage! It is a great way to help keep dimension while blending out grey hair. It is amazing for all hair colors!
A tip that I have when doing gray hair is always look at the natural growth of the gray. It is important to keep in mind when foiling where the gray hair is living. This is going to affect how your look grows out, so you want to work it in with your sections. For example, my client has a lot of gray around her hairline so I am going to use that to my advantage instead of trying to hide it.
She has a beautiful natural money piece so I am going to foil a natural money piece to help blend it out rather than covering it up.
The Process
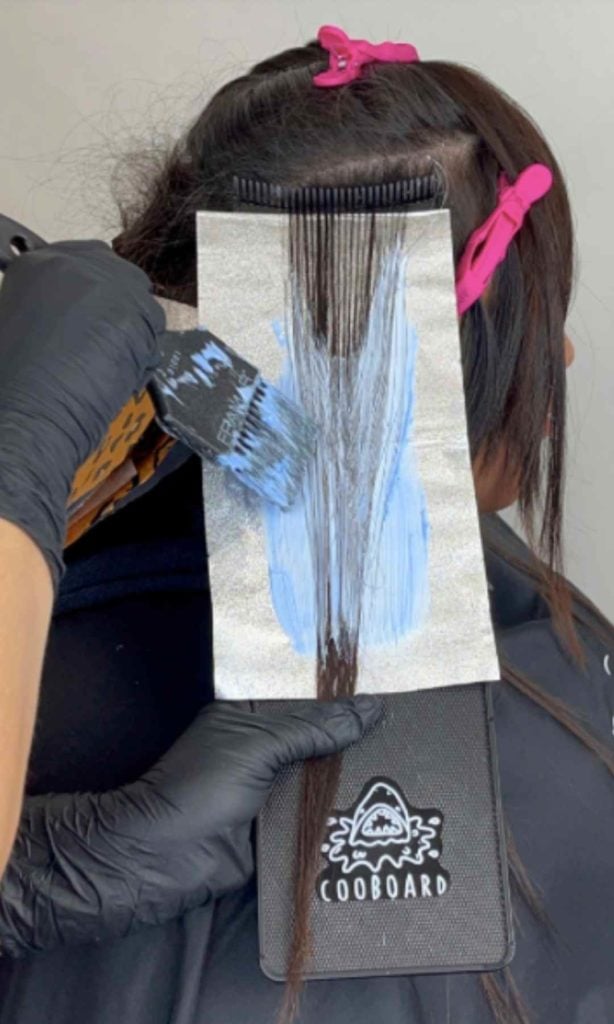
Since we are going for lots of depth, I decided to do a partial highlight. I love to make my life a little easier, so I made sure to use my Coo Board to help me keep the tease clean and my Framar Dreamweaver comb to help get the perfect weaves. I love using a Coo Board when doing a balayage or foilayage because it helps keep tension while I am painting.
CLICK HERE TO SHOP COO BOARD
Taking a V section throughout the back, I am taking a quarter-inch section and my Power Painter by Framar to really give a blended look. I am going to create an angle with my lighter to create lots of depth. I want it to be deeper towards the center and higher towards the exterior of the hair to accentuate the highs and lows. This technique will give you lots of blend and dimension.
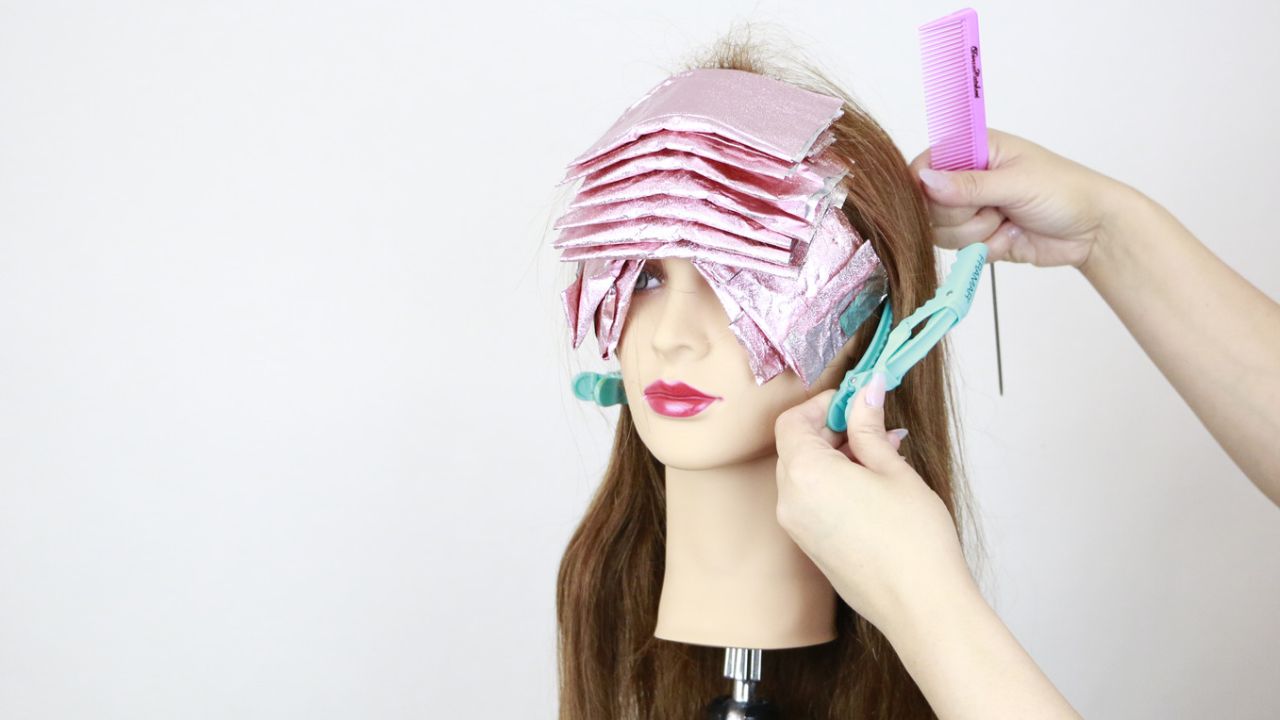
I am alternating my sections between diagonal sections and horizontal sections, called a brick lay application. This is to ensure depth on the diagonal sections and brightness on the horizontal sections. Sectioning is super important when you are going for a particular look, one size does not fit all. CLICK HERE FOR 4 FOIL PLACEMENTS AND THE EFFECTS THEY CREATE!
As I get towards the top I am taking triangular sections around the head and working my way up to horizontal sections on the top of her head. This will blend out the gray hairs on the top of her head without having to cover them since they are fairly random.
As mentioned, she has a lot of gray around her face. So as we get closer to the hairline I am going to take smaller subsections. I am using my Dreamweaver comb by Framar to create baby lights. My goal is to create the perfect mix of babylights and her natural gray hair.
CLICK HERE TO SHOP FRAMAR
Around her hairline, you want to keep in mind that the hair is a little bit more fragile. It is the first place that hits the sun, it usually gets treated with a flatiron or blowdryer the most, and overall the hair there is just finer. You want to work there last because it can process faster due to those factors.
I like to create back-to-back babylights around the hairline for optimal brightness, but it will also help blend her grays. Be very careful you do not overlap the lightener on the previous blonde hair. Let your client process at room temperature.
Once I am happy with the lift, I am going to blend her out with Studio Stylist Express. I am isolating the front money piece for maximum brightness. SSE is a 10-minute gray coverage color, so I am starting from the bottom and working my way up to fully blend out the color.
After I apply the SSE, I want it to fully blend so I am brushing it out with my Framar brush. SSE only needs to be on for 10 minutes, so you have to work quickly, you can intermix the SSE with the demi-permanent line from Kenra, so I am able to tone at the same time. Remember, work quickly!
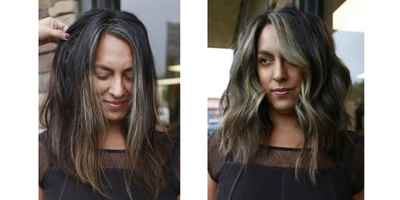
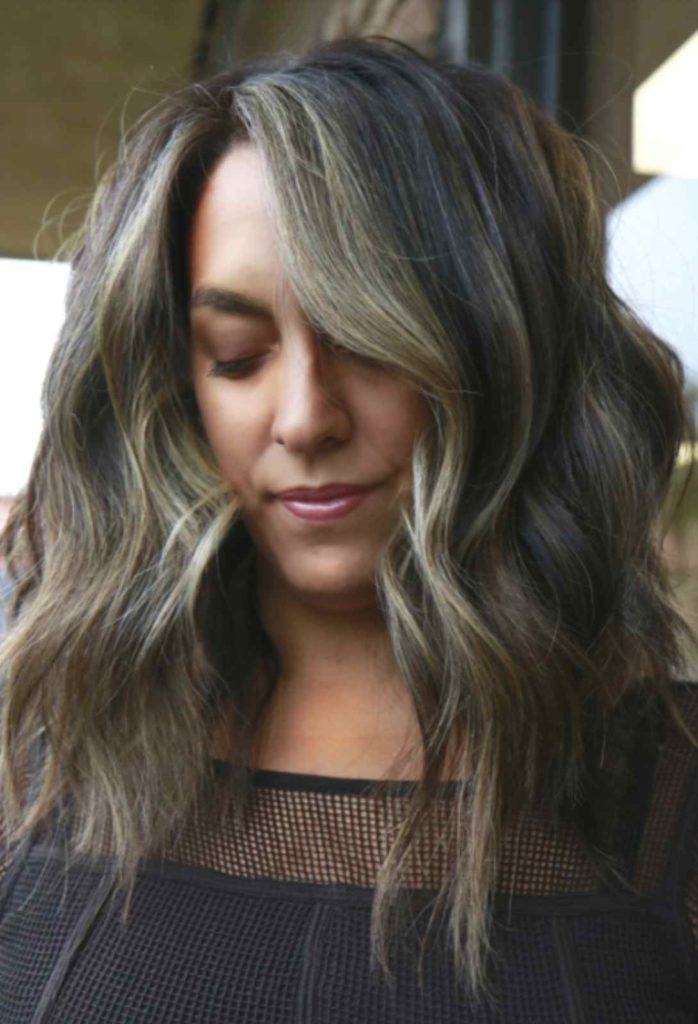
I let that process for a couple of minutes, I rinsed her out and prepped her for styling. I used my beloved 1 1/4 Marcel Iron from Hot Tools and sprayed it with Kenra Throwback Volume Spray! It creates long-lasting curls with no stickiness or crunchy hair.
Traditional Balayage versus Foilayage
Yes, there are a bunch of different names for the same technique, so what’s the difference? Balayage is a hair technique that is essentially painting the hair. Traditionally, you do not put it in foil and you paint the top sections of the hair. You can do this with clay lightener and it is SUPER aesthetically pleasing, but if you do this on everyone it may not turn out as good.
Click here to watch a traditional balayage technique!
If you try a tractional balayage on level 1 hair, your client may end up with orange hair. This is because clay lightener can only lift around 3-4 levels. So, if your client has dark hair, you may want to use a foilayage technique like in the video. Unless they are looking for a dark brown look then go for it!
Click here to watch a Foilayage technique!
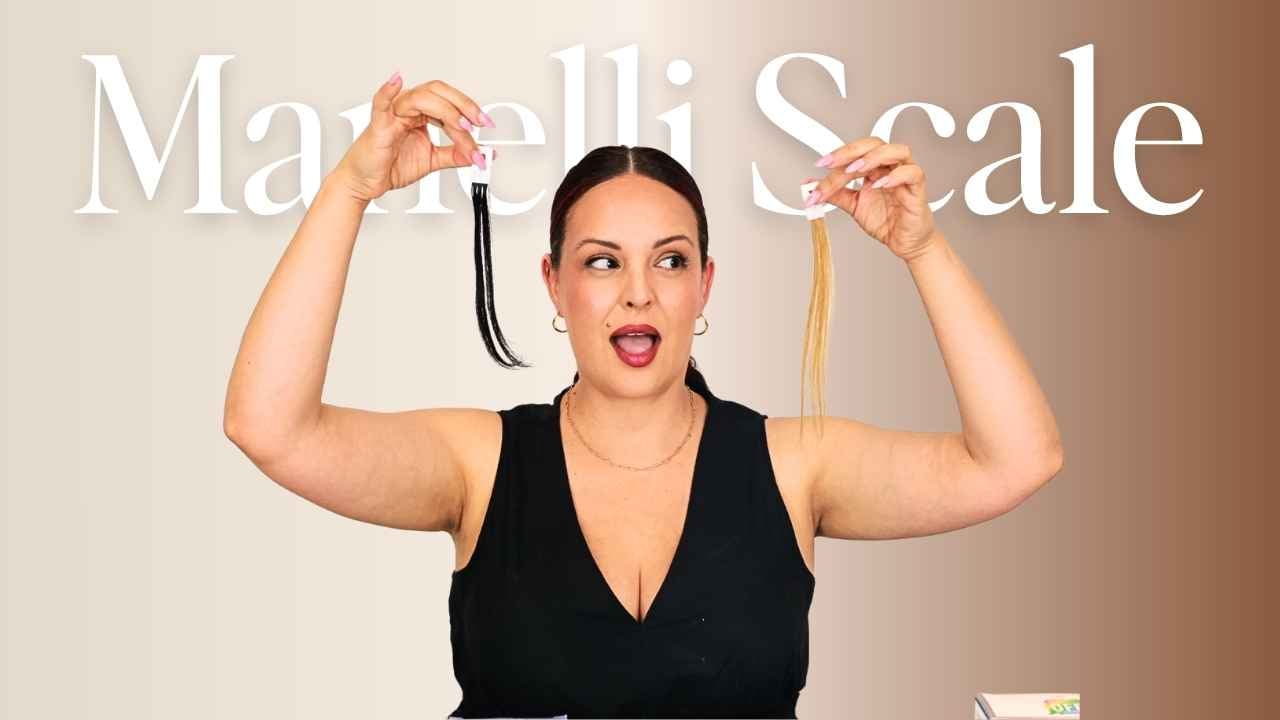
Typically, for a traditional Balayage you want to do it on levels 7-10, and for a foilayage you want to do it on levels 1-6.
My favorite balayage and teasylight tips
- Always use a power painter with a balayage or teasylight, it creates maximum diffusion and you do not want any harsh lines when doing balayage.
2. SATURATION IS KEY! The reason your balayage may not be as light and bright as you want it is because of saturation. The more lightener you use, the better and more even it will lift.
3. I always love to tease the root, because it will give it the best diffusion without a colormelt.
4. No matter the length of the hair, I like to use a balayage board to I can get proper tension and it allows me to make sure everything is fully saturated.
5. Use the proper lighter. This will directly affect your end result. If you use a clay lighter on level 1 hair, you will not get a light and bright blonde.
Benefits of SSE
SSE is extremely fast and super easy to use formulation lifts and covers gray hair in 10 minutes. It is formulated to nourish, protect, and condition hair through the coloring process. What’s nice about this color line from Kenra is that there are 15 permanent shades designed to process in record time to help cover grays, brighten blondes and enhance brunettes.
I love to use it as a colormelt, because I know it will blend harsh lines and fully deposit in 10 minutes. I also use it as a base breaker to lighten and shift the natural hair without any warmth.
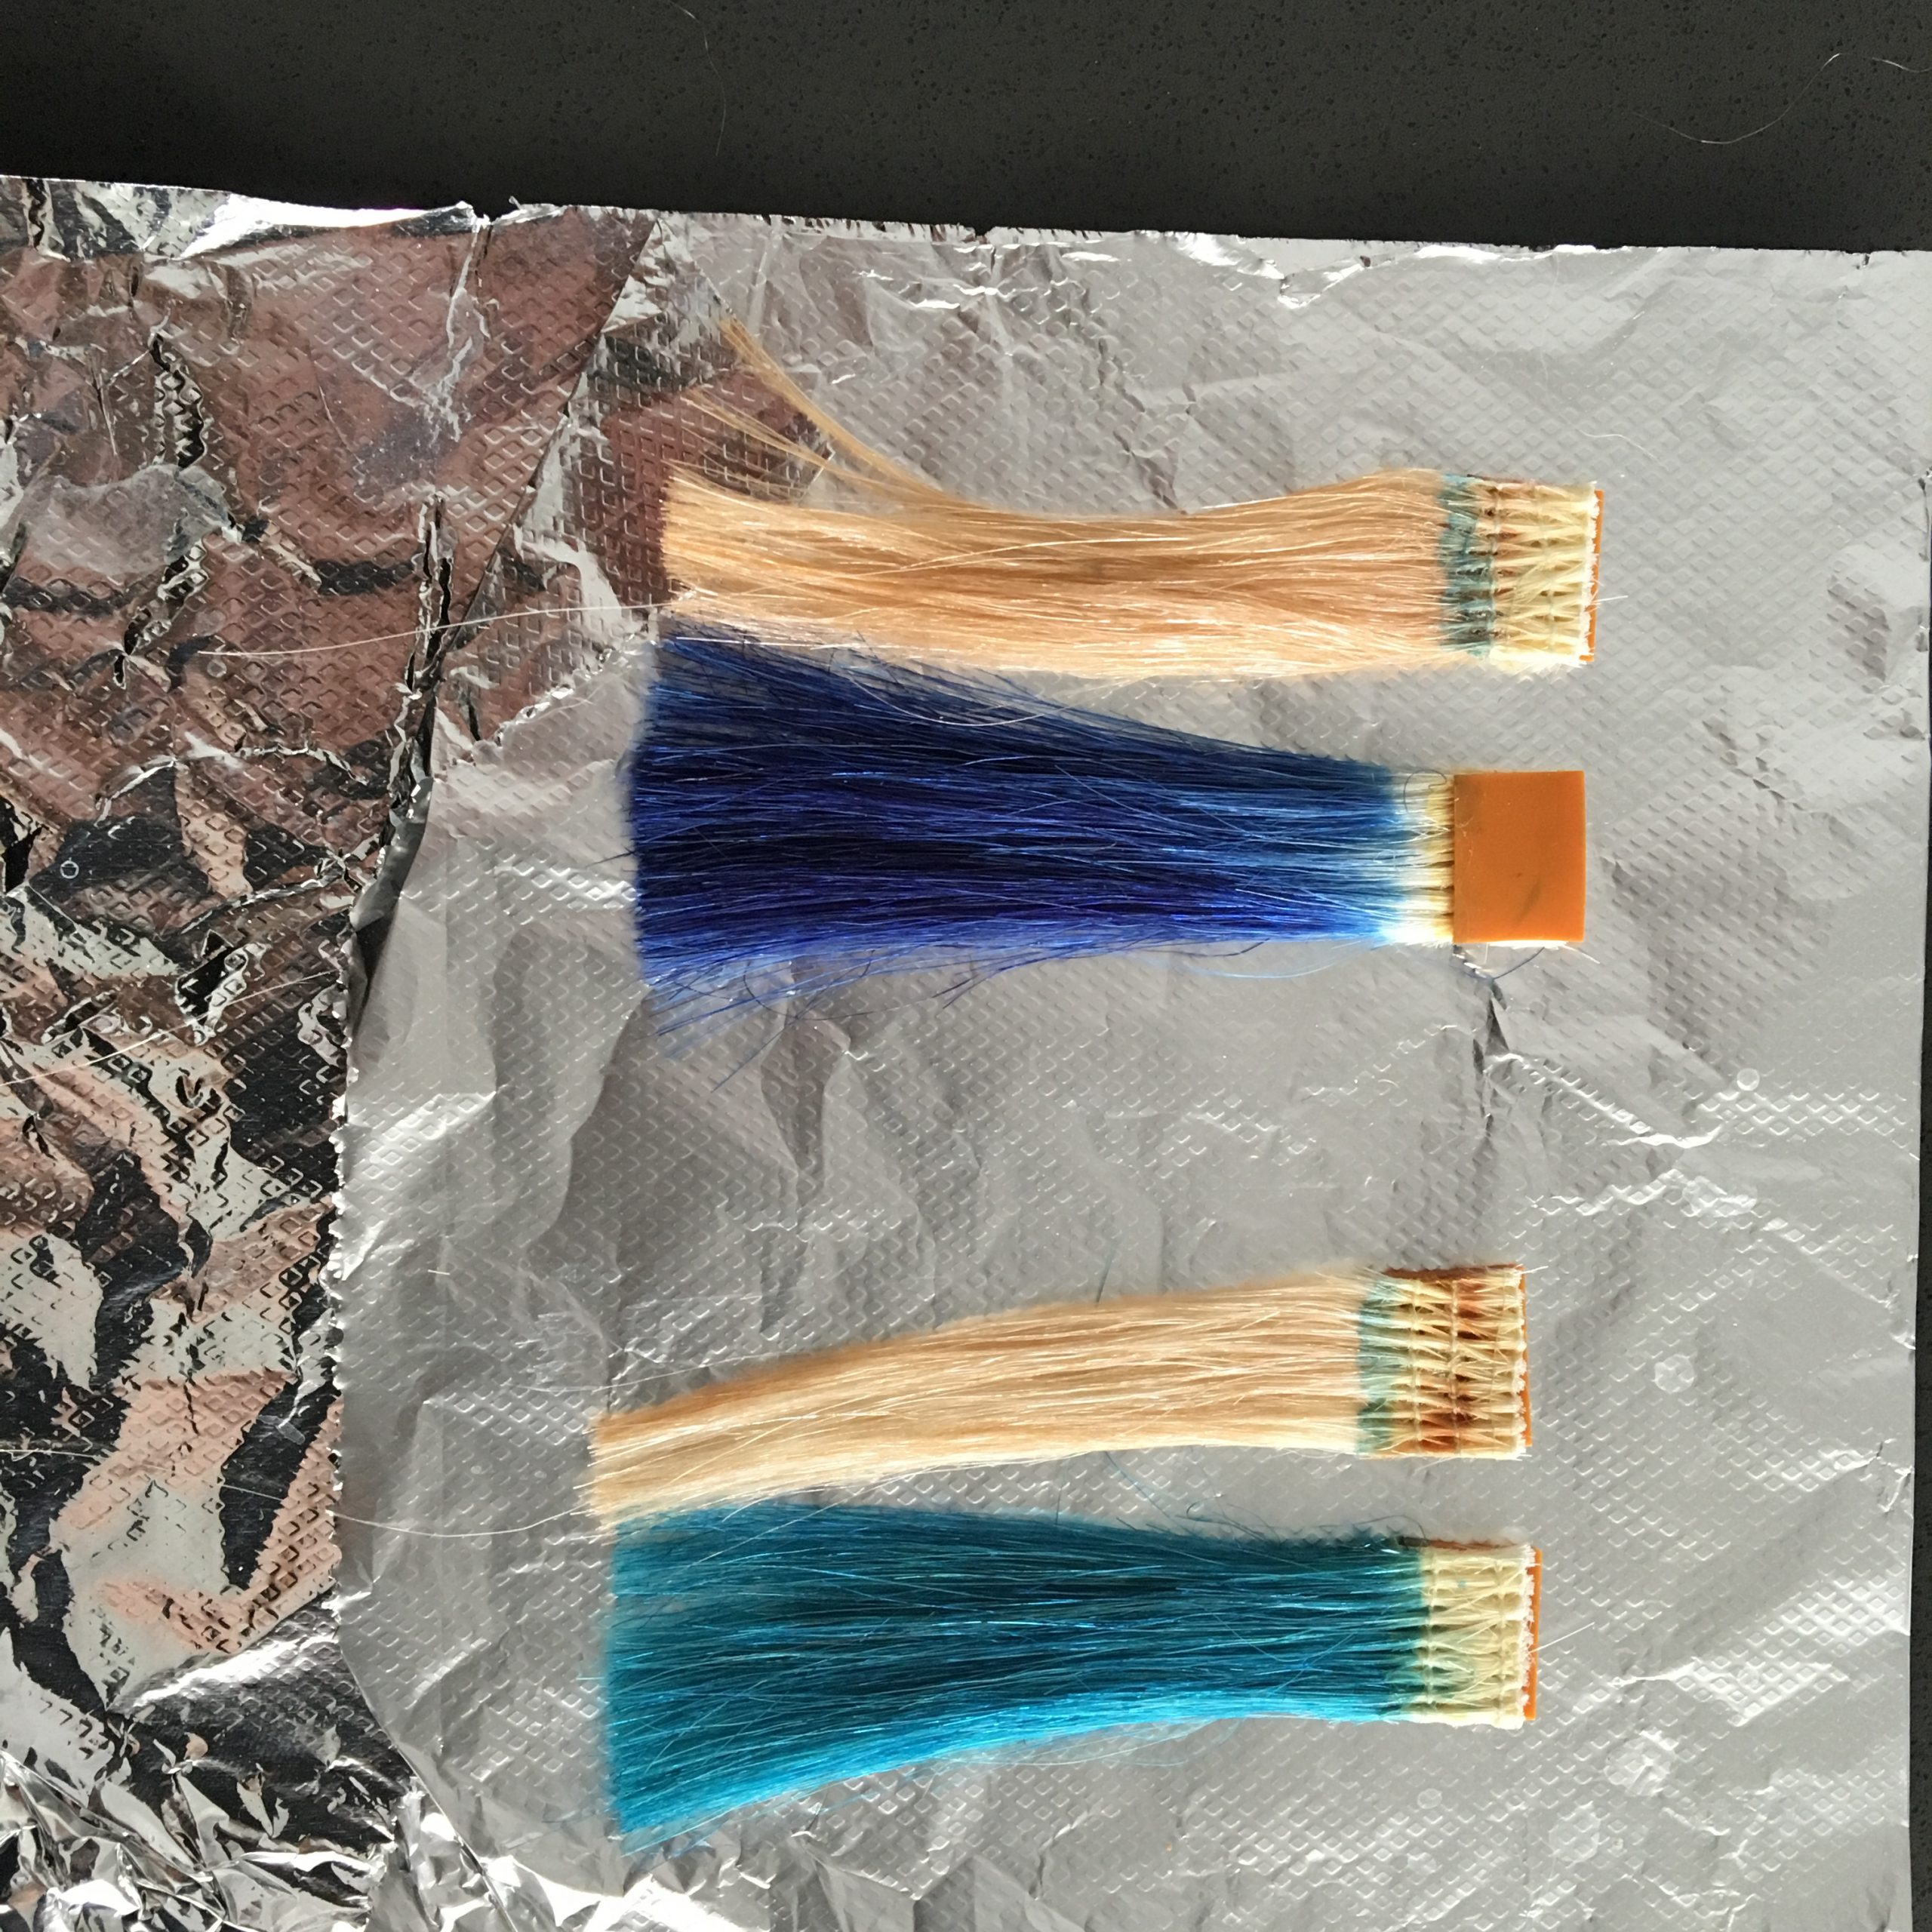
Formula
Blue Powder Lightener 20vol
Studio Stylist Express 6N and 5A
20vol Demi 7SM 9vol
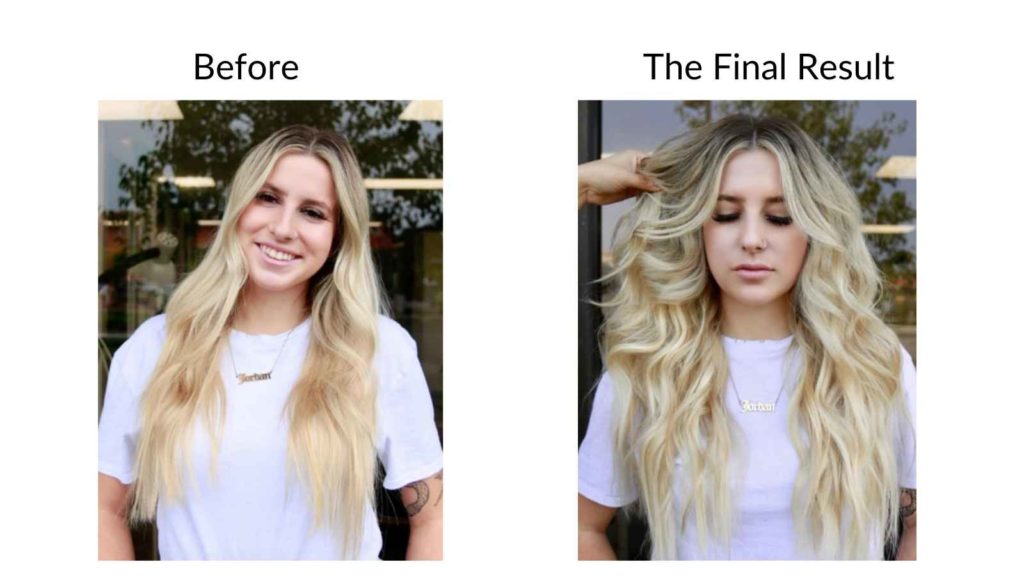
One of the best extensions for fine hair are hand-tied wefts! Using all Donna Bella hair, I am going to show you how to do an easy weft install!
Fine hair is a tricky one! You want to keep in mind that most fine-haired girls are nervous about extensions because they don’t want to damage their hair and make it even finer. Obviously, it’s never the goal to damage your client’s hair, that is why one of the best extensions for fine hair is hybrid or hand-tied weft extensions.