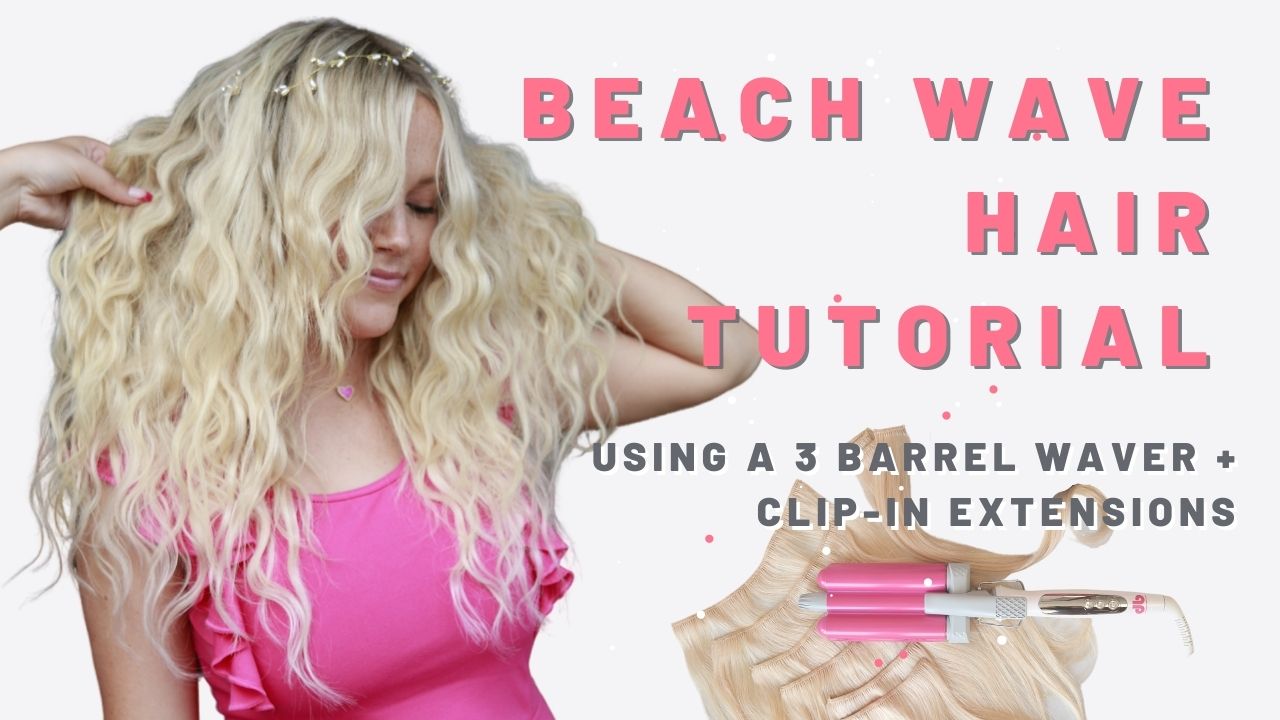
In this video tutorial, I am going to show you how to create beach waves with a 3 Barrel Waver and Donna Bella Hair Extensions!
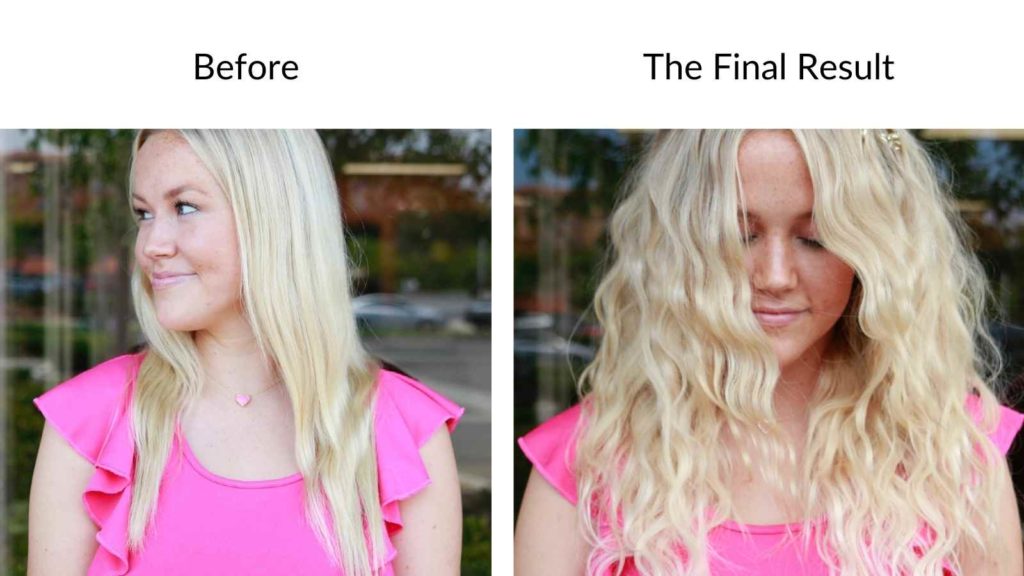
If your client wants to change their appearance for a night, clip-in extensions are definitely a great option. In this tutorial, I finally used the Donna Bella 3 Barrel Waver and showed you how to create textured beach waves!
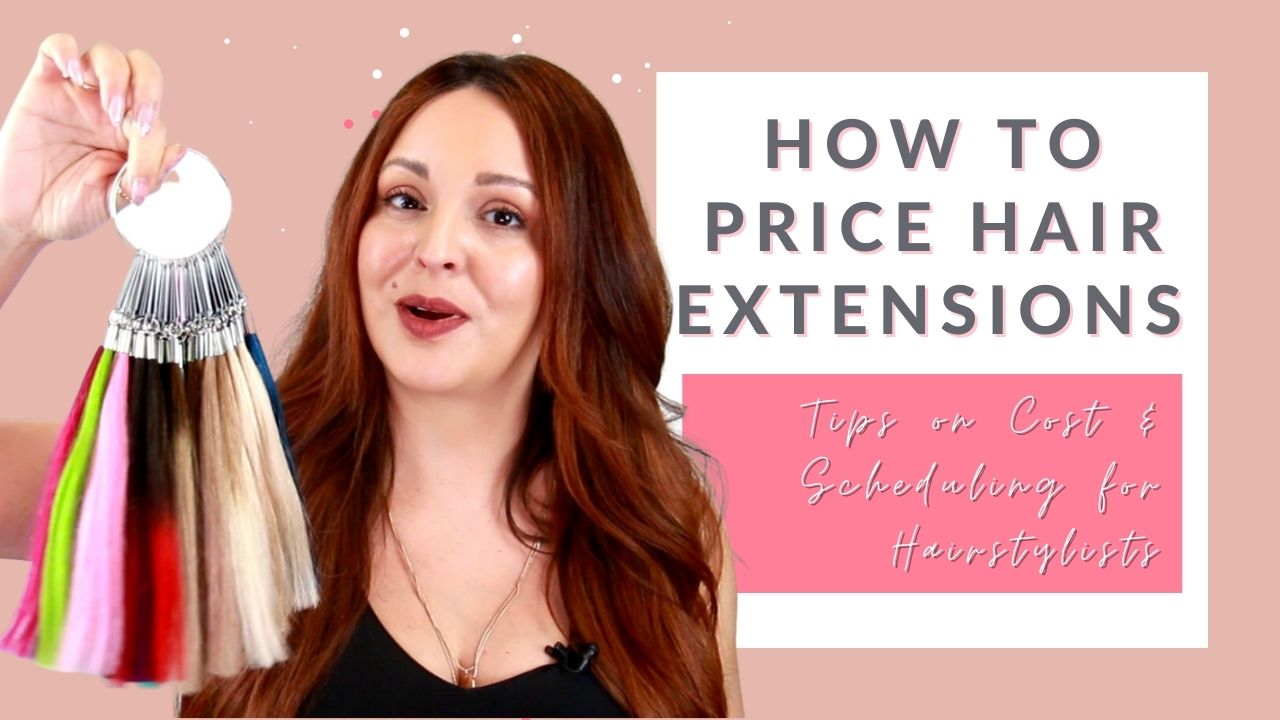
I was super excited about this transformation because anyone can recreate it at home! The clip-ins were a great addition to give her hair a little extra oomph! Paired with the beach waves, they definitely made her look like a mermaid. Donna Bella Color Ring made it super easy to find her perfect color match, so it was definitely Ready-to-Wear. We ordered #60 in 18″ Clip-In extensions.
Donna Bella makes their extensions super customizable and in each pack. You get 10 different wefts with multiple widths to cater to everyone’s head shape. This pack is not only great for yourself, but it is also great if you want to use it as an add-on service for your clients.

Why Clip-ins?
Clip-ins are not meant to be worn for an extended period of time. They are meant to be used to clip in and out to give your hair length and fullness without the commitment. There is no reason to sleep, wash or swim with clip-in extensions. You can easily pop them in and out, so it would be more work to untangle them.
If you are wanting to change up your look for the night, clip-in hair extensions are definitely worth the investment!
Tips for Clip-In Hair Extensions
As demonstrated in the video, you want to make sure you leave at least a two-inch finger-width away from your hairline. Personally, I like to tease the area with a teasing comb to give the clip-ins something to grip on to. If your root area is greasy, it could cause the clip-ins to slip. I recommend using Dry Texture Spray or Spray Clay from Kenra to give the base a little bit of grit.
I like to start from the bottom and work my way up. So once my first section is done, I like to go about 2 inches up and continue the same pattern. You want to keep in mind your placement of the clip-ins when you get to the sides and crown area.
Donna Bella gives you different size extensions so it is customizable to your head, so utilize the 1-inch clip-ins! For my model, I used them to fill in the sides of her head to give the front more volume. You want to keep in mind that your hair may split in the back. Therefore you do not want to have the clip-ins too high on the head at risk of them showing.
Make sure you enforce the two-finger rule around the front of the hairline as well, so nothing shows if you pull your hair up!

Tips for the 3 Barrel Waver
Do you want to feel like a mermaid? Well, this tool is for you! I am absolutely obsessed with the outcome of this 3 barrel waver because it left my client looking like a Greek goddess.
When working with this tool, you want to make sure you are holding it at a 0-degree angle. It can kink the top of the hair or extension. In the first couple minutes of the video, I show you what NOT to do, and it is demonstrated there.
You also want to make sure to have no tension when waving your hair, it gives it a more natural look. I personally like to follow my pattern when waving, so I insert my barrel on the last wave I created. Continue this pattern all the way to the top section.
How to Style Beachy Waves
The top section is what people see the most, so you need to make sure it is polished as much as possible. If, of course, that is the look you’re going for. I start the top sections by smoothing them out with a flat iron to get out any kinks or frizz. I also like to touch up the hairline to make it smoother.
Then, continue the same pattern as before. If it is not smooth enough for you, feel free to touch it up with the flat iron. When waving, either with a 3 barrel waver or a curling iron, it is up to you whether or not you want to keep the ends straight or not. For this video, I decided to keep them waved.
Spray it down with your favorite texture spray and voila!
Different types of Donna Bella Hair Extensions
What I love most about Donna Bella Hair Extensions is the variety they have. In a couple of my videos, you have seen me use tape-in extensions, which I love for extra thickness and volume, but they have so many more methods. In this video, you can see how easy it is to install the clip-ins. However, if you are looking for something even easier, I would recommend the Solos!

Click here to learn more about different types of extensions!
If you are wanting something a little more semi-permanent, you can choose wefts, which create a seamless blend of hair that is customizable to your head shape! For my fine-haired guys and gals, I love the Donna Bella Kera-Links that are designed to magically blend into your hair and match your base color.
If you’re not really into having adhesives in your hair, I would recommend the I-link method that allows for 360-degree movement throughout your hair. It is great for volume, especially if you wear your hair up a lot! Similar to I-Links, Flat tips are installed the same, they just have a flat installation point, similar to tape-ins! The best of both worlds!
Click here to find out more about which Donna Bella extension type is for you!
Check out how to style these 3 barrel waves with this super cute lived-in ponytail in this easy-to-follow hair tutorial.

Do you like my blogs? Click here for more!
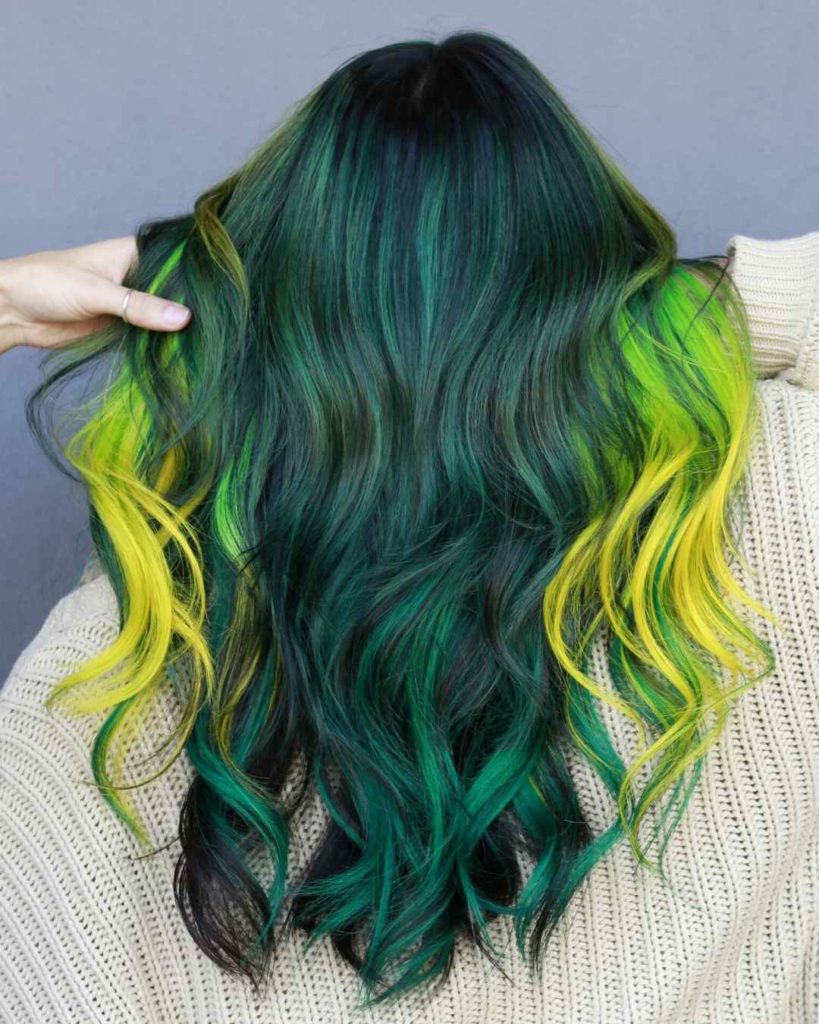
I mentioned in the video that I previously highlighted my model’s hair in a separate video. In our first session together, I color-matched her with my Donna Bella Hair extensions color ring. Donna Bella has so many color options so I knew I was going to be able to find something that worked for us.
Because my model Yadira has a vivid color on her ends that was slightly different than the green that Donna Bellas has, I figured it would be a perfect way to show you how to custom color hair extensions.
