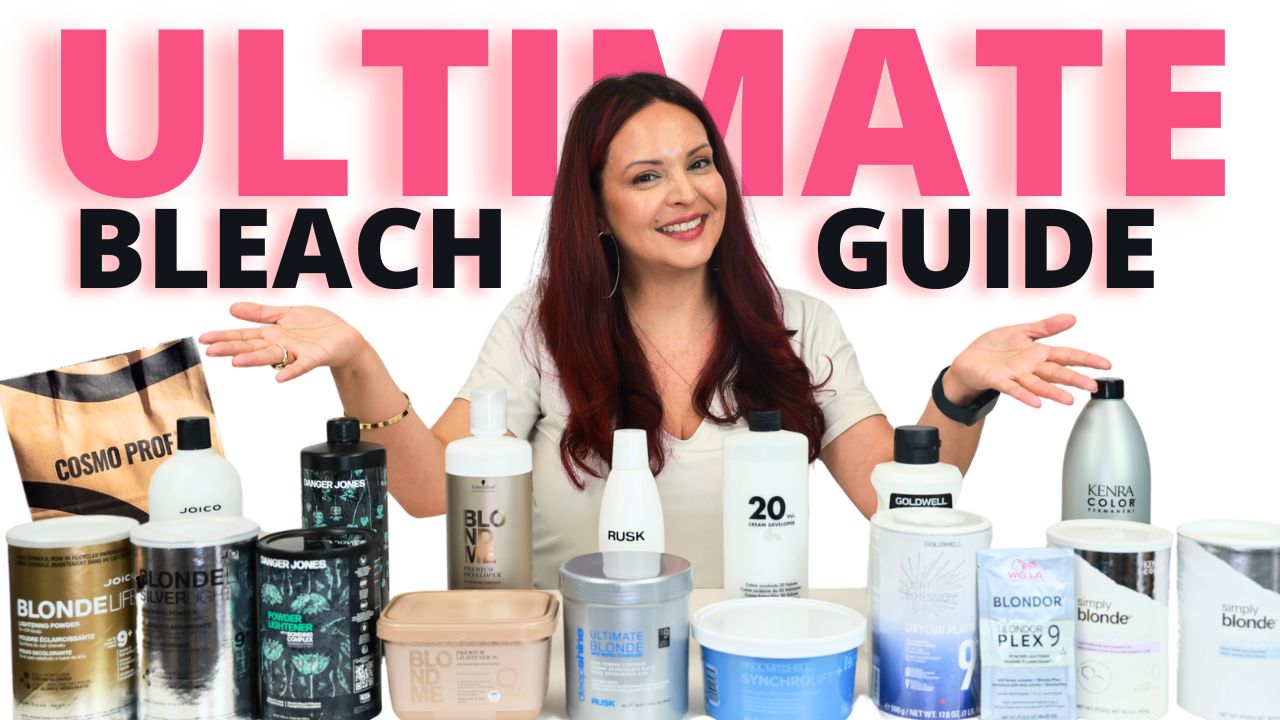
In this video, I show you how to do a Black Box Dye Color Correction. My model wanted to go from harsh box dye to a lighter tone.
I understand the feeling when a client with black box dye wants to become a shiny blonde in one go. Unfortunately you and I both know, that is NOT going to happen! A black box dye color correction is one of the hardest services to complete, just because everything is so unsure. How will she lift? Will her hair be okay after this? Don’t worry, in this video, I go step by step on how I transformed my client’s hair.

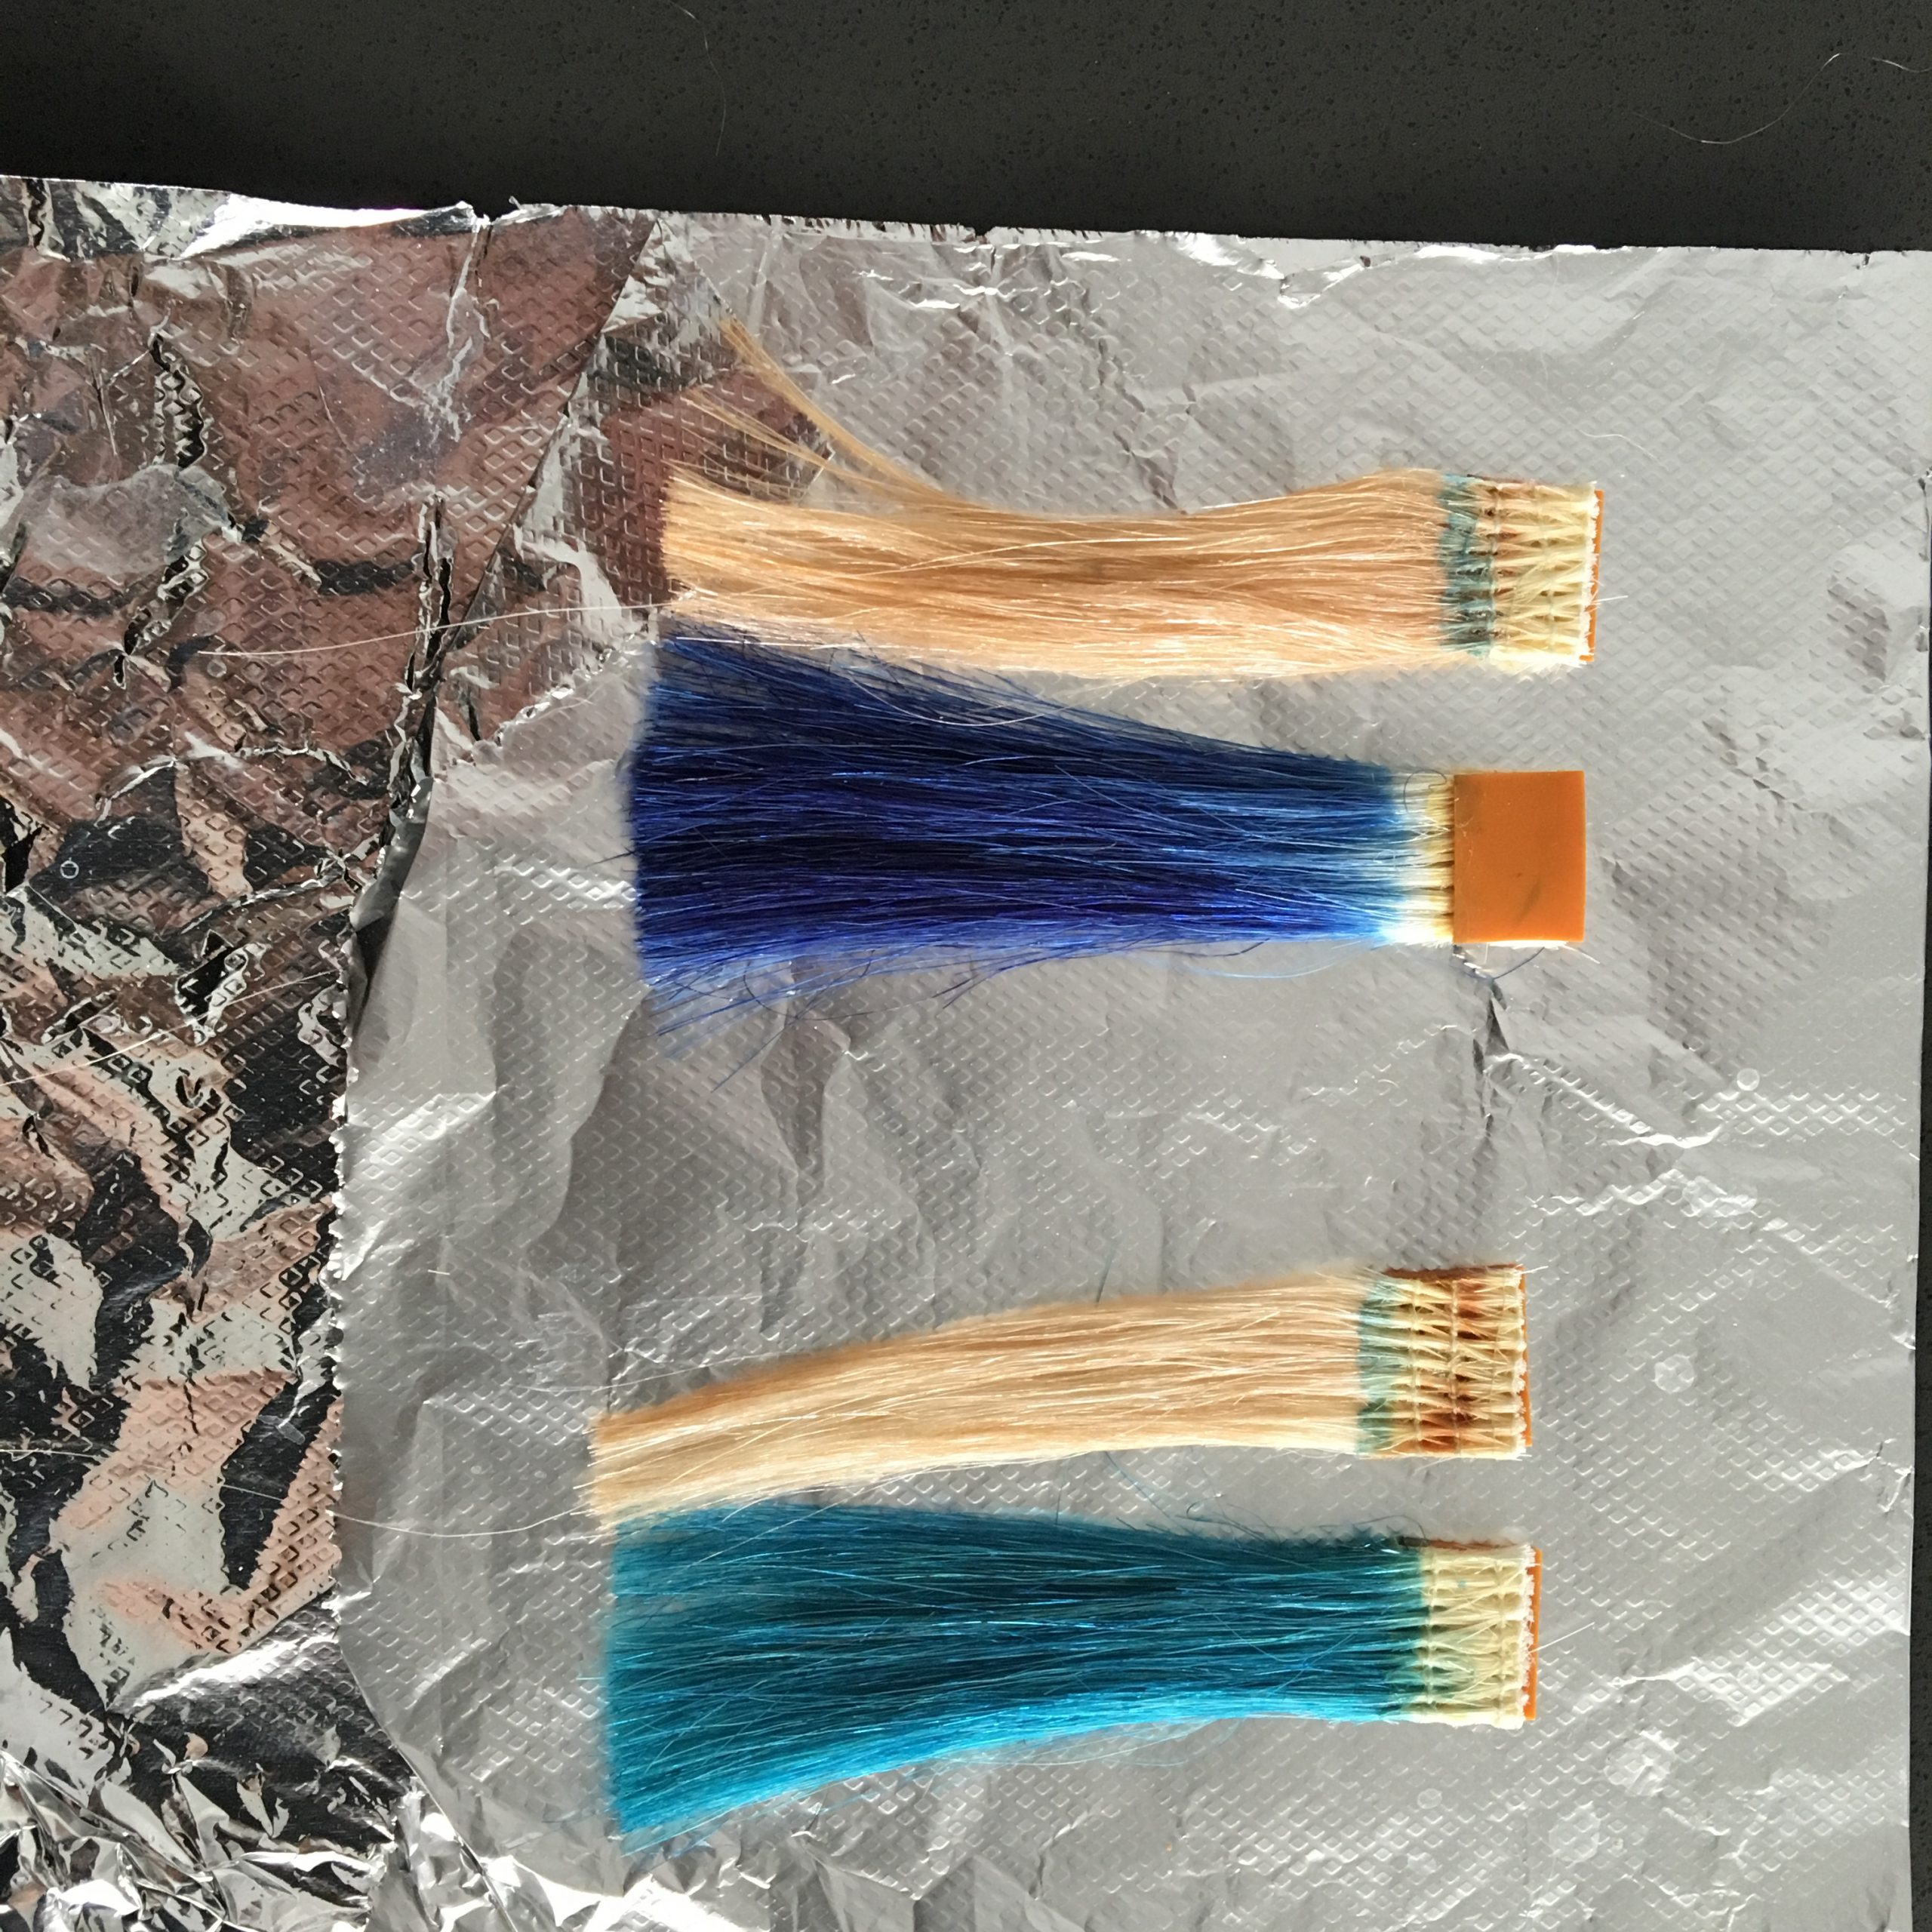
First things first, STRAND TEST!!!
Do you know WHY you should strand test? Strand tests tell you the full story before diving in headfirst and in the end save you time when doing color corrections.
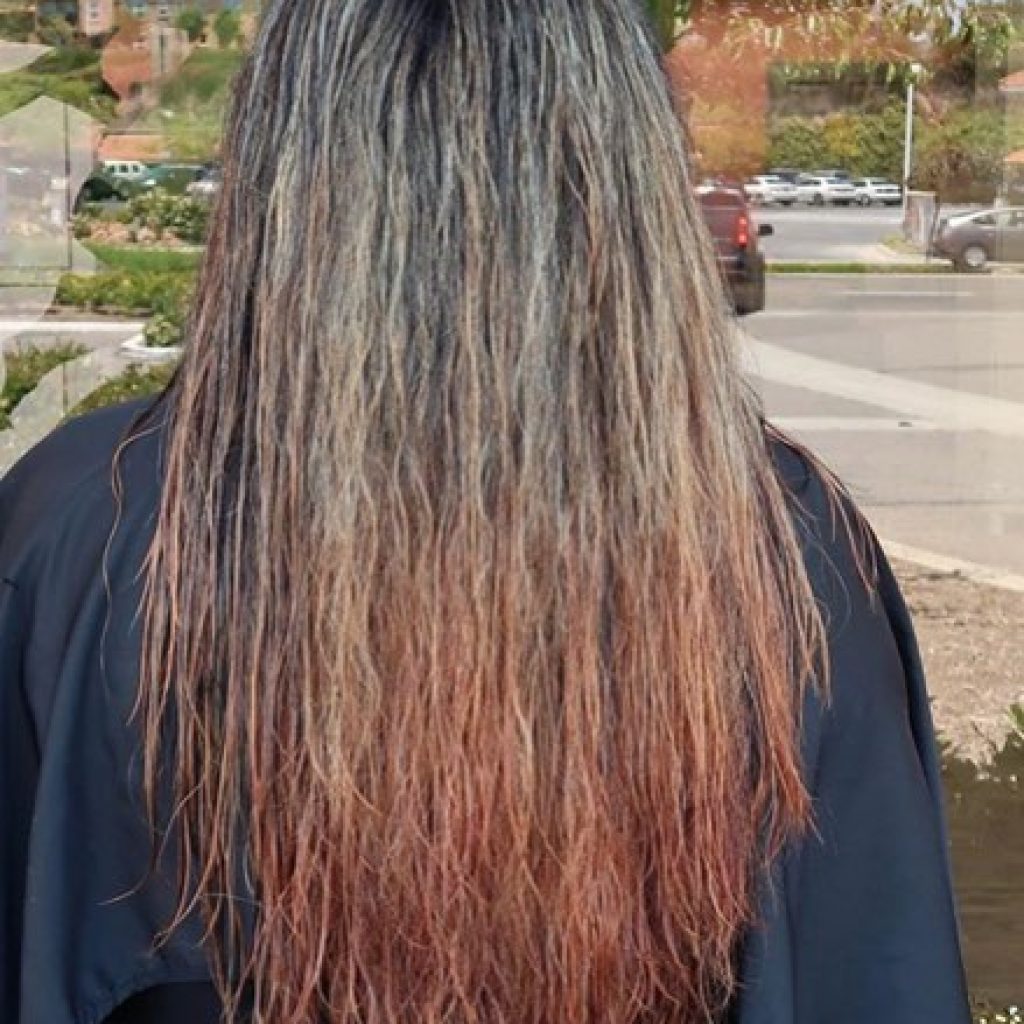
Here is the breakdown 👇🏼
After doing the strand test I went in with a traditional indirect dye color remover. Stinky but so worth a shot since my model had LOTS OF BLACK HAIR DYE 💀 . This gave me a great canvas to start with so I could go in with my final arsenal💪🏼
I used all Matrix for this one🌸
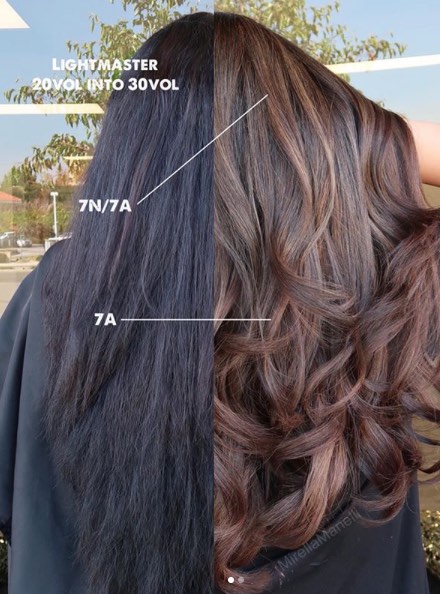
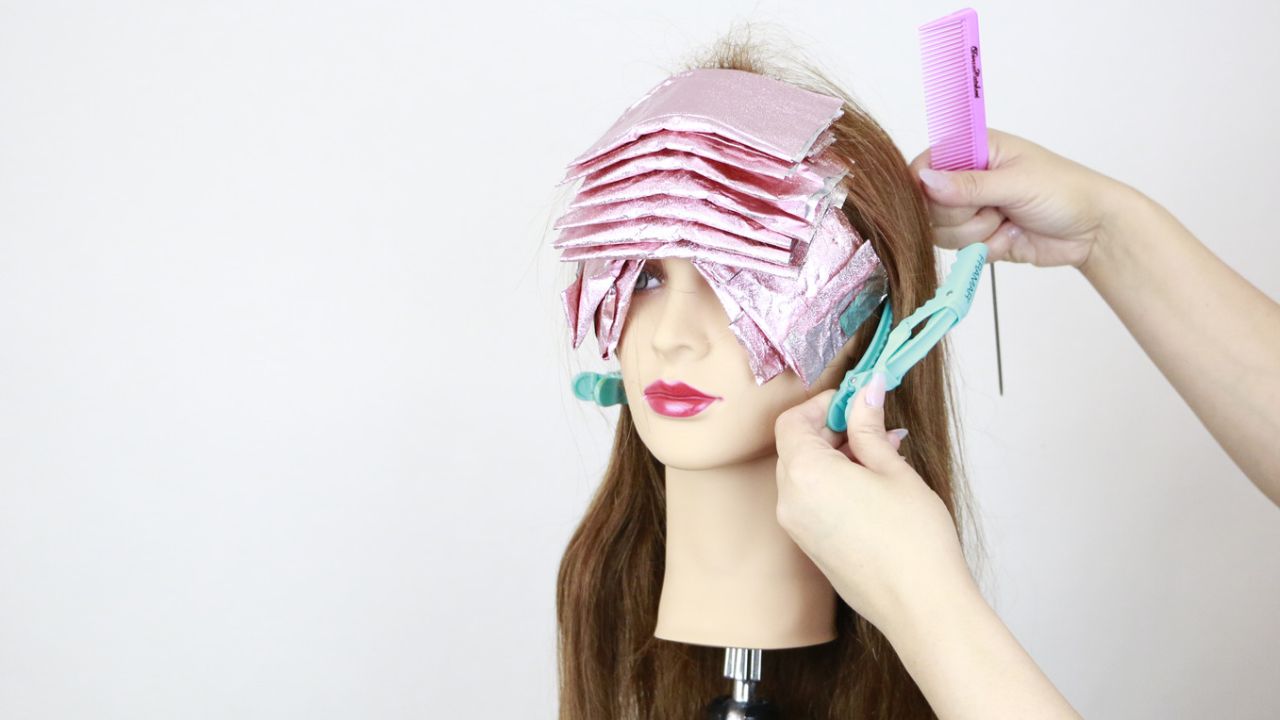
I used a mixture of Babylights and micro-slices with Lightmaster 20vol into 30vol.
Overall, my model lifted to level 9 at top and orange levels 7/8 on mids and ends (black hair dye would not budge).
Final shade Color Sync 7N/7A into 7A on dry hair 20 min.
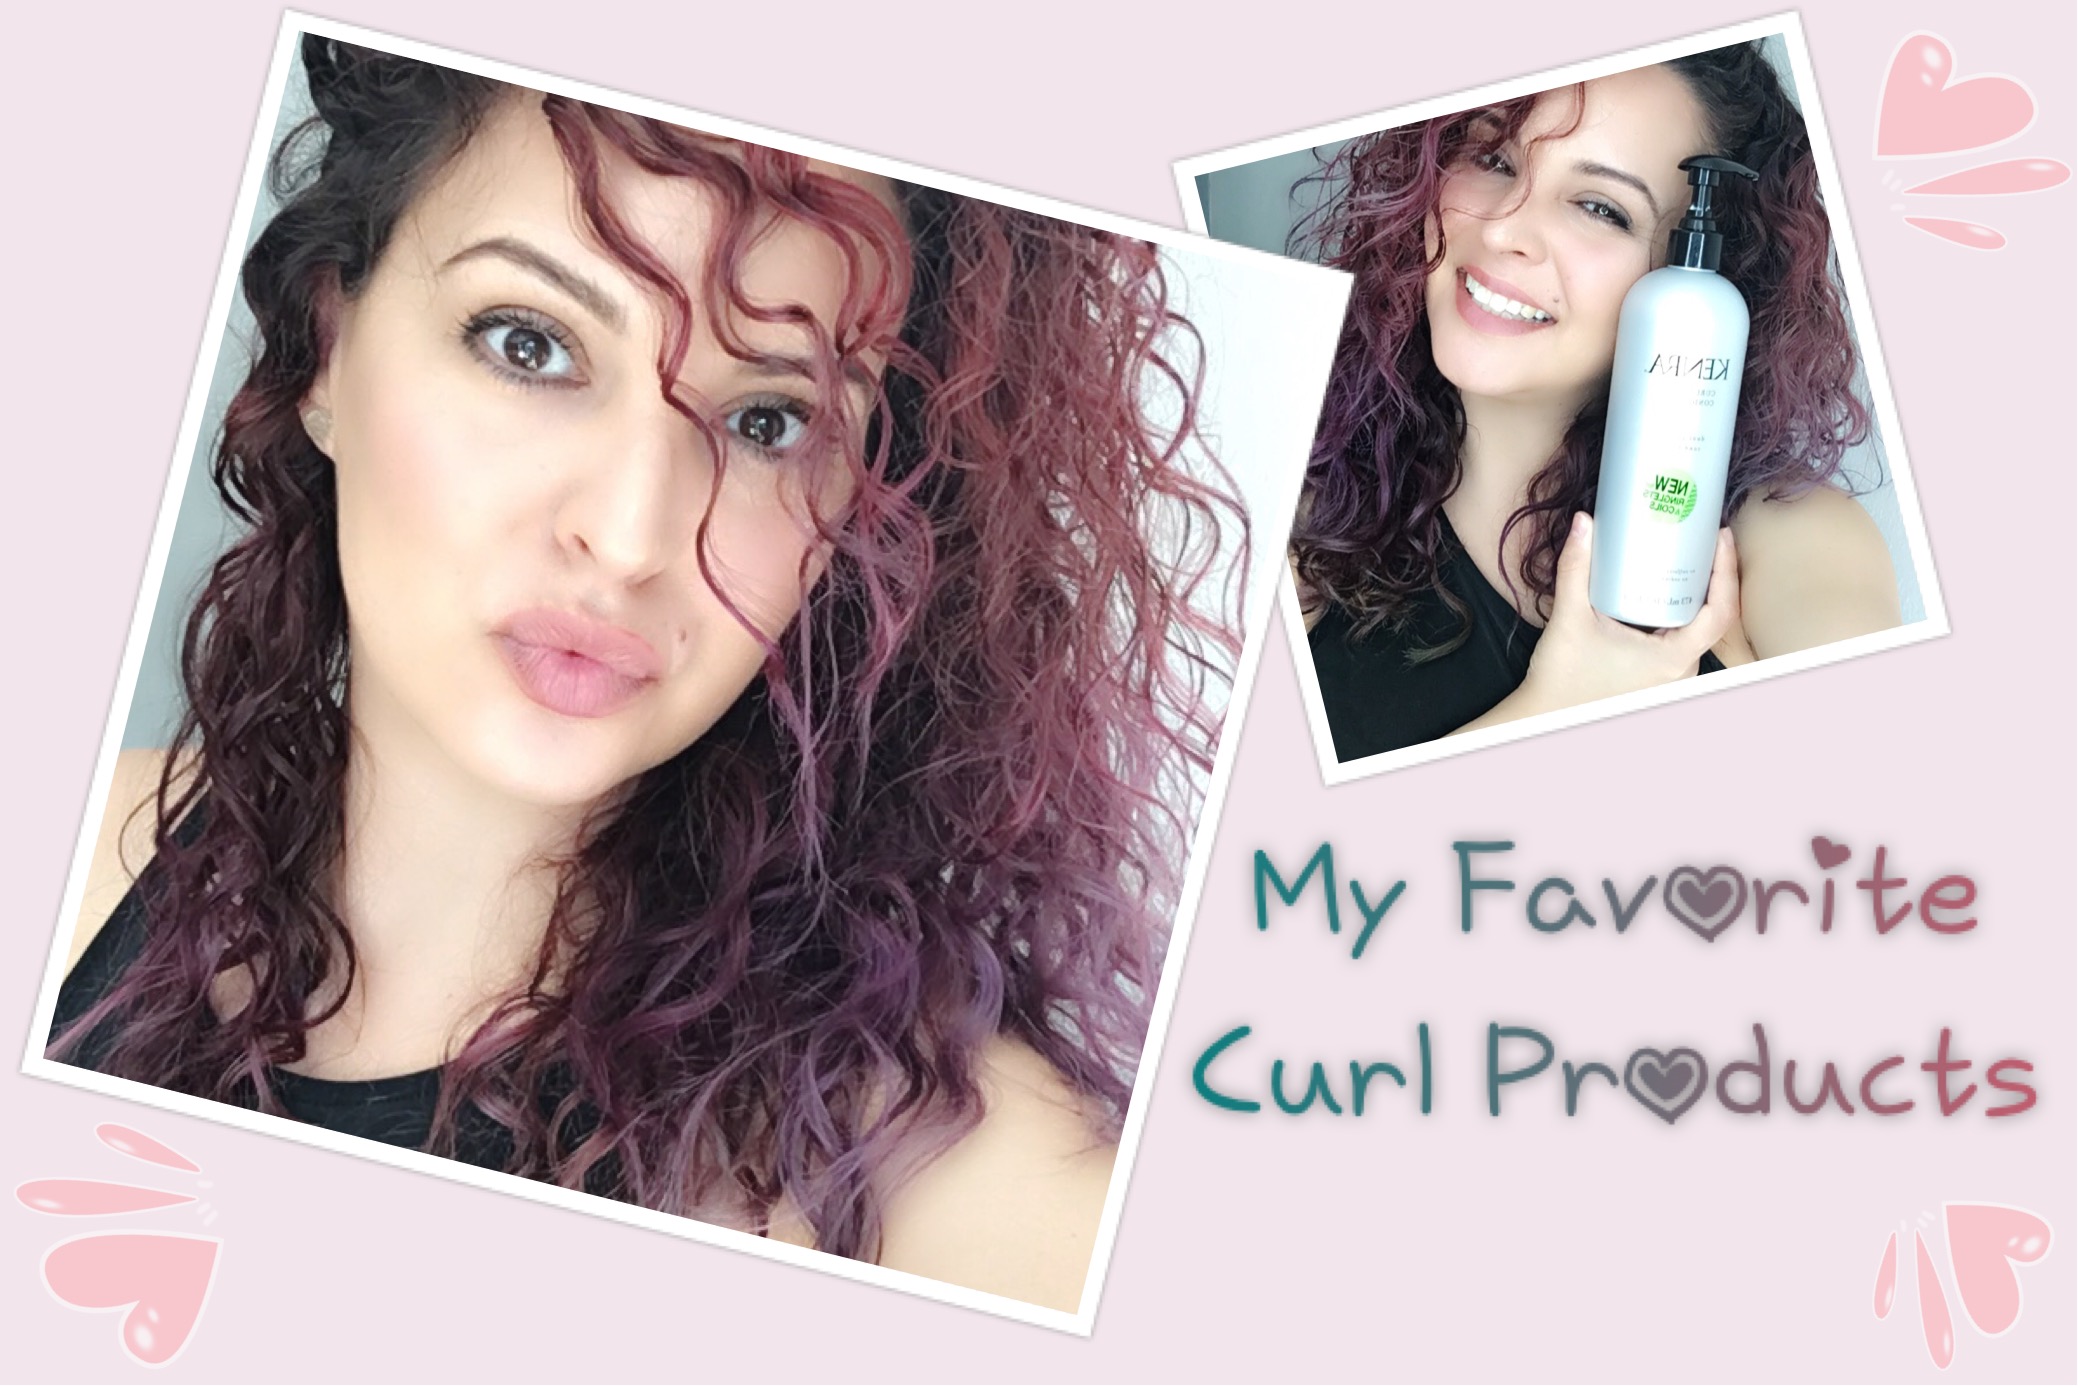
I’m a HUGE fan of all things dusty and pink🌸 and in order to achieve that you always need some ash in the mix. Check out a recent Youtube video where I show every step by step from lifting, pre-toning, color melting, and quick styling.
Please subscribe to my channel and comment on the video with any questions you may have about the lifting technique I used.
