




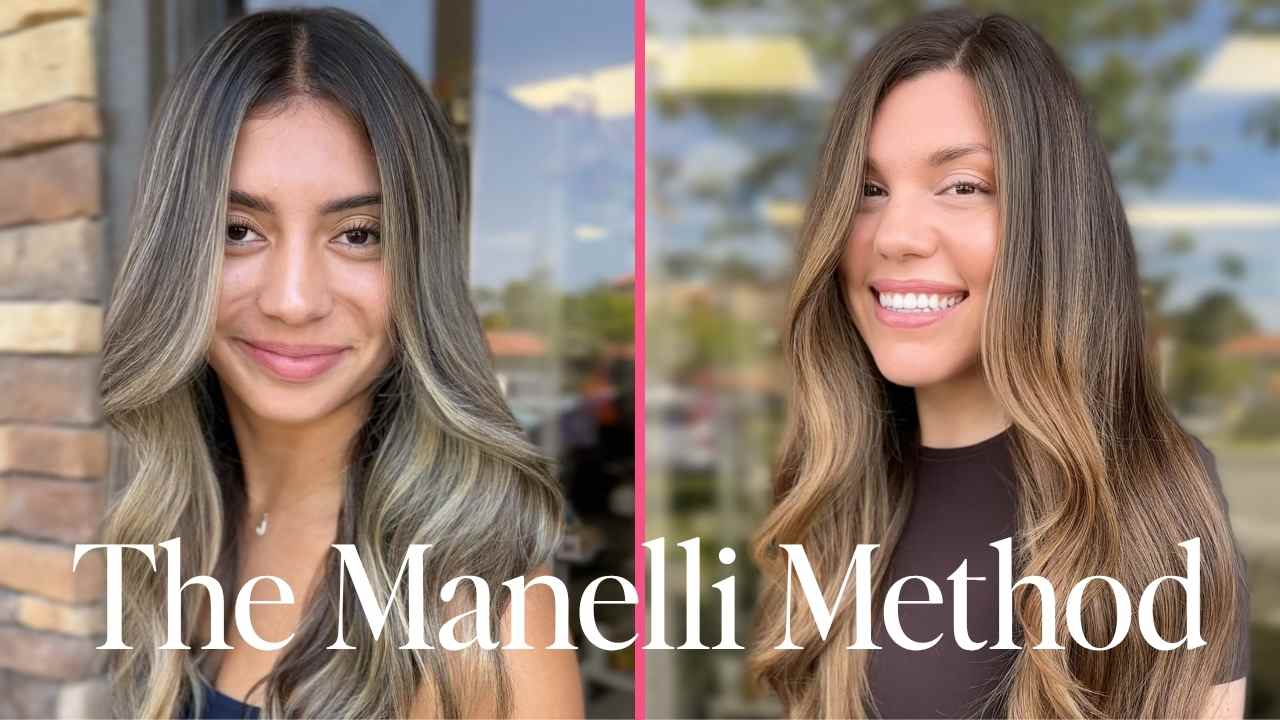
Manelli Method Highlights: The Foil Technique I Created So You Never Have to Tease Again
A double zigzag. A Dream Weaver comb. No backcombing, no shadow root, and a lived-in root that grows out beautifully for months.
▶ Watch: 8 Ways to Foil Highlights: The Manelli Method Demonstrated Live
In This Post
- What Is the Manelli Method?
- Why I Created It: The Problem With Teasing
- How It’s Different From a Standard Teasy Light
- The Double Zigzag: Step-by-Step Breakdown
- The Dream Weaver Comb: Why It Matters
- When to Use the Manelli Method
- Why You Don’t Need a Shadow Root
- What Results to Expect
- Frequently Asked Questions
Manelli Method highlights are a foil technique I created after twenty years behind the chair, because I got tired of watching stylists tease every single section just to get a lived-in root. There had to be a faster, cleaner, less damaging way to get the same result. So I built one.
The Manelli Method highlights technique uses a double zigzag parting: one at the top of the section, one at the bottom, combined with a Dream Weaver comb through the mids and ends. The result is a soft, diffused root that mimics teasy lights without any backcombing, no shadow root required, and a grow-out that stays beautiful for four to six months.
In this post, I’m breaking down the full technique: how I developed it, the exact mechanics of the double zigzag, and when to use Manelli Method highlights on your clients.

What Are Manelli Method Highlights?
Manelli Method highlights are built around a double zigzag parting: one zigzag at the top of the section, one at the bottom, combined with a Dream Weaver comb to separate the mids and ends of the hair before the foil goes in.
What you get is what I call a broken zigzag: an irregular, diffused line of color at the root that mimics the look of teasy lights without any actual teasing. The color melts into the natural hair with a soft, lived-in root that doesn’t need a shadow root to look intentional. It grows out beautifully. It saves time in the chair. And it works on nearly every client who walks through your door.
Why I Created It: The Problem With Teasing
Teasy lights became a trend because clients loved the result: soft, dimensional, sun-kissed. The problem was never the result. The problem was the process.
Teasing is unpredictable
Two stylists with the same training will tease a section differently every single time. The amount of backcombing, the depth, how much hair gets caught. All of it varies. Even the same stylist teases differently at 9am versus 5pm when their hands are tired.
Teasing is time-consuming
A full head of traditional teasy lights takes significantly longer than a standard foil service. You’re adding a manipulation step to every single section. On a full highlight client, that adds up fast.
Teasing is hard on the hair
Backcombing creates mechanical damage. For clients with fine hair, fragile ends, or already-compromised strands from previous color services, teasing adds stress the hair can’t afford, especially when you’re about to apply lightener on top.
I started thinking about what, exactly, the tease was accomplishing. The answer was simple: it was breaking up the clean line where the foil started. It was creating irregular color uptake at the root. It was mimicking natural, grown-in color.
Once I understood the function of the tease, I could figure out how to accomplish that function without the tease itself. That’s where the double zigzag came from.
How It’s Different From a Standard Teasy Light
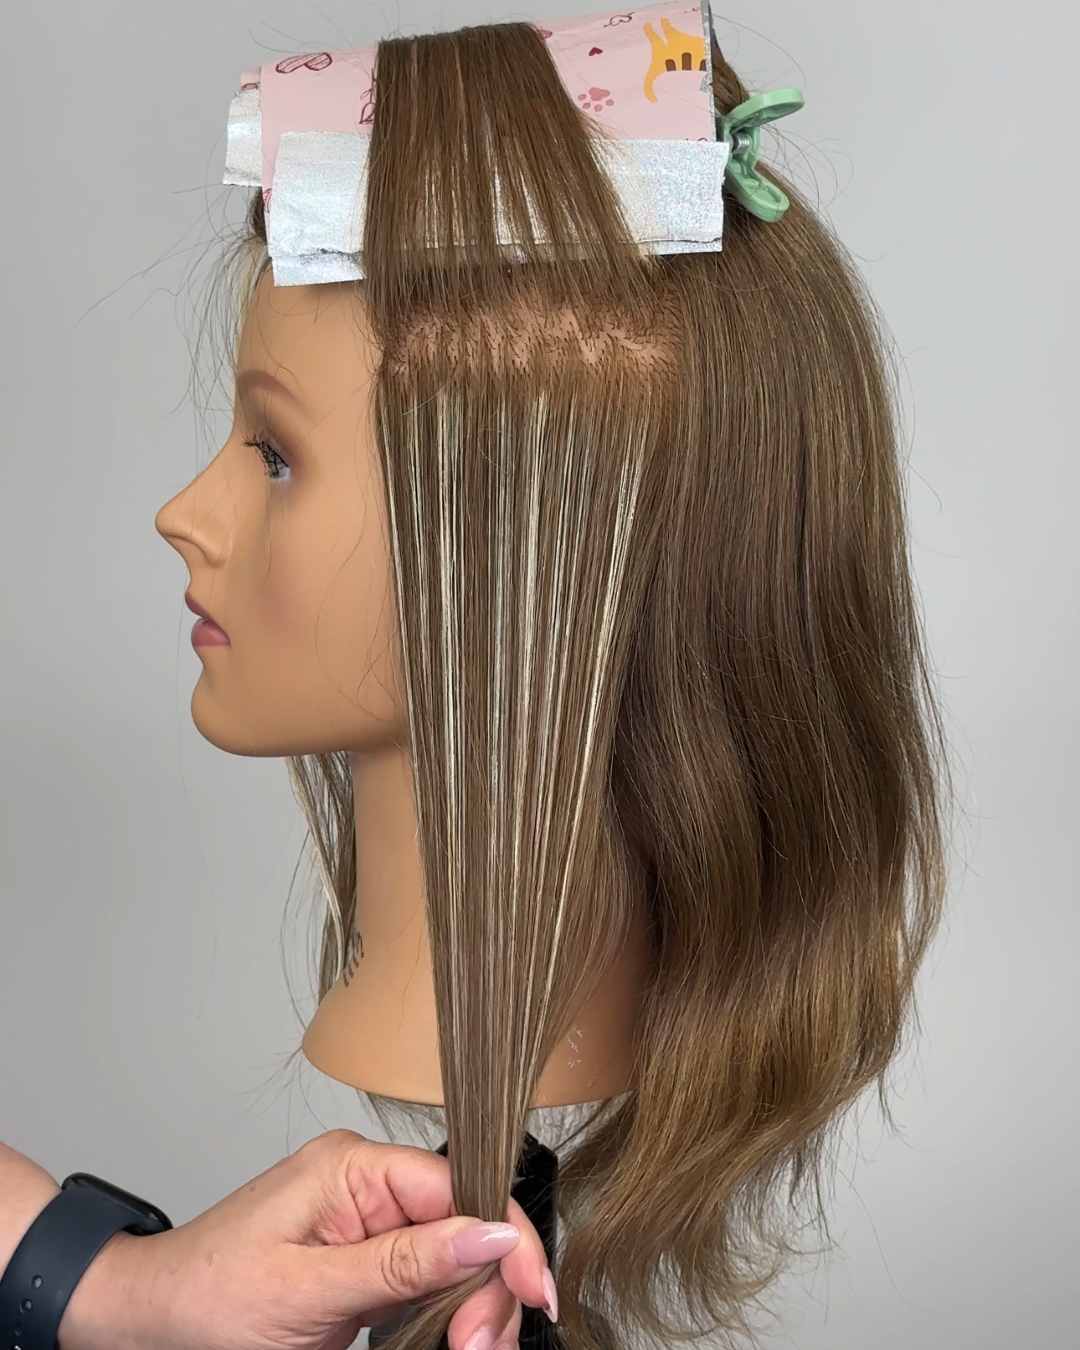
In a traditional teasy light, the parting is usually straight or a single simple zigzag, and the diffusion at the root comes entirely from the backcombing. The color goes on hair that has been mechanically disrupted.
With the Manelli Method, the diffusion comes from the geometry of the parting itself. No backcombing. No mechanical disruption. The double zigzag creates a naturally irregular boundary between what’s in the foil and what isn’t, so the color graduates into the root in an organic, broken way without any extra steps.
| Traditional Teasy Light | Manelli Method | |
|---|---|---|
| Root diffusion created by | Backcombing | Double zigzag geometry |
| Processing steps | Part + tease + foil | Part + Dream Weaver + foil |
| Consistency | Variable (hand-dependent) | Highly consistent |
| Hair stress | Higher (mechanical damage) | Lower |
| Time per section | Longer | Faster |
| Shadow root needed | Often | Rarely |
The Manelli Method doesn’t just produce a similar result to teasy lights. For a lot of clients, it produces a better result, because the diffusion is more controlled and more consistent from section to section.
The Double Zigzag: Step-by-Step Breakdown
This is the core mechanic. Read this carefully before you try it on a client.
Take your section as normal
Work in your standard horizontal sections, just as you would for any foil service. Section size will depend on how dense you want the final result.
Create the top zigzag
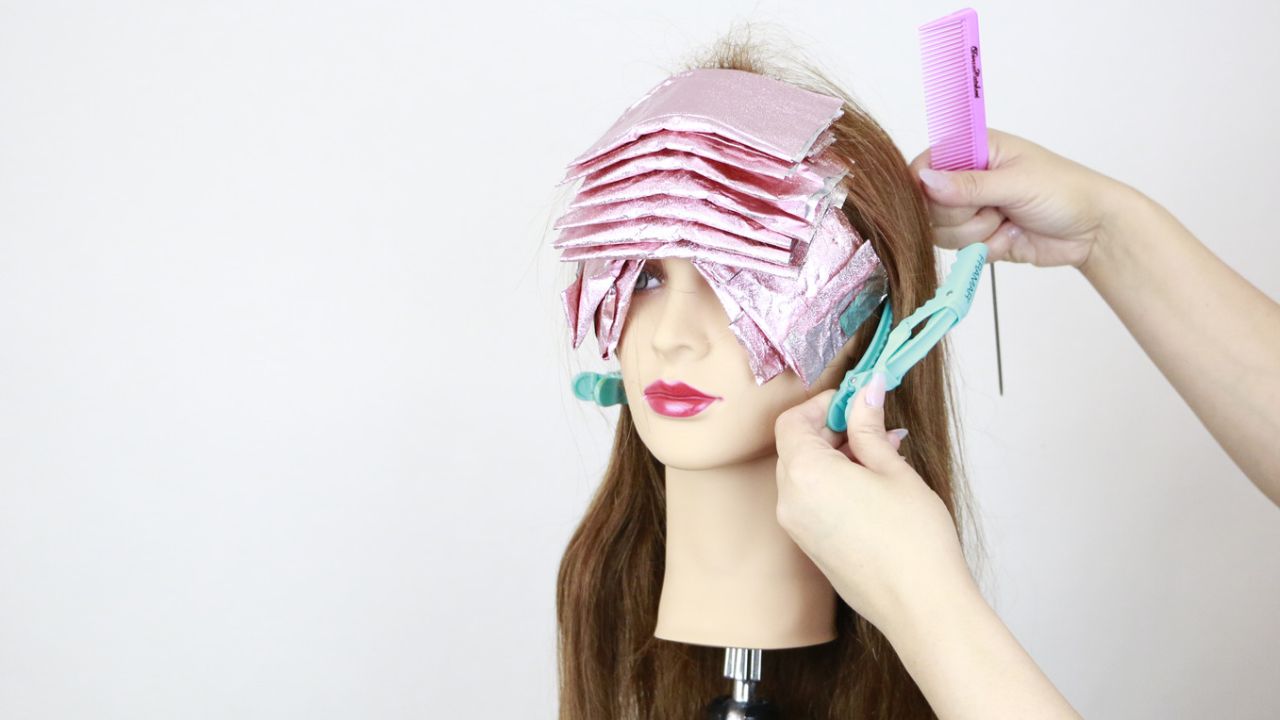
At the top of your section, part with a zigzag rather than a straight line. It doesn’t need to be dramatic: a subtle, irregular zigzag is all you need. Think of it as an imperfect line rather than sharp peaks and valleys.
Create the bottom zigzag
Here’s what makes the Manelli Method different from a standard zigzag part. At the bottom of the same section, create a second zigzag. This bottom parting creates the broken base of the highlight, giving you that diffused root without any teasing. The two zigzags do not need to mirror each other. The irregularity between them is what creates the natural, broken look at the root.
Use the Dream Weaver comb on the mids and ends
Before the foil goes in, use a Dream Weaver comb to separate the mids and ends of the section. This is a weaving step: you’re picking up strands rather than taking everything. The comb makes this fast, precise, and consistent in a way that hand weaving simply can’t match at the same speed.
Apply the foil as normal
Place your foil under the section you’ve isolated, apply your lightener, and fold. From here, the service continues exactly as any standard foil highlight would.
The Dream Weaver Comb: Why It Matters
The Dream Weaver comb is what makes Manelli Method highlights scalable. Without it, you’d be hand-weaving every section, and that completely defeats the time-saving purpose of the whole approach.
The Dream Weaver comb lets you pick up hair in a consistent, controlled way at speed. You get even color distribution through the mid-lengths and ends that complements the broken root you’ve built with the double zigzag.
If you don’t already have one in your kit, get it. It’s not just useful for the Manelli Method: it’s a tool you’ll reach for on almost any weave technique.
When to Use Manelli Method Highlights
This technique was built to work on almost every client in your chair. Here are the situations where it really shines:
- Color correction clients: banding, spottiness, and DIY aftermath all respond beautifully to the irregular parting geometry
- Brunette-to-blonde transformations: clients going from dark natural color to lighter results need a natural root built into the technique from session one
- Lived-in and low-maintenance clients: if your client can only get in every four to six months, you need a technique that grows out gracefully. This is it.
- Clients who want to avoid a shadow root: the broken zigzag creates enough diffusion that a separate shadow root is usually unnecessary
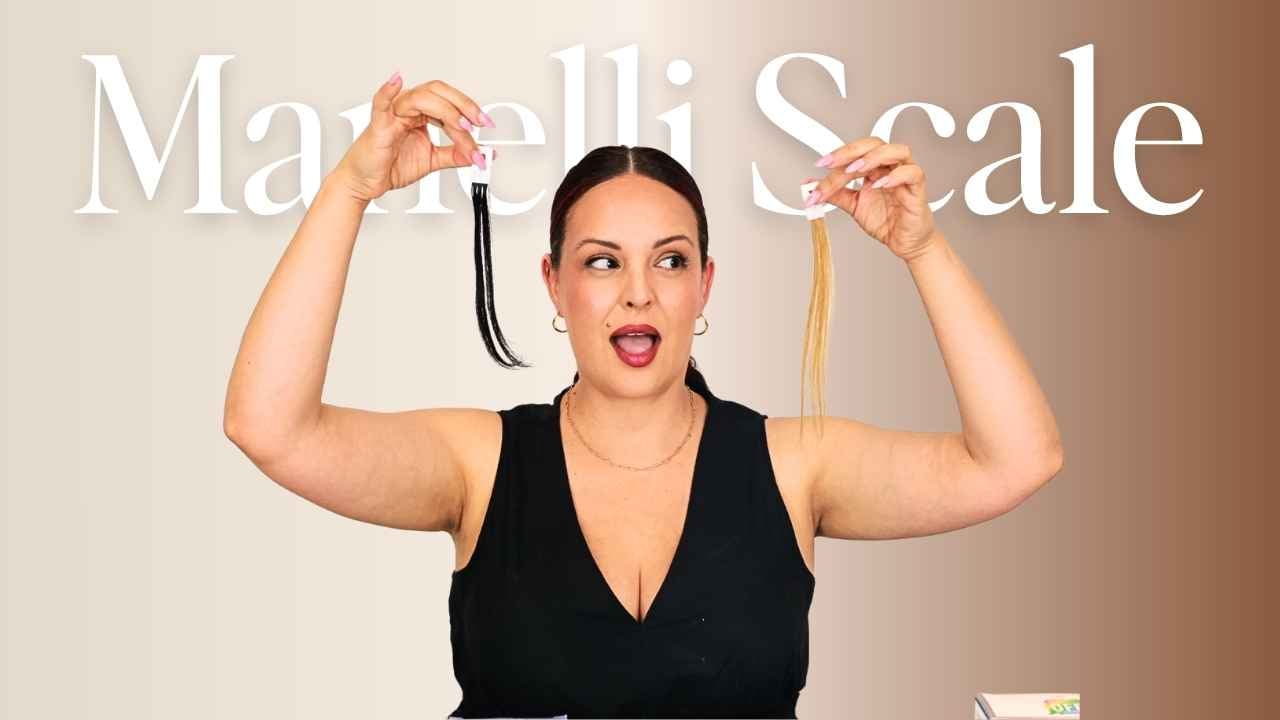
- Clients with fine or fragile hair: no backcombing means no additional mechanical stress on compromised strands. Use the Manelli Scale to choose a lightener with a high integrity score for these clients →
Why You Don’t Need a Shadow Root With This Technique
A shadow root exists to solve one problem: a highlight with a hard edge at the root looks unnatural. The shadow root softens that edge so the result reads as intentional, not grown-out.
The Manelli Method eliminates that hard edge in the parting step itself. Because the top and bottom zigzags create an irregular boundary, there’s no clean line for the eye to follow from natural hair into highlighted hair. The transition is already broken up before a single product is applied. That saves you time. And it saves your client money.
When a Shadow Root Is Still Worth Adding
This doesn’t mean you can never add a shadow root on a Manelli Method client. There are absolutely cases where a deeper root is a creative choice, not a corrective one. The difference is that you’re adding it intentionally. And that distinction matters for your process and your pricing.
For example, clients who want a moody, high-contrast root look may still request a shadow application. In that case, because you’re starting from a clean double-zigzag parting, you have full control over the depth and seamlessness of the shadow placement.
Manelli Method Highlights: What Results to Expect
When the Manelli Method is executed correctly, here’s what you and your client should see:
- A soft, diffused root line with no hard edges
- Dimension through the mid-lengths from the Dream Weaver weaving step
- A result that reads as lived-in and natural from day one
- A grow-out that looks intentional at the four, six, and even eight-month mark
- Faster service times compared to traditional teasy lights
- Consistent results regardless of which stylist in your salon executes it
Why the Results Stay Consistent Over Time
The outcome depends on section size, developer strength, product choice, and starting level, like any technique. But the core mechanic is repeatable, teachable, and scalable in a way that teasing-based techniques just aren’t. And because results don’t depend on how hard you tease, two different stylists using this method will get nearly identical results every time. That’s why it works so well in multi-stylist environments.
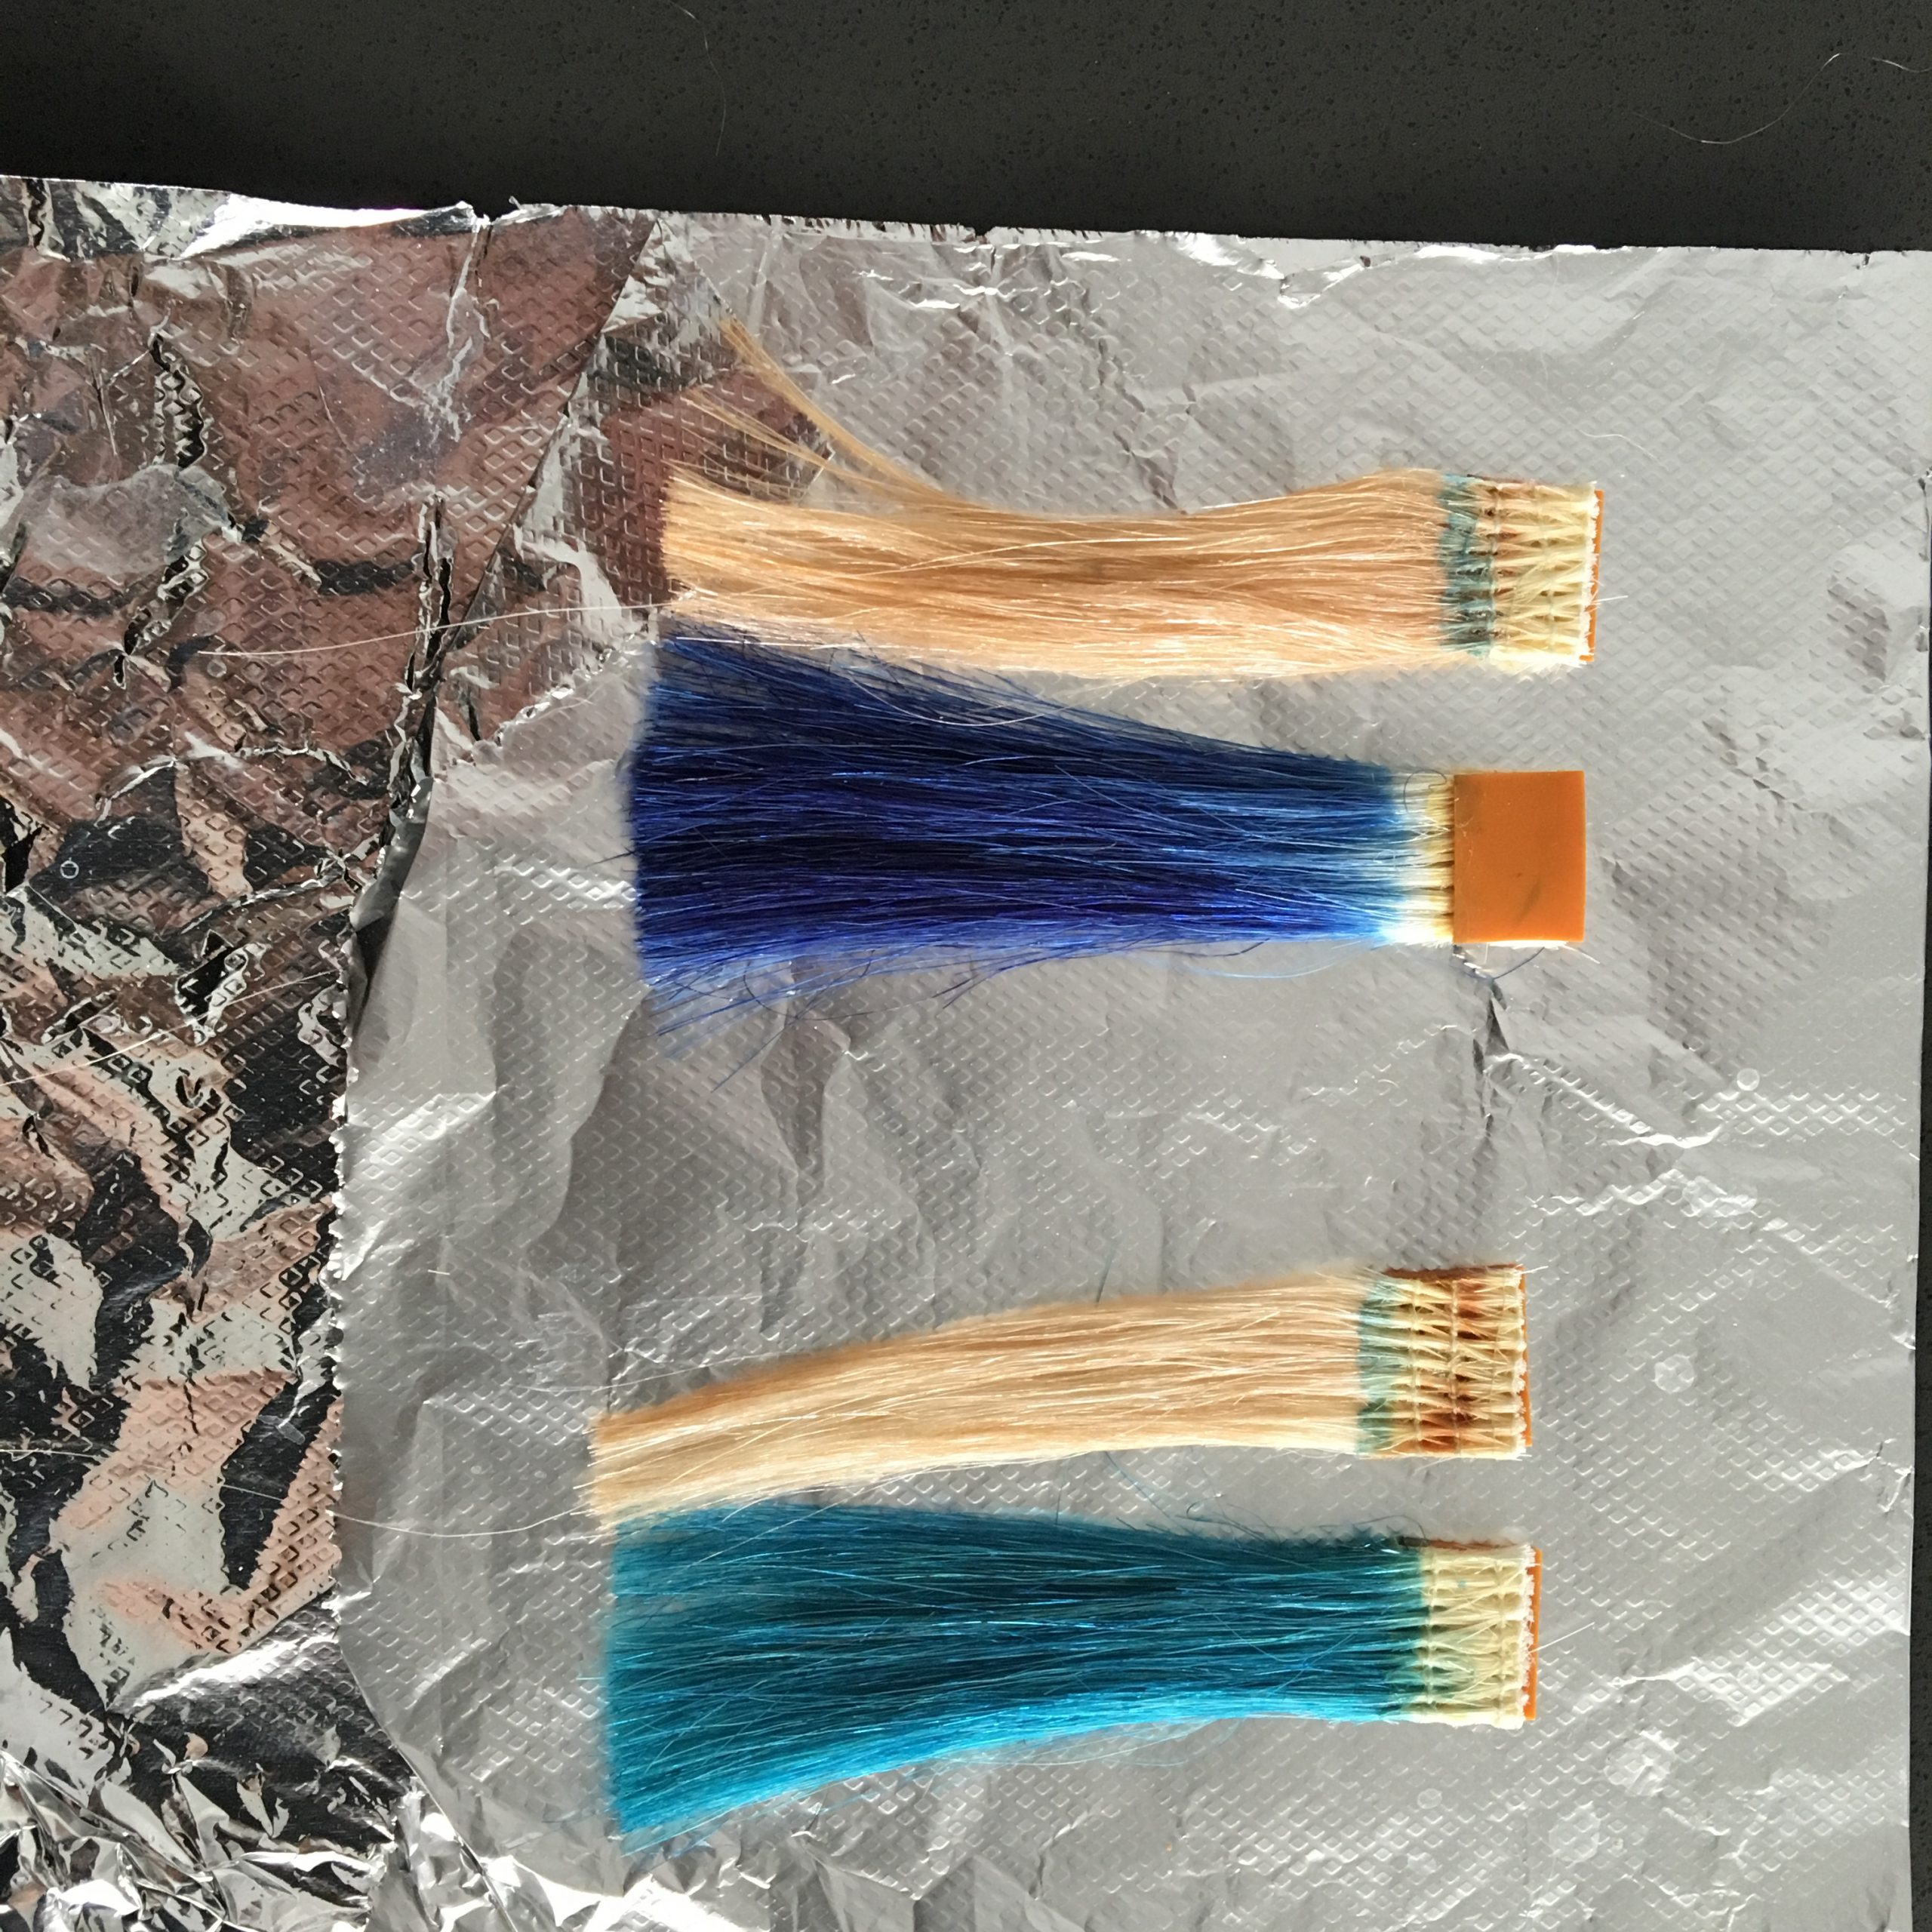
For a complete breakdown of which lighteners produce the best results for this technique, watch my 50+ bleach test findings here.
Learn the full technique inside Hair B&B University →