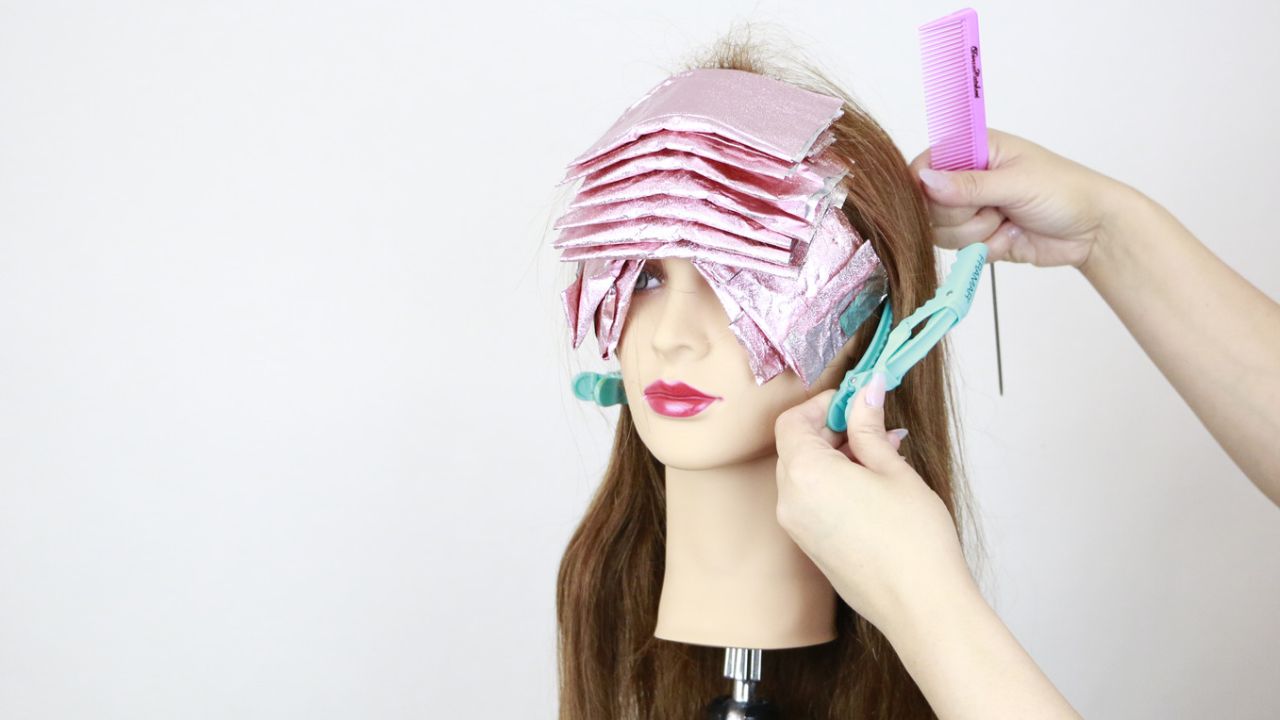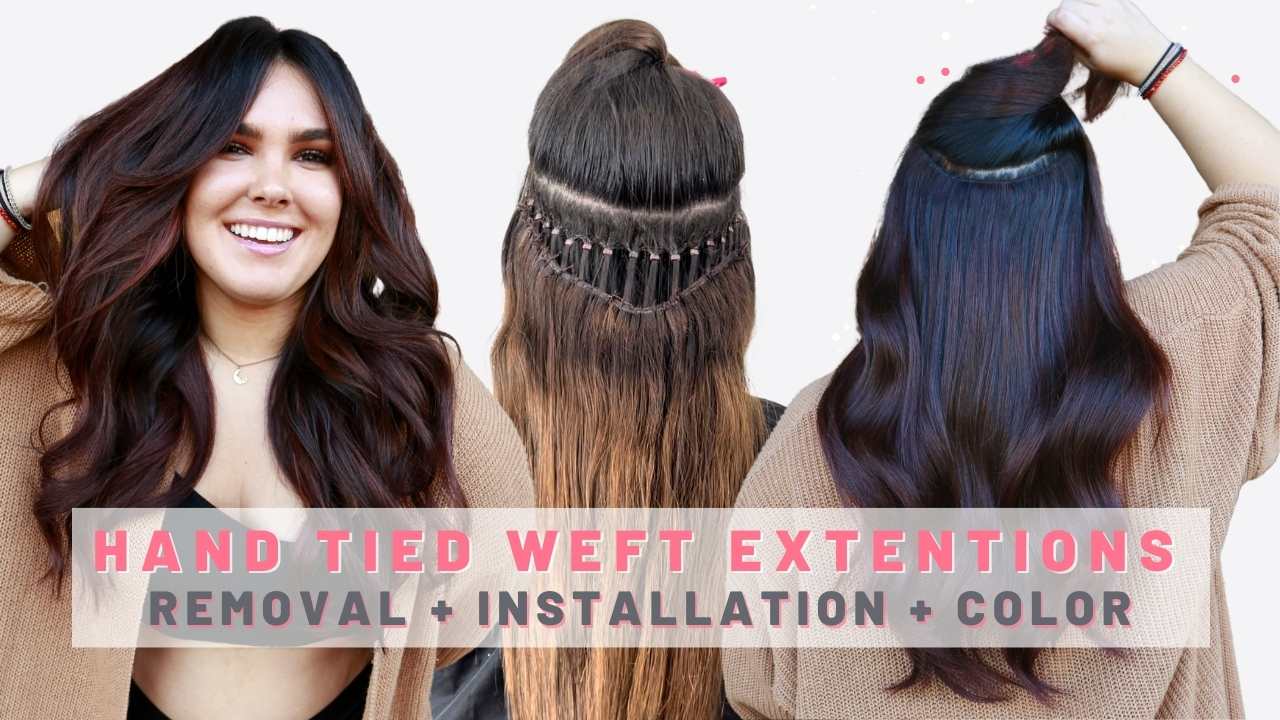


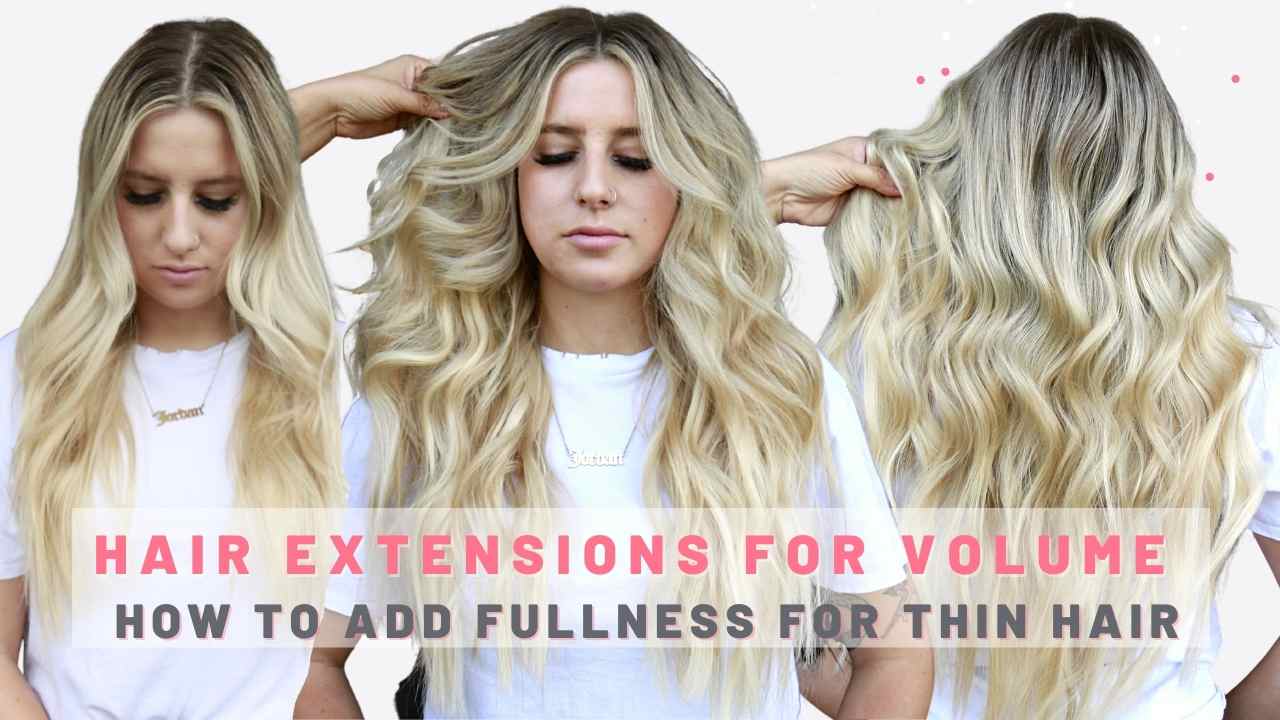
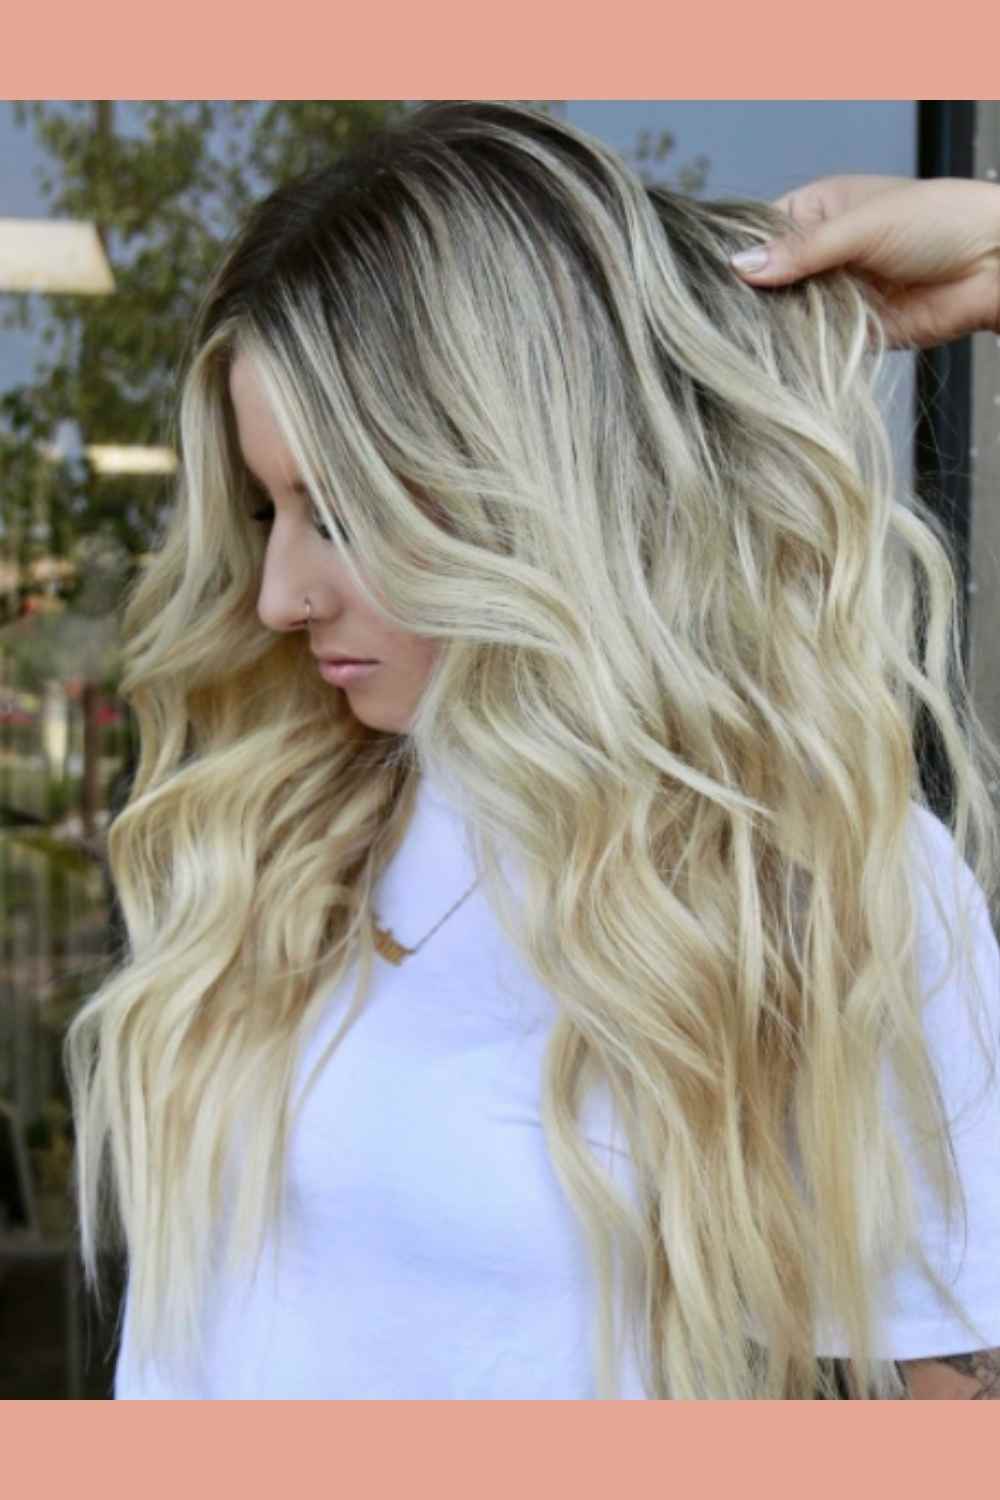
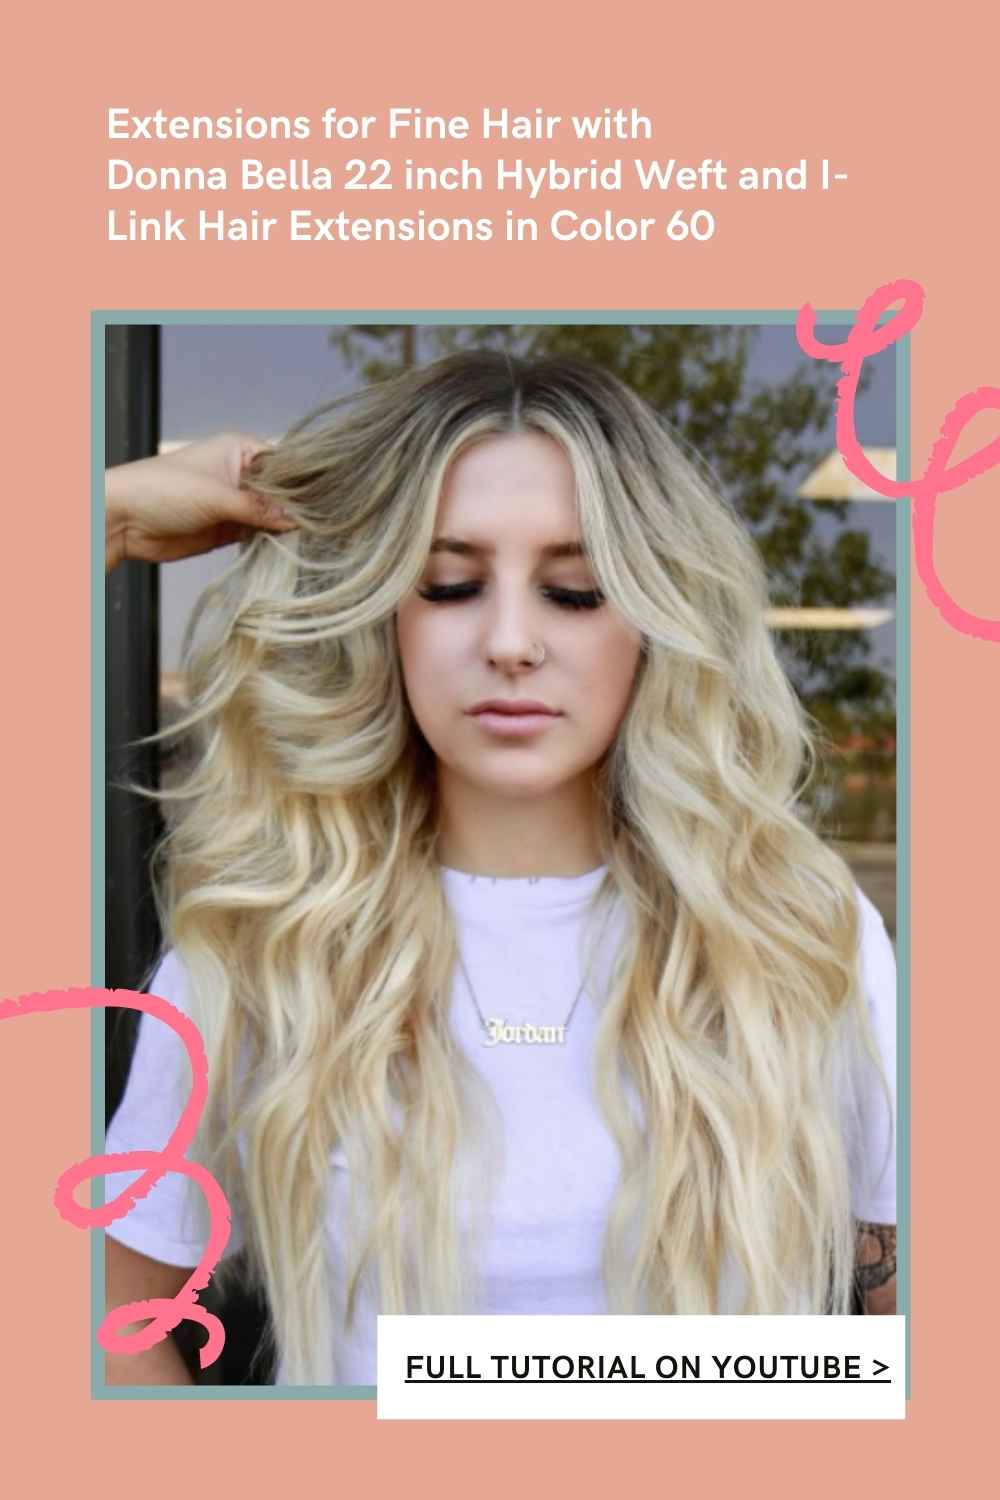
One of the best extensions for fine hair are hand tied wefts! Using all Donna Bella hair, I am going to show you how to do an easy weft install!
Fine hair is a tricky one! You want to keep in mind that most fine haired girls are nervous about extensions because they don’t want to damage their hair and make it even finer. Obviously its never the goal to damage your clients hair, that is why one of the best extensions for fine hair is hybrid or hand tied weft extensions.
(skip down to the video to watch it here),
The Process
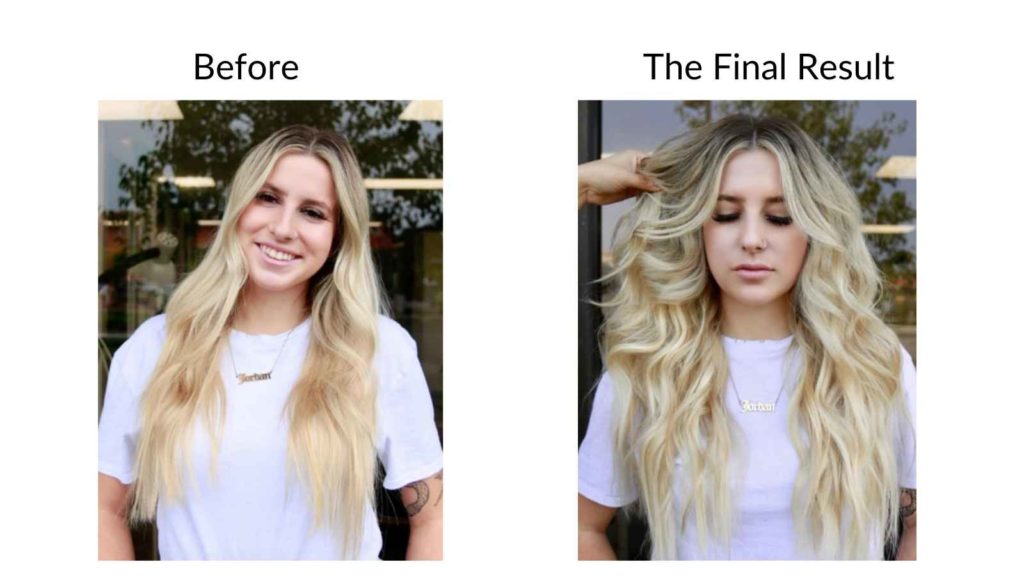
First things first: color matching! Her hair is pretty light, so I decided to go in with Donna Bella Hybrid Weft 22 inch extensions in color 60. I also used I-link extensions in color 60 for extra fullness on the sides.
We were not looking for length, so there was no reason to go in with a bunch of rows. My client and I decided on on row of hybrid weft extensions and a couple of I-links on the sides. I took a horseshoe shaped section slightly under her temple and a little over her occipital.
When doing extensions, you want to have clean sections. The messier your sections are, the more breakage and damage you will have. Some clients have a lot of baby hairs, so sometimes you will need to go in with a hairspray to smooth out the flyaways.
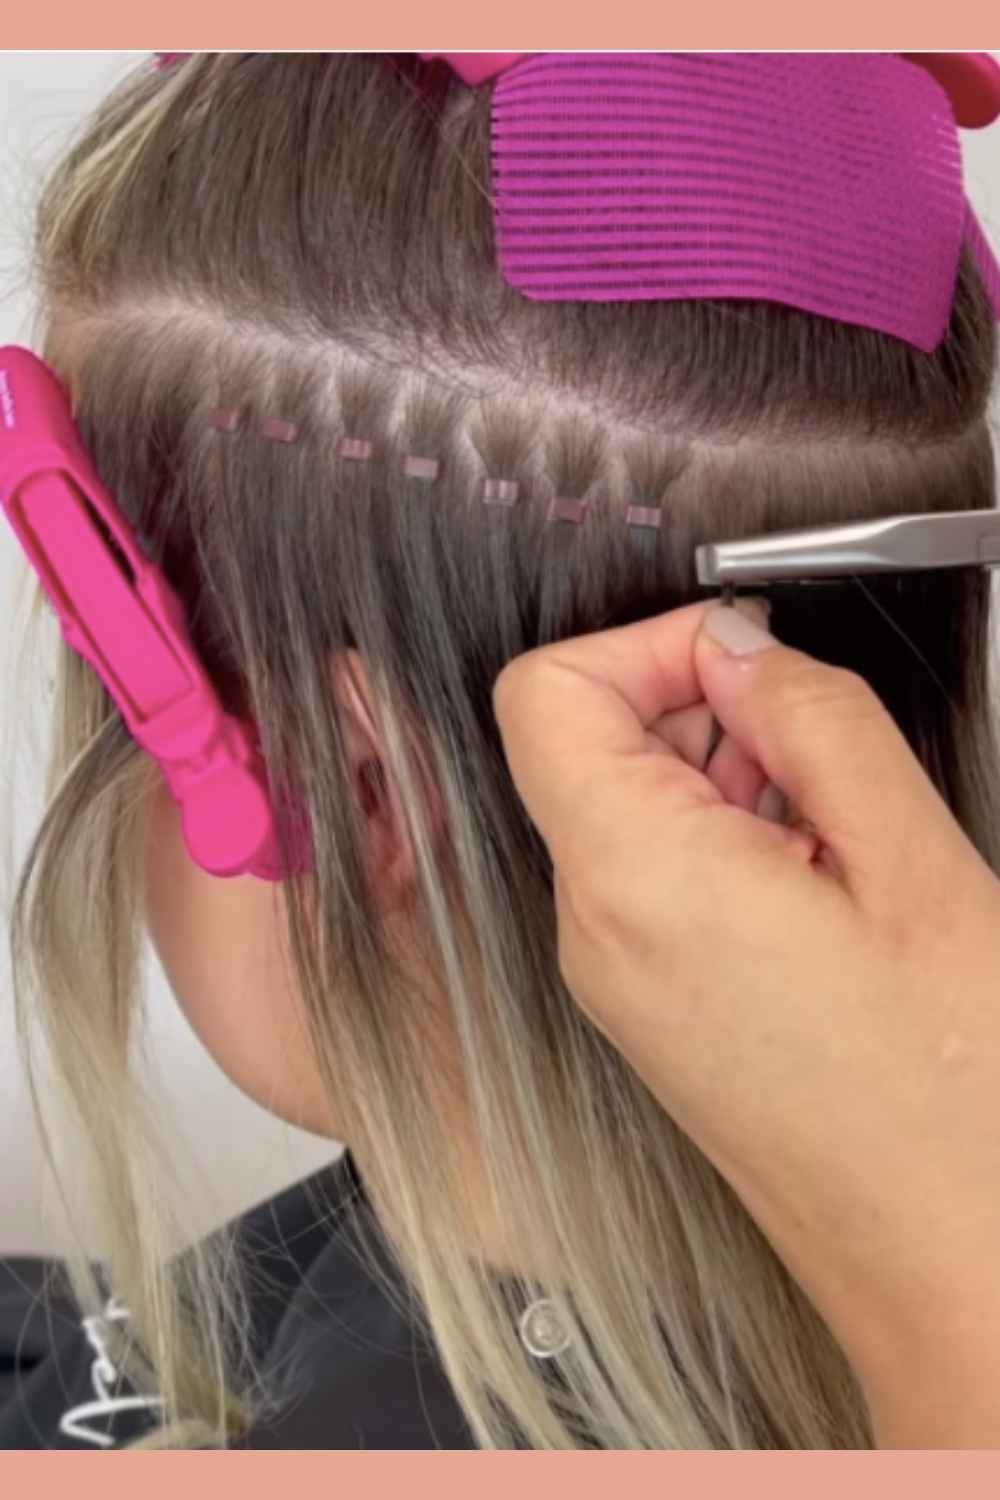
Pro Tip! When beading, use a bead that is similar in color to the natural base of the hair. This helps make sure there is a seamless blend. You want to make sure your section is the same width and depth as your silicon bead. Silicon beads are the best option when doing weft extensions because they won’t slip as easy if you were using a metal bead.
It is very important to line up you weft before you make the cut. You have to make sure that it is perfectly lined up, otherwise you will be wasting weft and it can look messy. It is also way easier for you when installing the weft. For my model in this video, we did 4 wefts because she just wanted thickness.
When pinning the weft to the clients head it is important to make sure everything is perfectly lined up. Sometimes one of the wefts can slip, so use as many clips as you need to ensure that doesn’t happen. If you need someone to help you, don’t be afraid to ask.
To determine the color of the thread, you can either use the color of the clients natural base, or you can determine by the color of the clients weft. In this case, because her weft is so light, I chose to go based off of her weft. The beauty of this technique is that everything is so customizable to your client. I recommend using about 6 times the length of your weft for your thread.
Sewing your weft
It is not as hard as you may think to start sewing in your weft. I like to start couple of beads back, because it anchors it a bit more. The anchor spot is very important, it will be the first part that goes if your weft starts to unravel. It can cause stress to the natural hair, so be very careful. I like to loop my stitch multiple times to create the most secure anchor.
Refer to the video around 7:30 to see further visual instructions.
When sewing your weft, you always want to make sure that the thread loops around for a proper and secure stitch. You also want to always pull the thread upwards when securing it at the base for maximum tightness. Don’t forget to ask your client if at any point anything is uncomfortable. If it is, readjust as necessary.
Keep in mind, it is best to sew on the right and left side of your bead, never on top. This is because it makes for a super easy and quick reinstall. All you have to do is flip the weft up, unclamp the bead and slide it up. If the thread is over the bead, it will get in the way and the thread will become loose. I would only do this reinstall technique once before I would do a removal and full install again.
To finish off the weft, simply repeat the same motion of looping. When you get to that very last bead, go back a couple of beads, similar to the beginning anchor. Remember, the further back you go, the more secure your anchor will be. It is going to be the same thing on the other side. To tie the weft off, create a snug knot. I chose to knot it 3 times so I was sure it would not unravel.
I-links for fullness
My model wanted to have a bit more fullness around the face. We decided it was not necessary to add in a whole other row of weft extensions, and that I-links were going to be her best option. Using Donna Bella 22 inch I-Link extensions in color 60, we installed 6 I-Links right around her face.
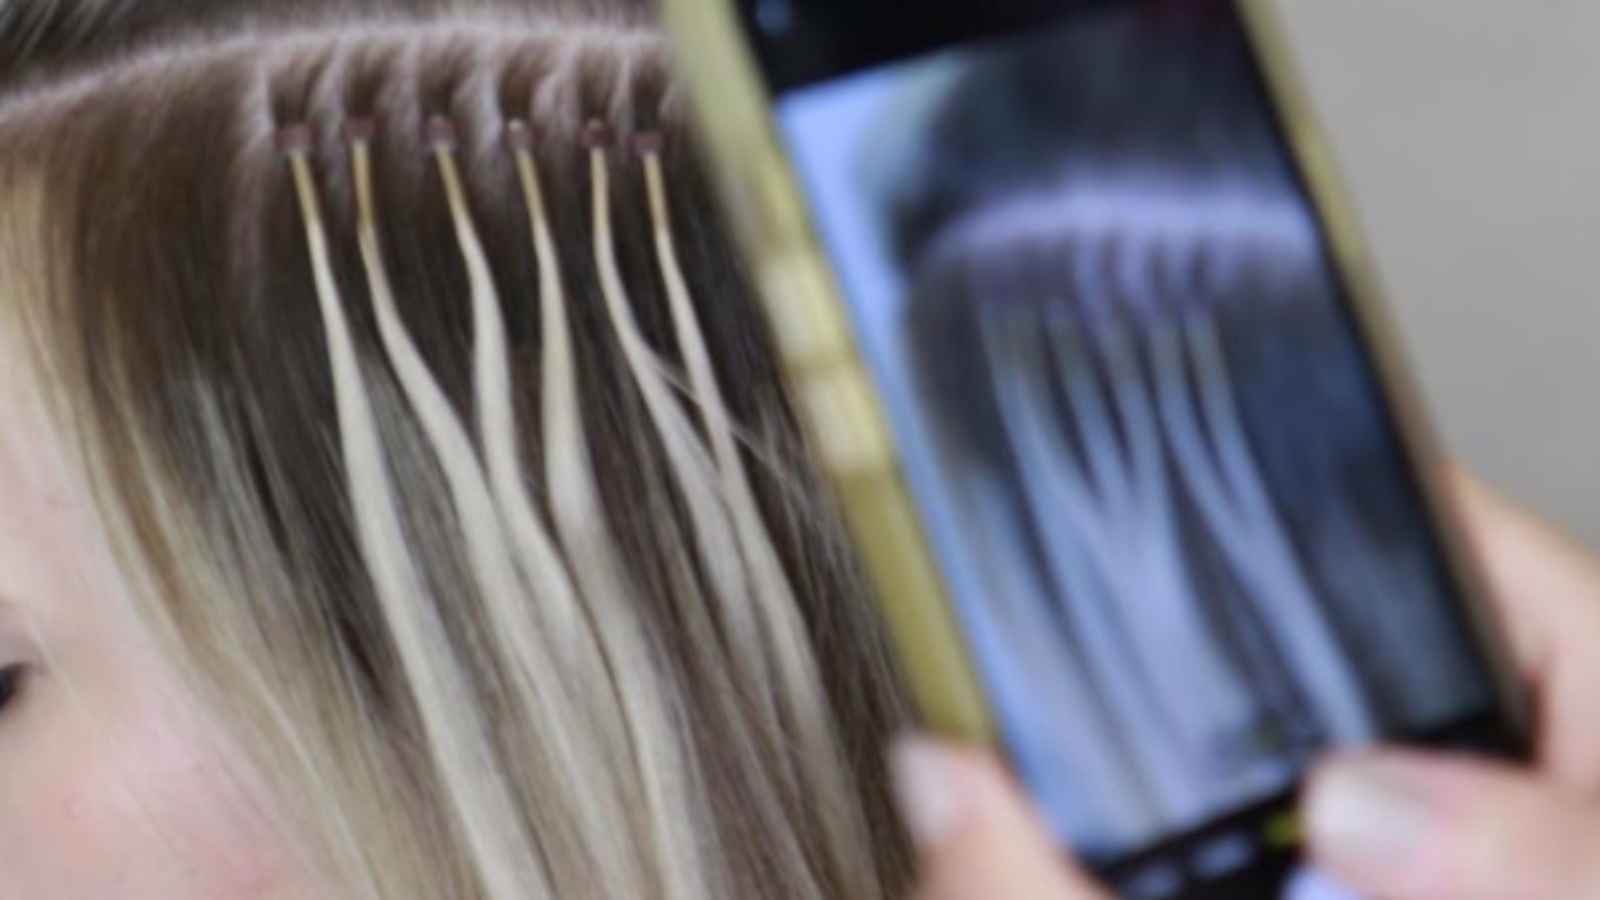
When deciding how far you should go back, it is always a safe bet to to the comb test. In the video you can see my first attempt was too shallow, because you can clearly see the comb. The next time, you can’t see the comb and I know that you won’t be able to see the I-Links when she puts her hair up.
Similar to the weft installation, you want to make sure your width is the same as the bead, but you want to make sure that your depth is the same as the tip of the I-Link. Loop it through, and insert your I-link before clamping. It is important to make sure the top of the I-link doesn’t stick too far out because it could irritate your clients head.
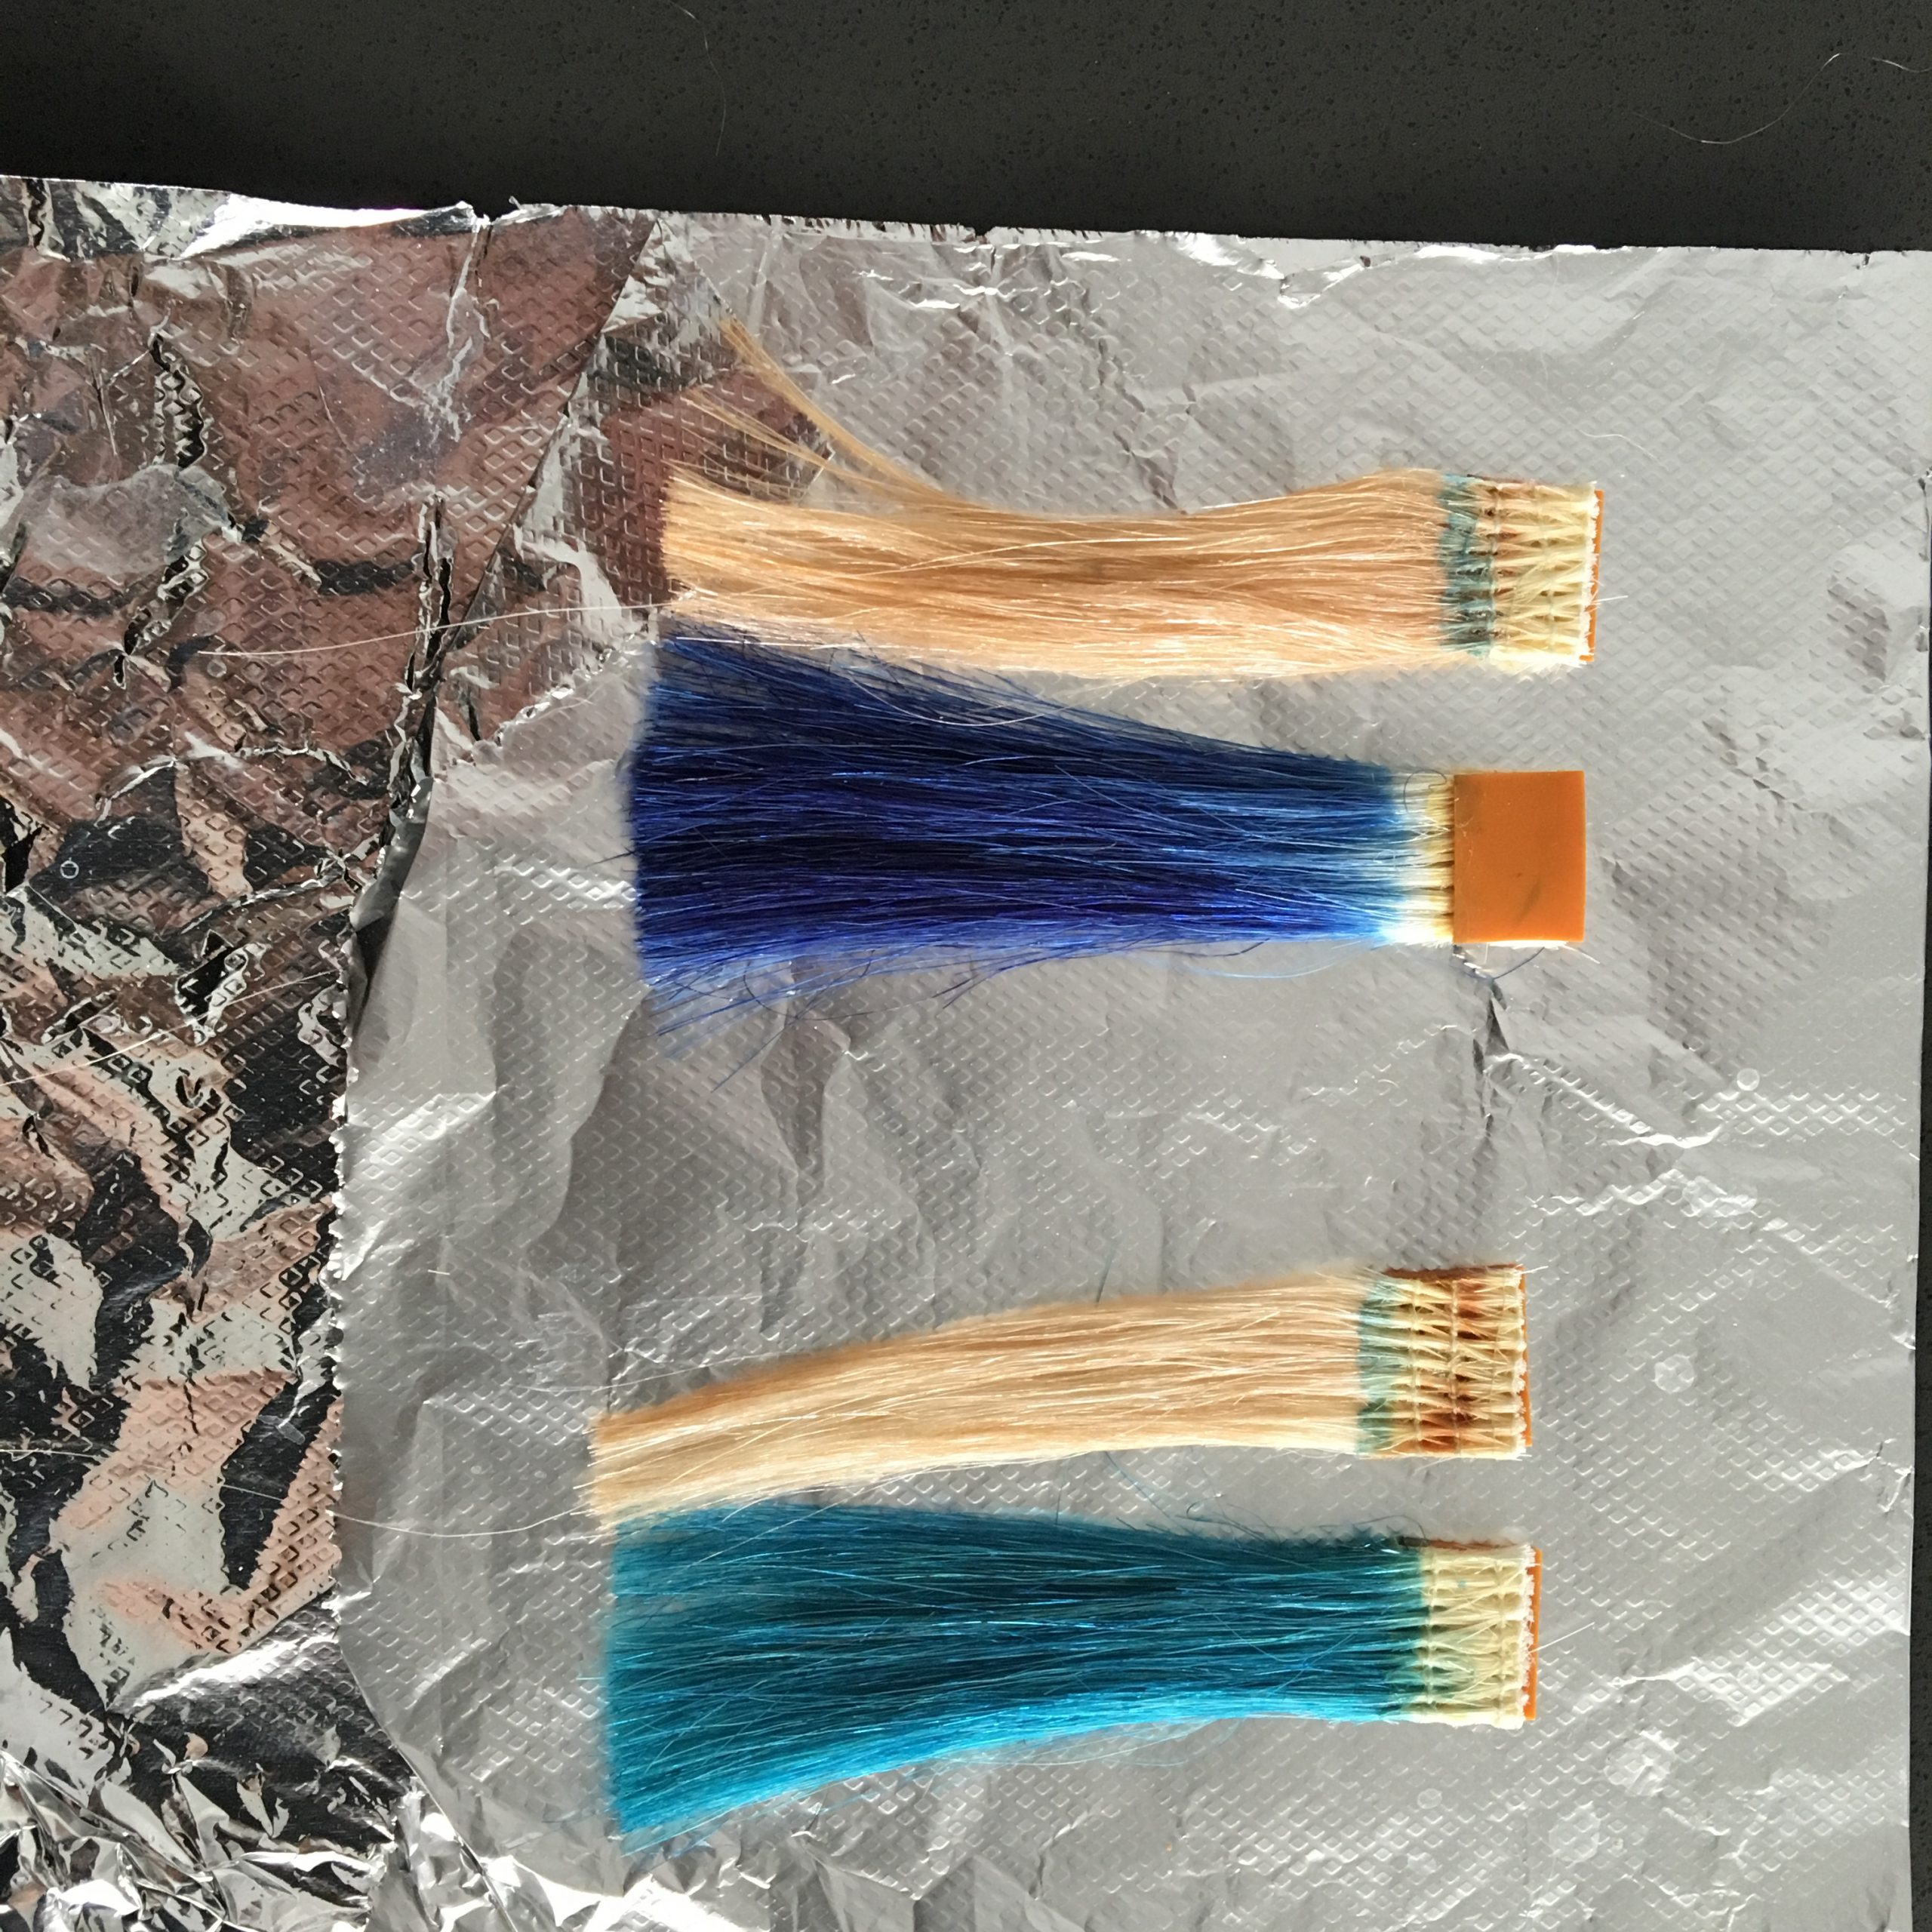
What’s nice about the I-links is that they allow for 365 degree motion so you are easily able to put your hair up. It also means that they are more customizable. If you want just a couple pops of fullness around the face, they are perfect for that, or they are also great for a couple pops of color, like pink or purple, without having to dye the hair.
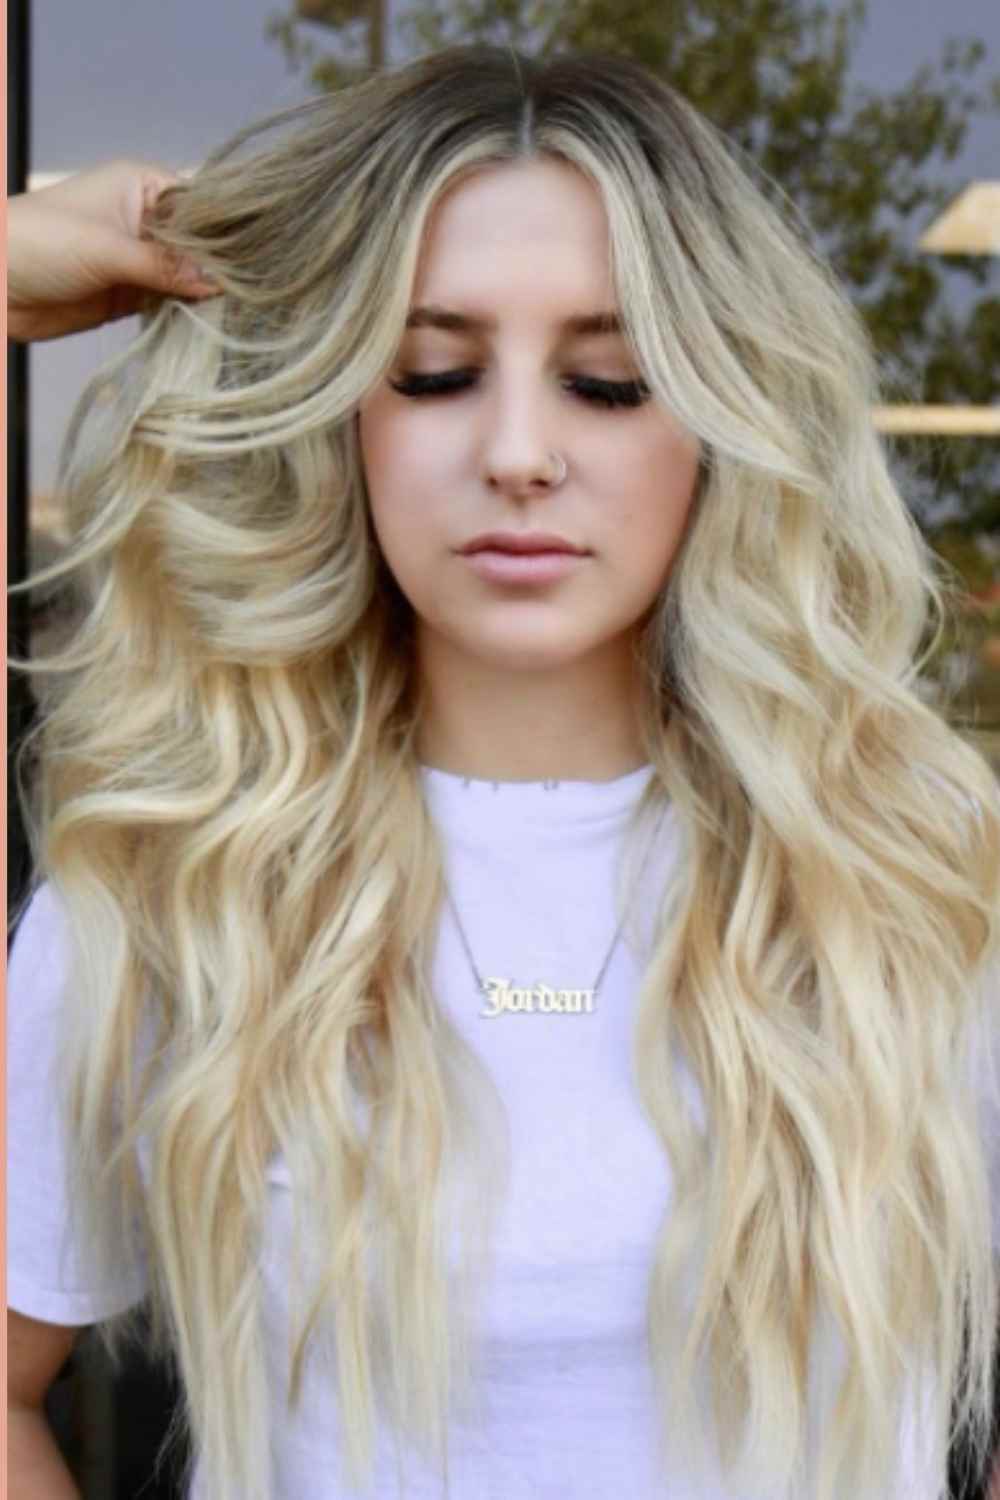
Tips for cutting extensions
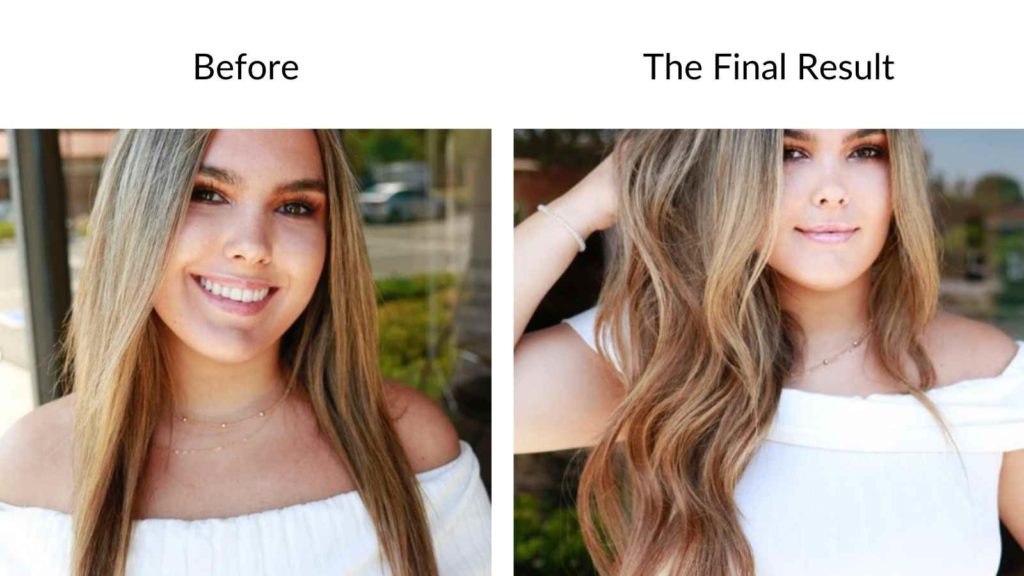
This step is so important, so don’t forget it! The goal is to always make the extensions look natural, so blending it out at the end is super important. Have your client stand so you can get a better feel of the length. Always blend the blunt line out with a point cut at the ends for softness. Pull the hair forward and trim to get rid of any straggly hairs.
If your client has a super blunt haircut, take your texturizing shears and shatter the ends for maximum blending.
Take your shears or razor and slide cut down from your clients natural hair to the end of the extensions to blend out the line. Around the face, do the same thing to create softness and to make it look as natural as possible.
Do not cut or blend the extensions while the hair is wet.
Tips and tricks to take care of extensions
Brush, brush, brush! It is so important to brush the extensions to remove any knots that could cause damage. Brush gently, but make sure to brush the bonds too. You also want to have your clients tie their hair when they are sleeping to prevent any knots or tangles
Try to wash the hair the least amount as possible, and make sure to dry your extensions afterwards. Use oils and sprays to help keep the extensions soft, but do not apply them near the bonds of your hair. This could cause slippage and could damage the hair.
Stay away from chlorinated water, and if you must go in the ocean or pool, secure your extensions in a tight braid. Apply conditioner before to have a barrier between the extensions and the water. Wash hair immediately after with sulfate and paraben free shampoo and conditioner.
Maintenance Tips for Long-Lasting Hybrid Weft Hair Extension
Easy way to install Hand Tied Wefts!
One of the most common concerns for hair extensions is, will my extensions be noticeable? Clients will be concerned with a tape or a bead showing when the wind blows in the wrong direction, but with the hand-tied wefts, hybrid, and machine weft extensions, they blend so seamlessly. They are also one of the most gentle types of extensions on the hair.