


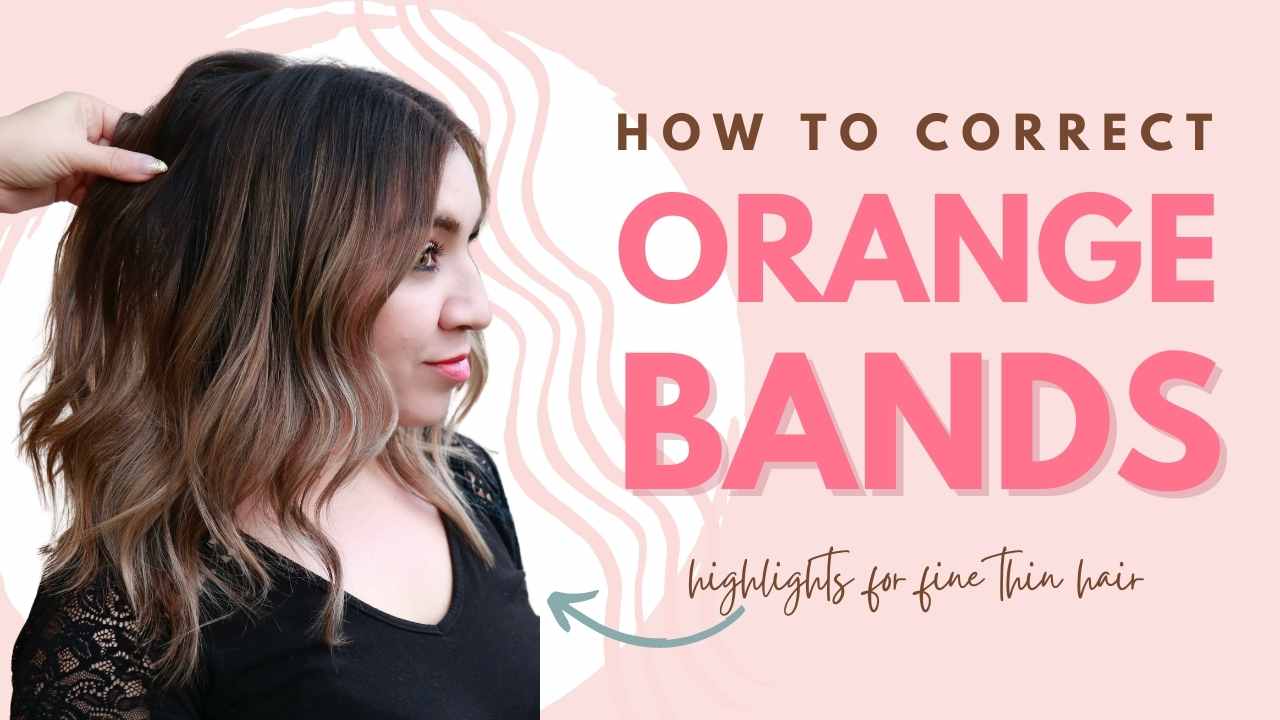
Watch how I take this orange, banded hair to a beautiful bronde in a color correction from dark to light with a mix of highlights and lowlights!
My client came in looking to go lighter while getting rid of some previous orange bands. She came in with super dark hair up top and light hair on the bottom. Watch how I take this orange, banded hair to a beautiful bronde in a color correction from dark to light!
Sectioning
Whenever I do a color correction, sectioning is super important. She was going for a dimensional end result, so there was no need to do a full highlight. We started with a section upfront for her money piece, and then two sections up top. I then section it right behind her ear to her apex and halfway down the back of her head to her occipital. Don’t forget to take a slight V for added depth.
In my consultation, my client mentioned that she doesn’t wear her hair up. Her hair is already on the finer side, so I felt that there was no reason to add highlights there. This is customizable to your client. If they do wear their hair up a lot, perhaps it would be better to add a couple of foils underneath to create added brightness.
Another reason I chose to do a partial highlight on her fine hair, is because it also created depth that makes the hair look fuller. Visually, it makes the hair look denser. It’s all an illusion!
The Process
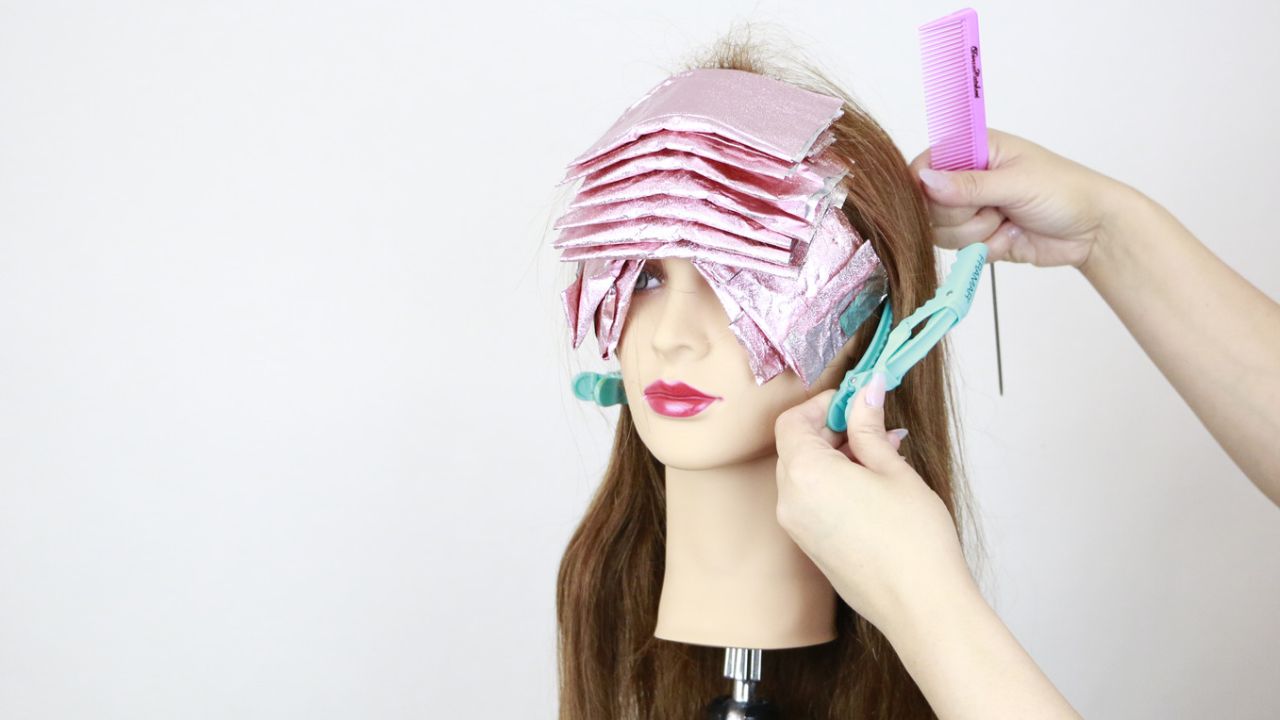
Starting at the occipital, I took a slight V section of hair. I am utilizing my favorite Coo Board as well as my Framar foils to ensure my foils are taut and fully saturated. I am taking my Framar Dreamweaver comb and creating beautiful babylights for the highlights. Because she has fine hair, I am also using Kenra Professional Simply Blonde Beyond Bond lightener.
Beyond Bond lightener is my favorite lightener to use on fine hair because it has a dual bond complex. Not only does it protect the inner and outer cuticle, but it also leaves the hair feeling super soft. I also love the fact that this lightener is still able to give me 9 levels of lift!
Once I am done applying the highlights for that section, I am taking my 7NA formula and pick out the orange pieces underneath. I could have applied the 7NA all over the hair, but she did mention to me that she wanted to be bright still. Ash can reflect dark, so I decided it would be best to pick out the orange pieces and do corrective toning and hair painting instead.
SHOP FRAMAR HERE!
You want continue using a brick lay section all the way to the tops of the ears. This is where you can get creative with your sections. As mentioned, the more depth you have, the thicker the hair looks. I am going to take sharply angled sections (not vertical), and my Dreamweaver comb, to create pops of blonde and a seamless blend. Plus, the slight tease at the root from the CooBoard helps too!
Once I have inserted all of the foils up top, I am going to continue adding the lowlights in the same pattern. Keep in mind you want to leave some out for brightness, so only pick out the orange pieces.
I highlighted her money piece, paying special attention to her widow’s peak. You can see that she had a little bit of fragile hair around her hairline, so it is super important to be careful and use that beyond bond lightener. I then continued my pattern of highlighting and lowlighting until I reach the top of my section.
Once the foiling was complete, I then took Kenra Professional Clay Lightener and tipped out some of the pieces I left out. This is why I went in with lowlights instead of fully saturating all of the hair left out in foils. It will give me a couple levels of lift without damaging her hair.
How to Foil a Widows Peak
When foiling a widow’s peak, sectioning is everything! You simply can not take a horizontal section on her forehead, it will barely show up! Instead, you want to foil directly on the two separate points of her hairline. You can take slices for more brightness or you can take weaves for more of a subtle look.
Once you have done 1-3 foils on each side of her widow’s peak, you can then start taking horizontal sections. This will give maximum brightness on her hairline and it will create a seamless blend. Again, you can mix it up with slices or weaves.
Around her hairline, I did the same technique, I took two back-to-back highlights and then I followed up with a lowlight on both sides of her head.
My favorite Tips for Colormelting!
My favorite way to color melt is to do it on damp hair. It will give you the most seamless blend and it will also not be patchy. If you attempt it on dry hair, I would definitely use a color on the bottom to help blend it out.
I would also recommend using a wide-tooth comb to brush it and blend it out. The bigger the comb, the less you will drag the color down, the smaller the comb, the more you will drag it down.
Always use the same level of the client’s natural hair when choosing a color. If you do it too dark, it can leave a line of demarcation when growing out, which is exactly what you want to avoid. If you do a color too light, it may not effectively blur the lines.
I usually prefer to do the color melt before the toner, so it is able to process slightly longer and cover and blend what is supposed to.
What Colors to use when color correcting
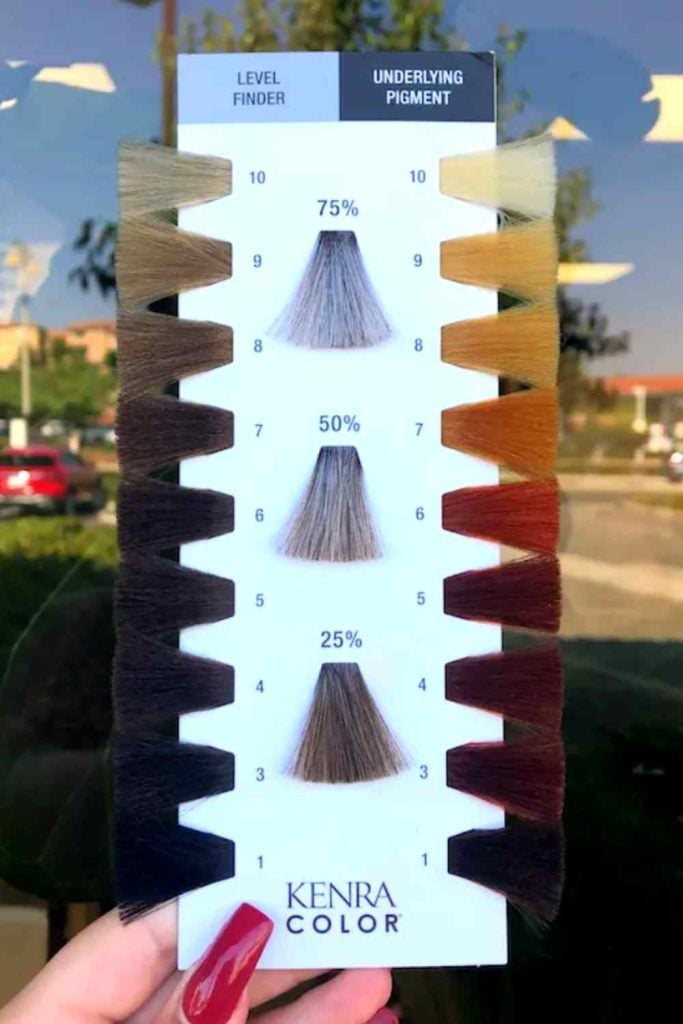
Every color correction is going to be different. However, you need to go back to the basics when trying to color correct. My client had a lot of oranges. In Kenra color, our Ash is blue-based. I would always use an Ash of some sort or even an SV rapid toner.
If my client has a lot of gold or yellow, I would go in with a violet of some sort to neutralize it. In the back of the Kenra Color Swatchbook, it gives you a color chart as well as what the recommend to put over the unwanted color to neutralize it.
Formula
Formula using @Kenra Professional
Beyond Bond Lightener 20vol
Lowlight in Demi 7NA 9vol
Colormelt Demi 6NUA 9vol
Beige Rapid Toner 9vol

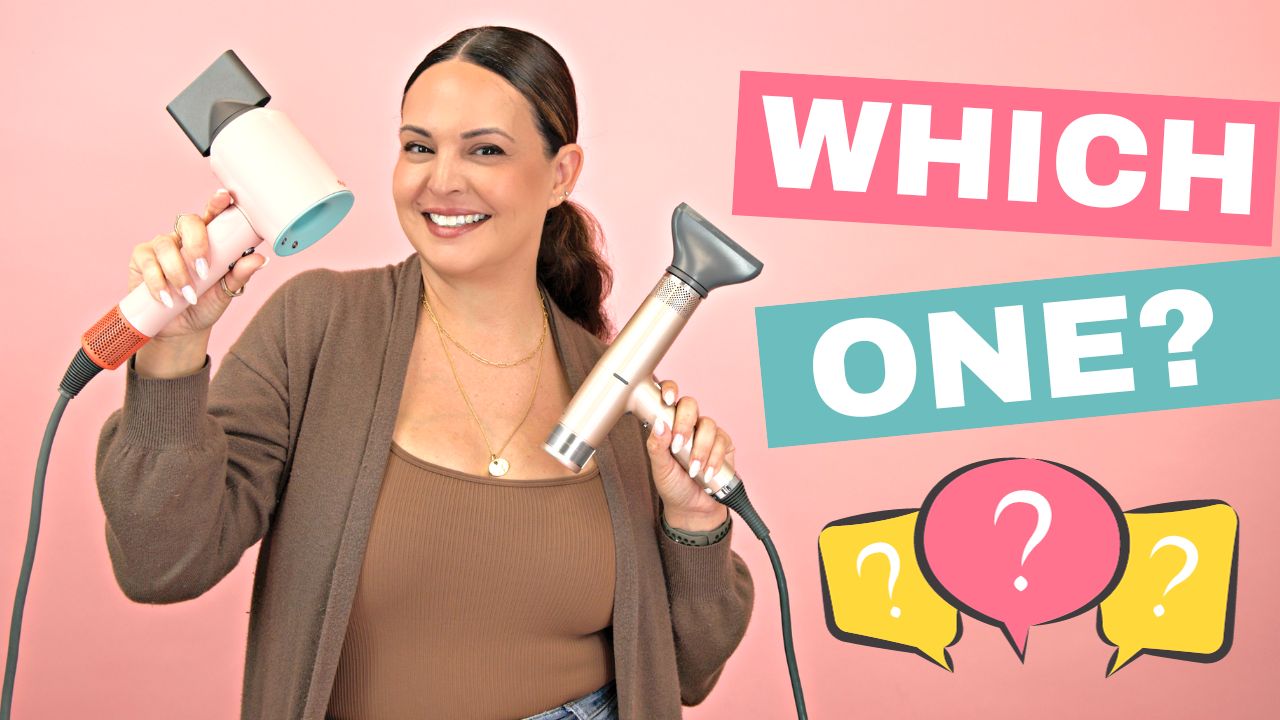
In this blog, I go over the best styling products and tools for hairstylists! They have completely changed the game for me!
In this blog, I go over the best styling products and tools for hairstylists. These are my absolute favorite hair tools and products for beginners and seasoned stylists! They have completely changed the way I do hair and I simply can not do a client without them. From styling tools to balayage boards, read on to find out my favorite hair tools and products!