


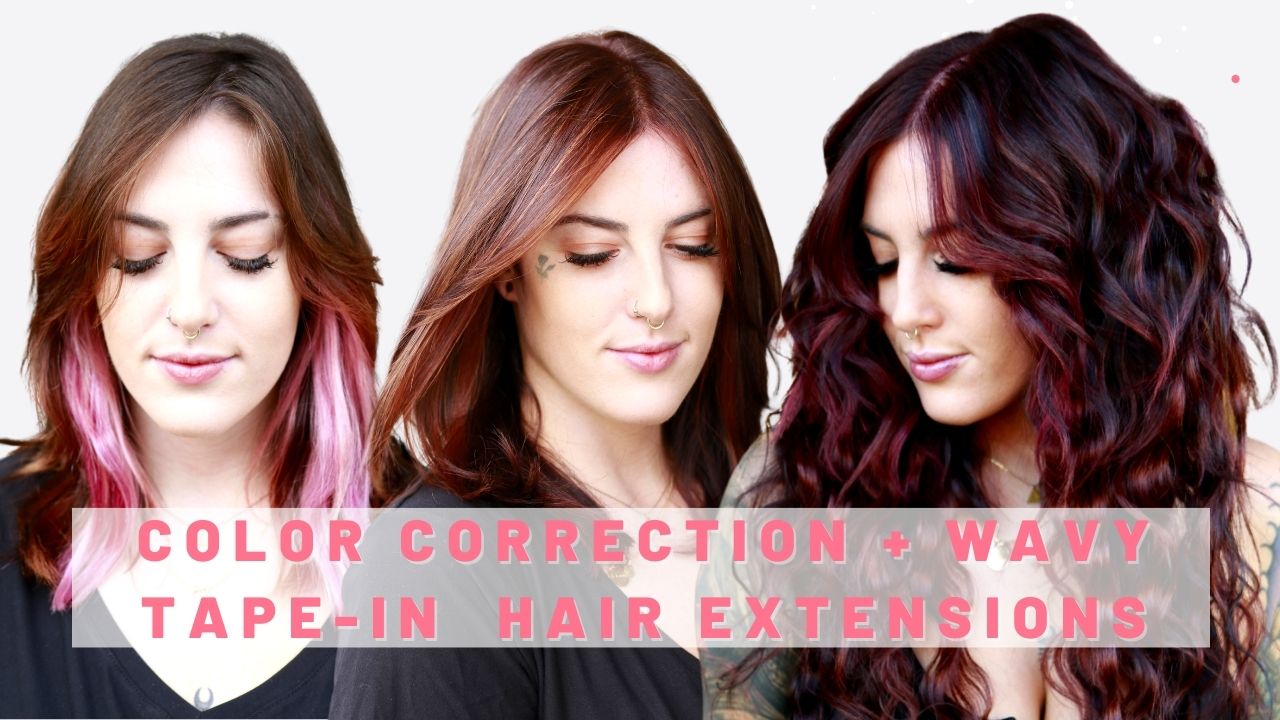
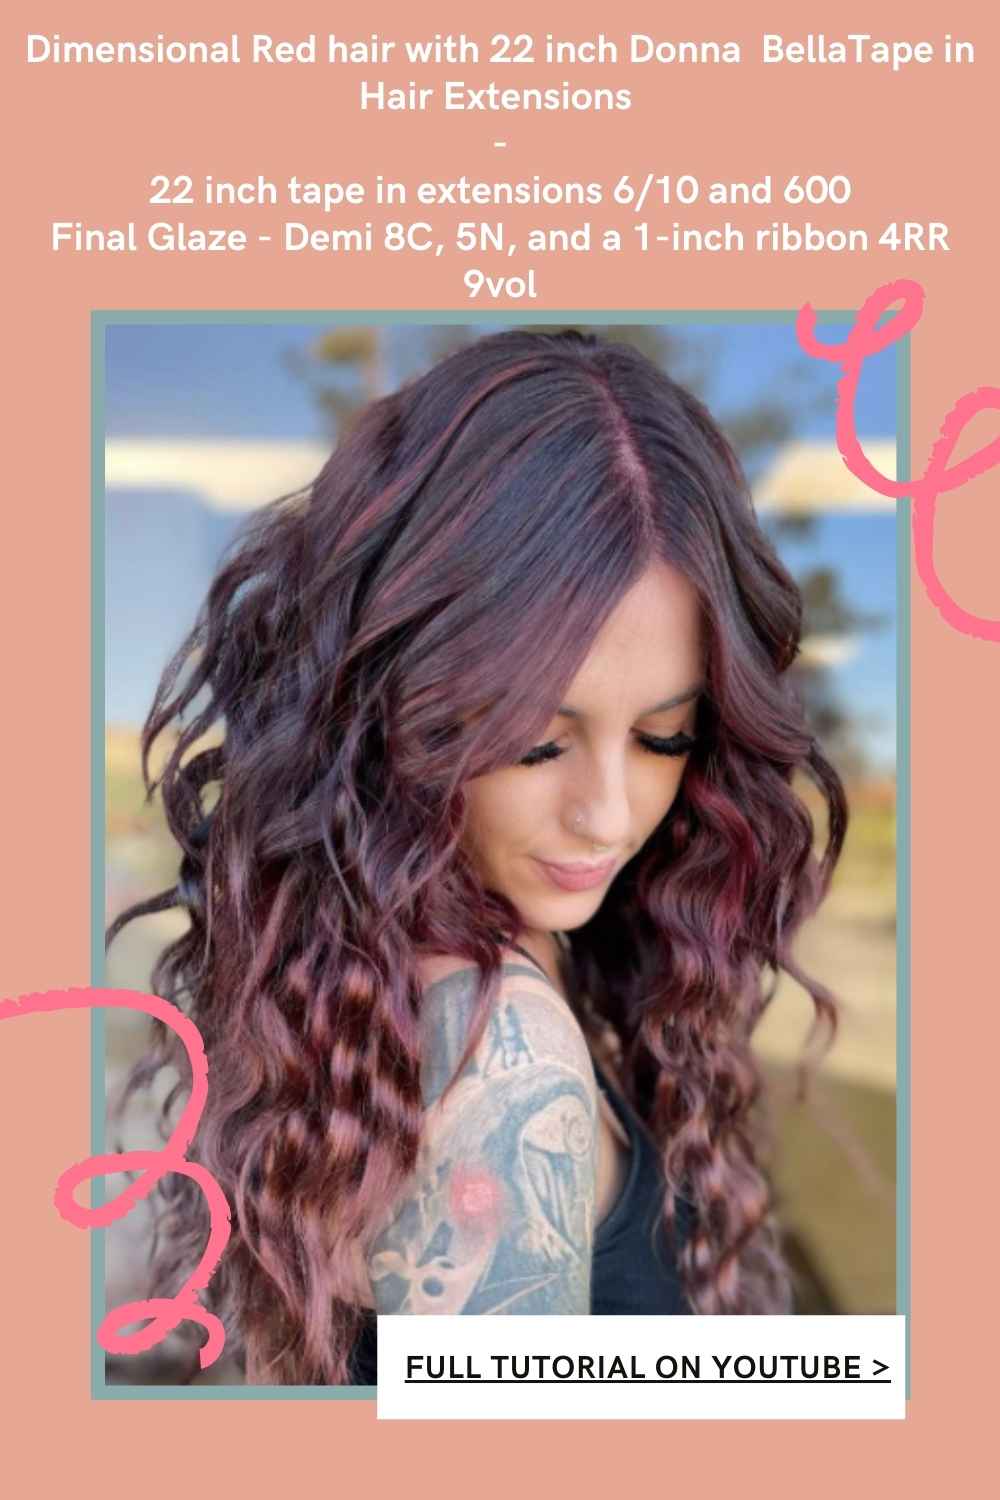
In this two part Youtube hair transformation, watch how I take chunky highlights to a beautiful dimensional red hair color with tape-in hair extensions for wavy hair!
In this two-part Youtube hair transformation, watch how I take chunky highlights to a beautiful dimensional red hair color with tape-in hair extensions for wavy hair! You all know that I love a good hair transformation, so make sure to watch and see how I take her hair from short to long in one session.

TO PURCHASE DONNA BELLA HAIR USE CODE MIRELLA FOR 10% OFF
Removing Old Tape-In Extensions
Out with the old and in with the new! If you are looking to install new hair, always remove the old hair before you start. This will save you time and product. We are taking her from short to long, so I am removing her old extensions. Click here to watch me install the old extensions.
Taking my Donna Bella Tape-in bond remover I spray it directly on the old extension at the base on both sides. The oil in this remover easily breaks down the keratin in the extension so it can gently be removed from the hair.
Let the remover sit for a couple of seconds and then remove the extension.
Part 1
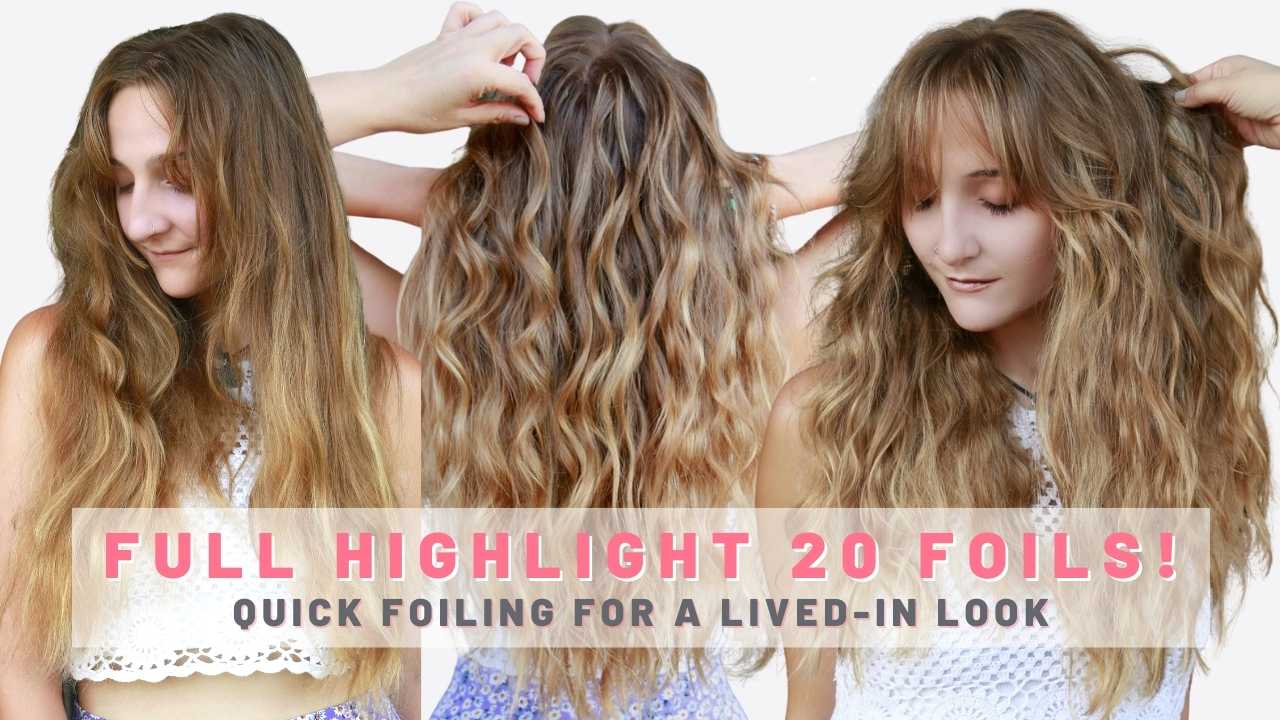
Natural Copper highlights
She had a pop of blonde around her face and after consulting with her, we decided she was ready to part with it. I filled her with 7CG and 9 vol and let her process for 20 minutes. After fully drying her, we were ready to get started with her highlights.
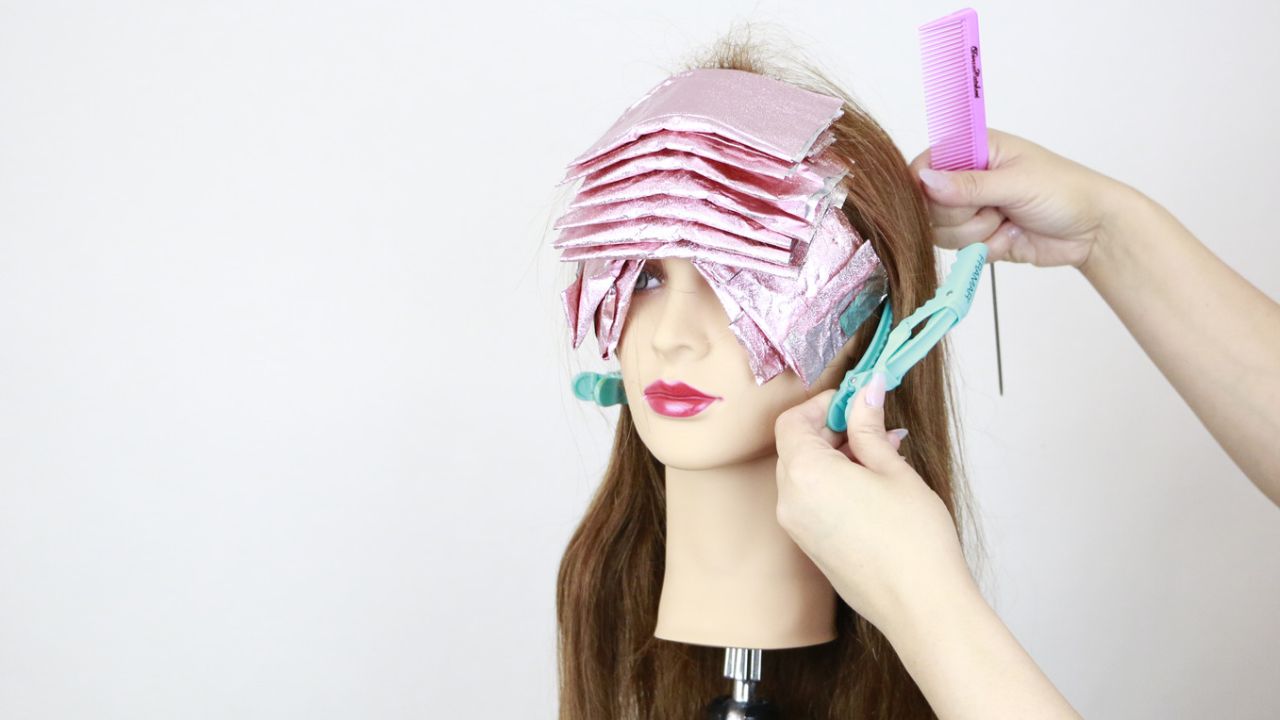
We don’t want to be super light, so we are starting out with a traditional partial highlight. Starting with a V-shaped section in the back to create a beautiful vailed look I am taking my favorite Framar weaving comb and taking fine sections. Carefully tapping 6BC with a 1:2 mixing ratio right at the root for a diffused look, and then blending it down into Blue Powder Lightener with 20 volume developer.
I love doing a traditional mohawk section for partial highlights because it creates a super diffused look. On the sides, I wanted to break up her previous pop of blonde that we filled early in the video. I decided to do a combination of a color melt and lowlights to blend it out as much as possible.
To richen up the rest of her hair, I am taking my 6BC formula and applying it all over the rest of her hair processing for 20 minutes at room temperature.
For her final Glaze formula, I used 8C and 9 volume developer on wet hair!
Part 2
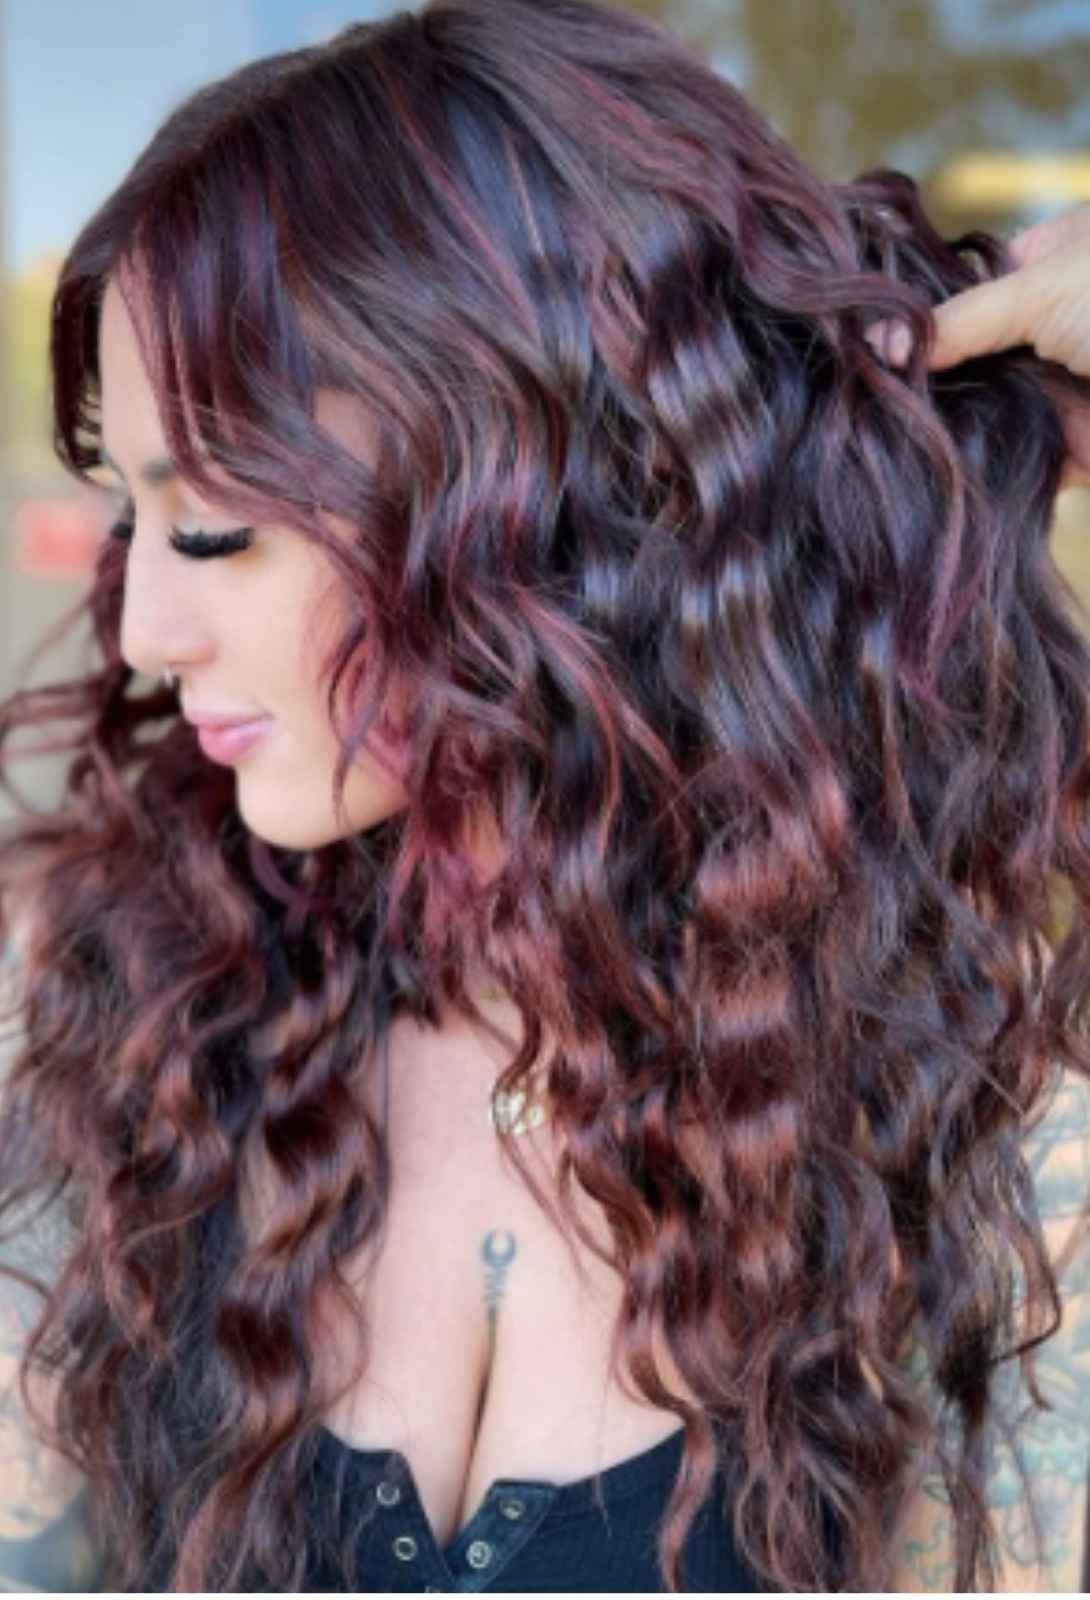
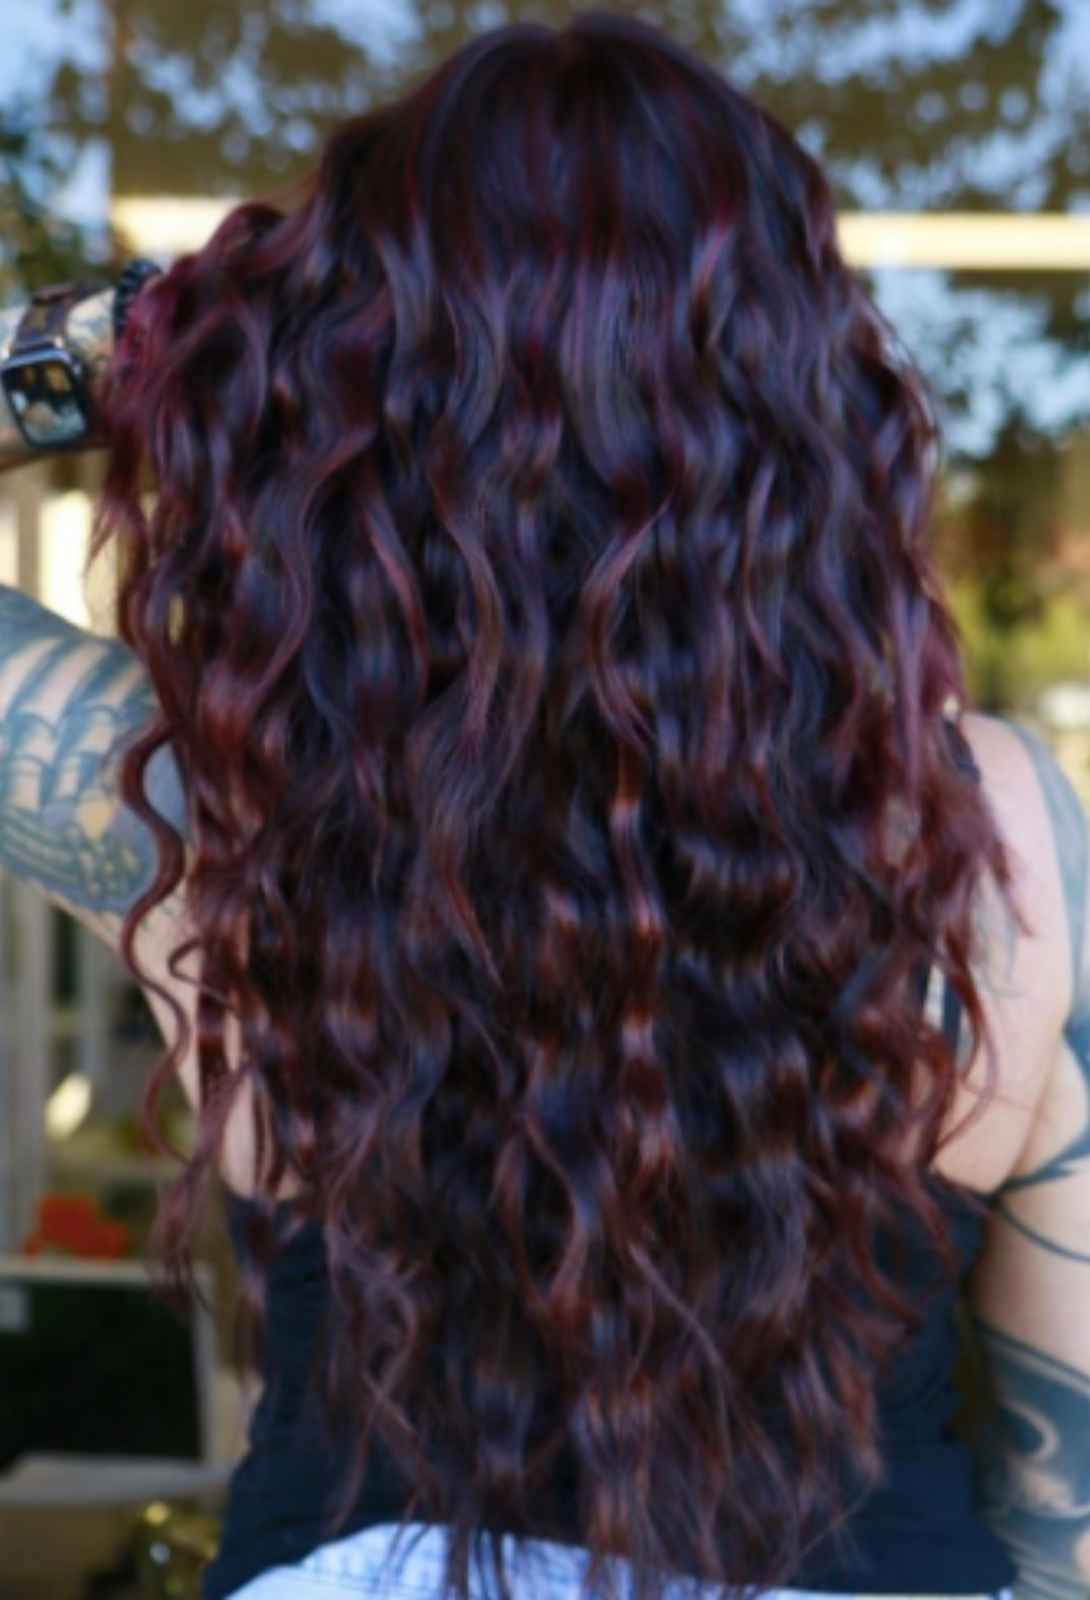
Wavy Tape-In Hair Extensions
When it comes to extensions, I feel like curly and wavy hair never gets enough love! Luckily, Donna Bella Hair extensions have created a line of extensions specifically for wavy and curly-haired gals.
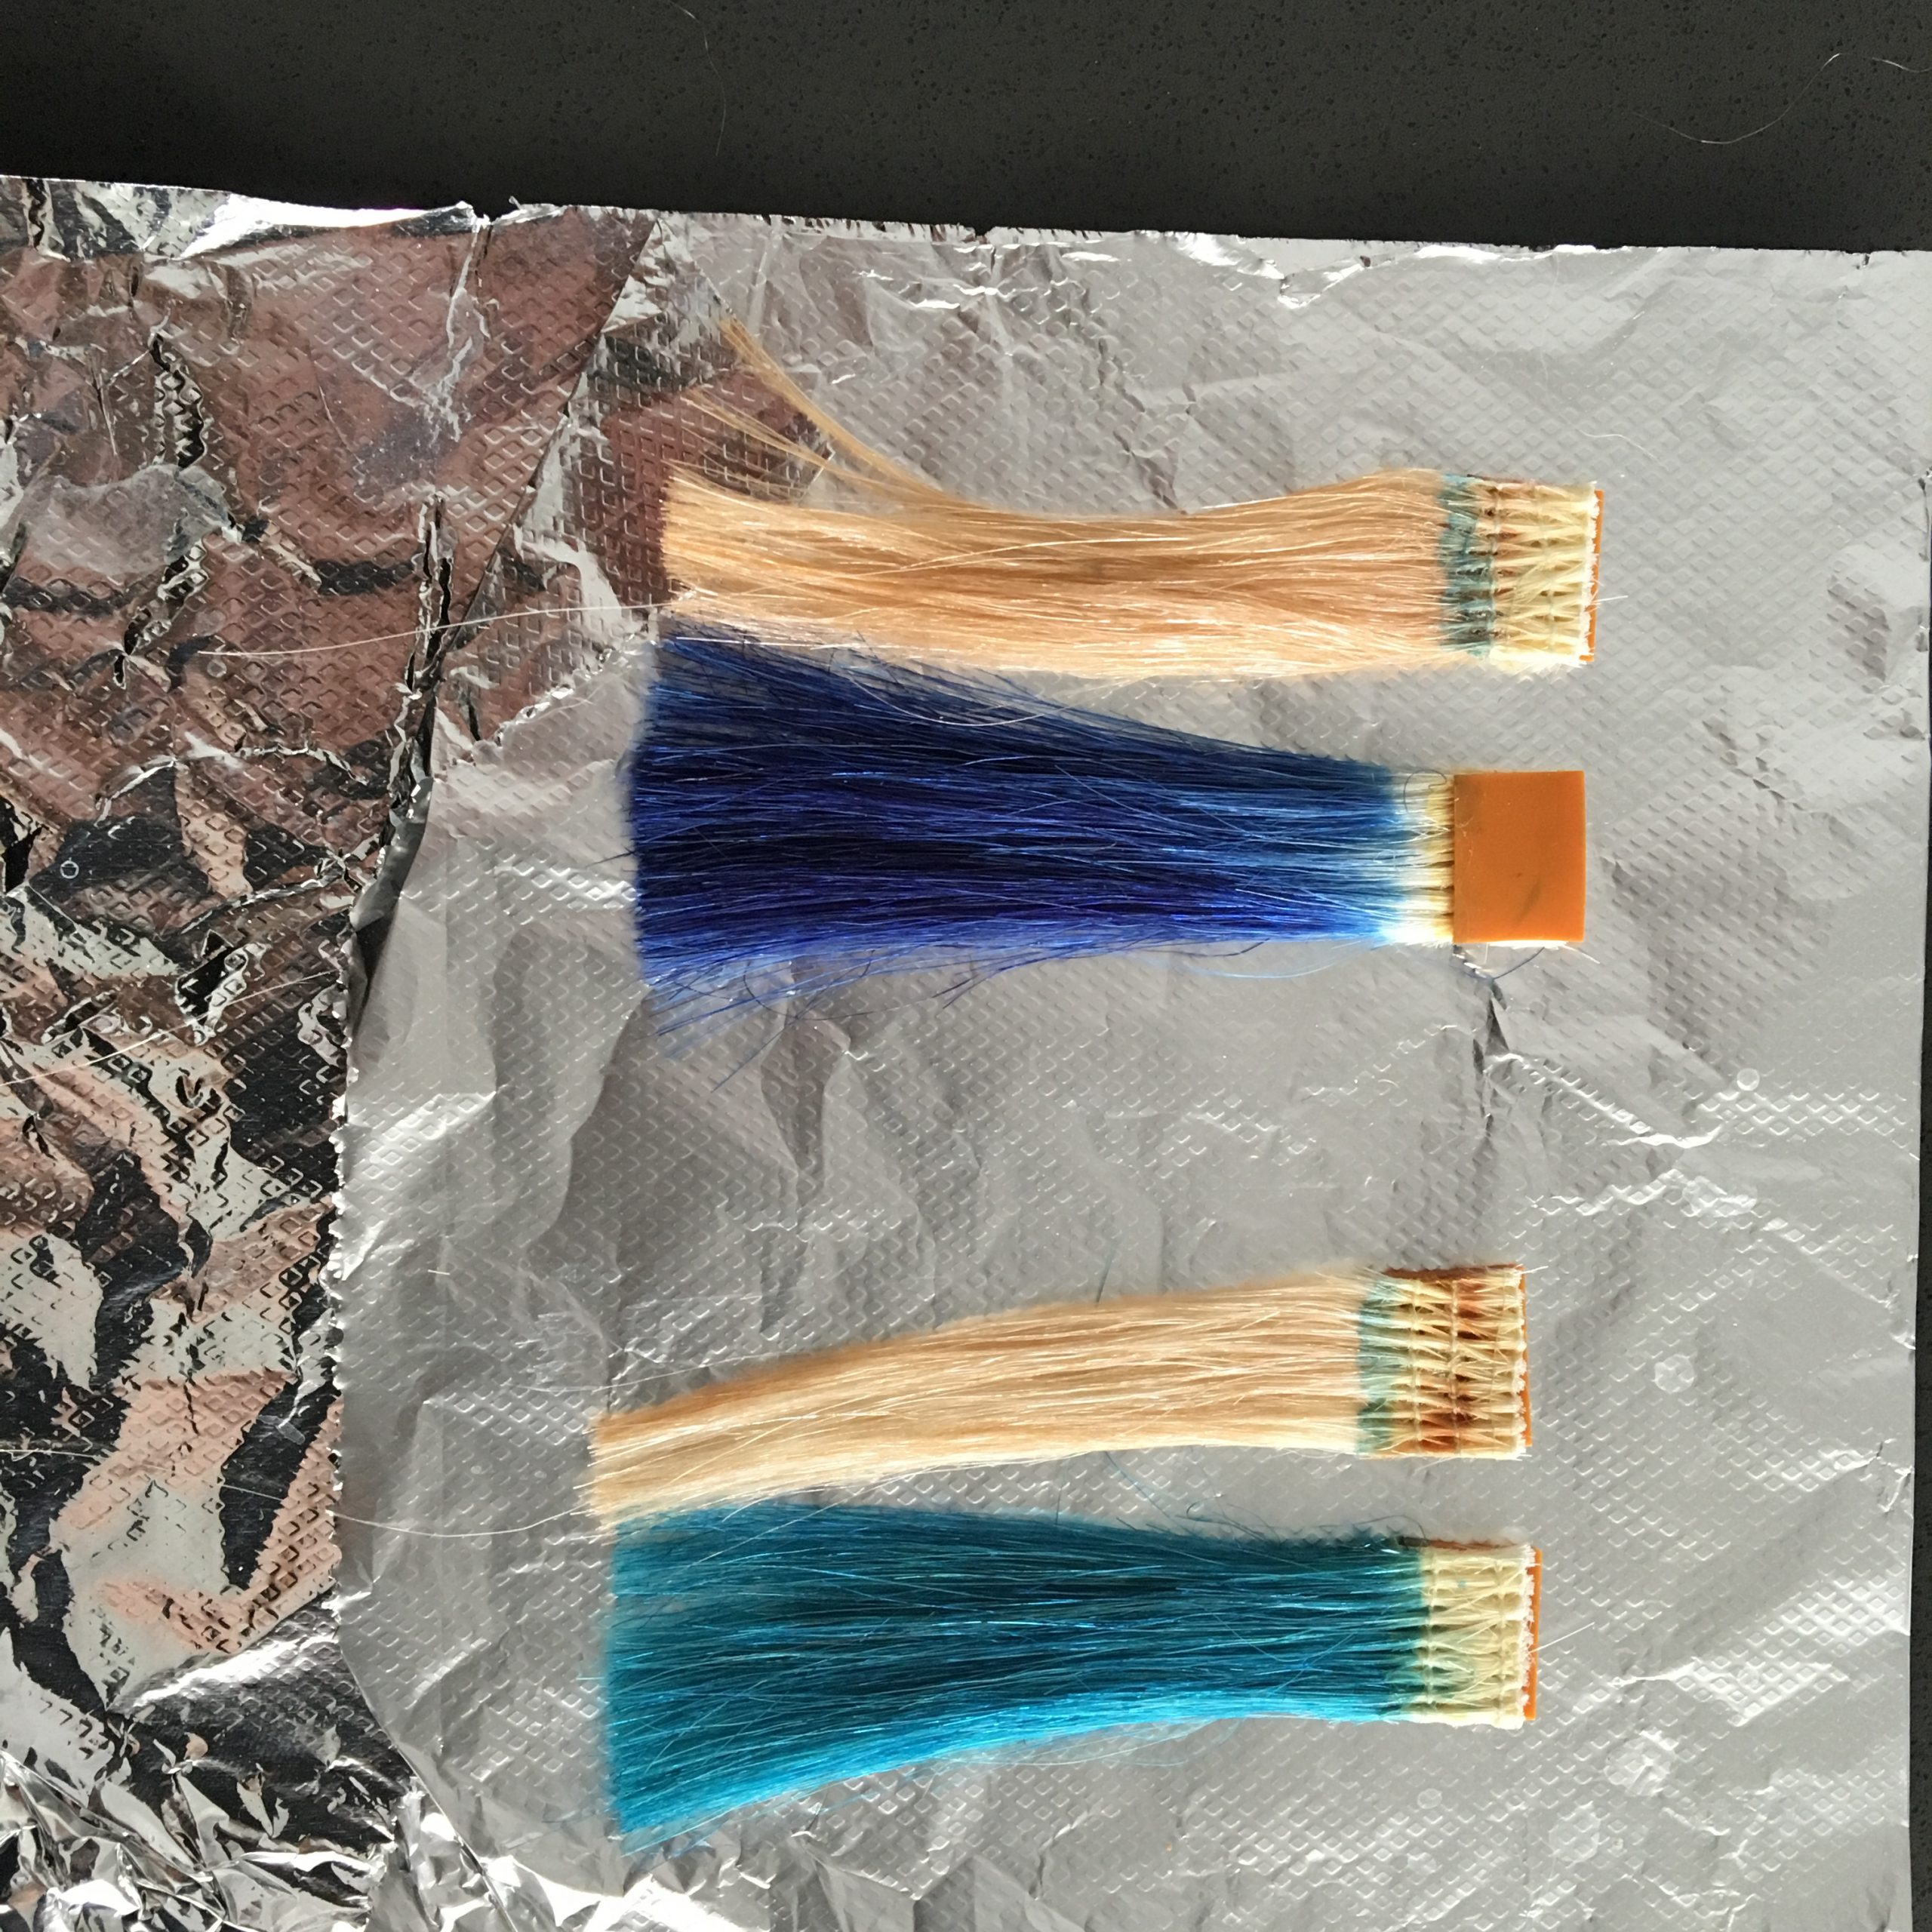
Starting off with 3 packs of 22 inch Pro Inch Wavy hair extensions in the color 6/10 and 600 we custom colored those extensions with Demi 8C, 5N, and a 1-inch ribbon 4RR 9vol. Note that because the extensions are different tones that the glaze will pick up differently. The glaze will pick up brighter on the 600 extensions because it is lighter. Versus the 6/10 is darker, so it will give it a darker tone.
Make sure you thoroughly saturate both sides of the hair when custom coloring the extensions. Do not ever lighten the hair or use permanent color on extensions.
When doing tape-in extensions, you want to start at the bottom and work your way up. You can easily place the tape at the base of the hair, press the tape onto the scalp and pick up as much hair as the tape will allow. Then, simply flip up the extension and create a sandwich with the other extension as demonstrated in the video. Once it is sandwiched together, make sure to adhere the tapes together by pressing them together with your fingers.
You want to use your quick pick and your pink hair gripper to ensure you have clean sections. If you don’t have enough hair in your sandwiches, it could be uncomfortable for your client because it is too heavy. This can cause damage to the hair. If you have too much hair, it could cause the extensions to slip.
Around the hairline, keep in mind you want to keep at least 2-3 fingers between the clients hairline and the starting point of the extensions.
Tips for Cutting Extensions
You always want to cut hair extensions dry. You want to see how the hair naturally blends with the extension, so I recommend washing and blow-drying the hair before you cut the extensions. Always blend around the client’s face by pulling all of the hair forward.
Use a slide cut technique when cutting extensions. If your client has layers as mine did, start the slide cut where the client’s hair starts and slide it down to the end of the extensions. If you are cutting length, point cut for a more natural look.
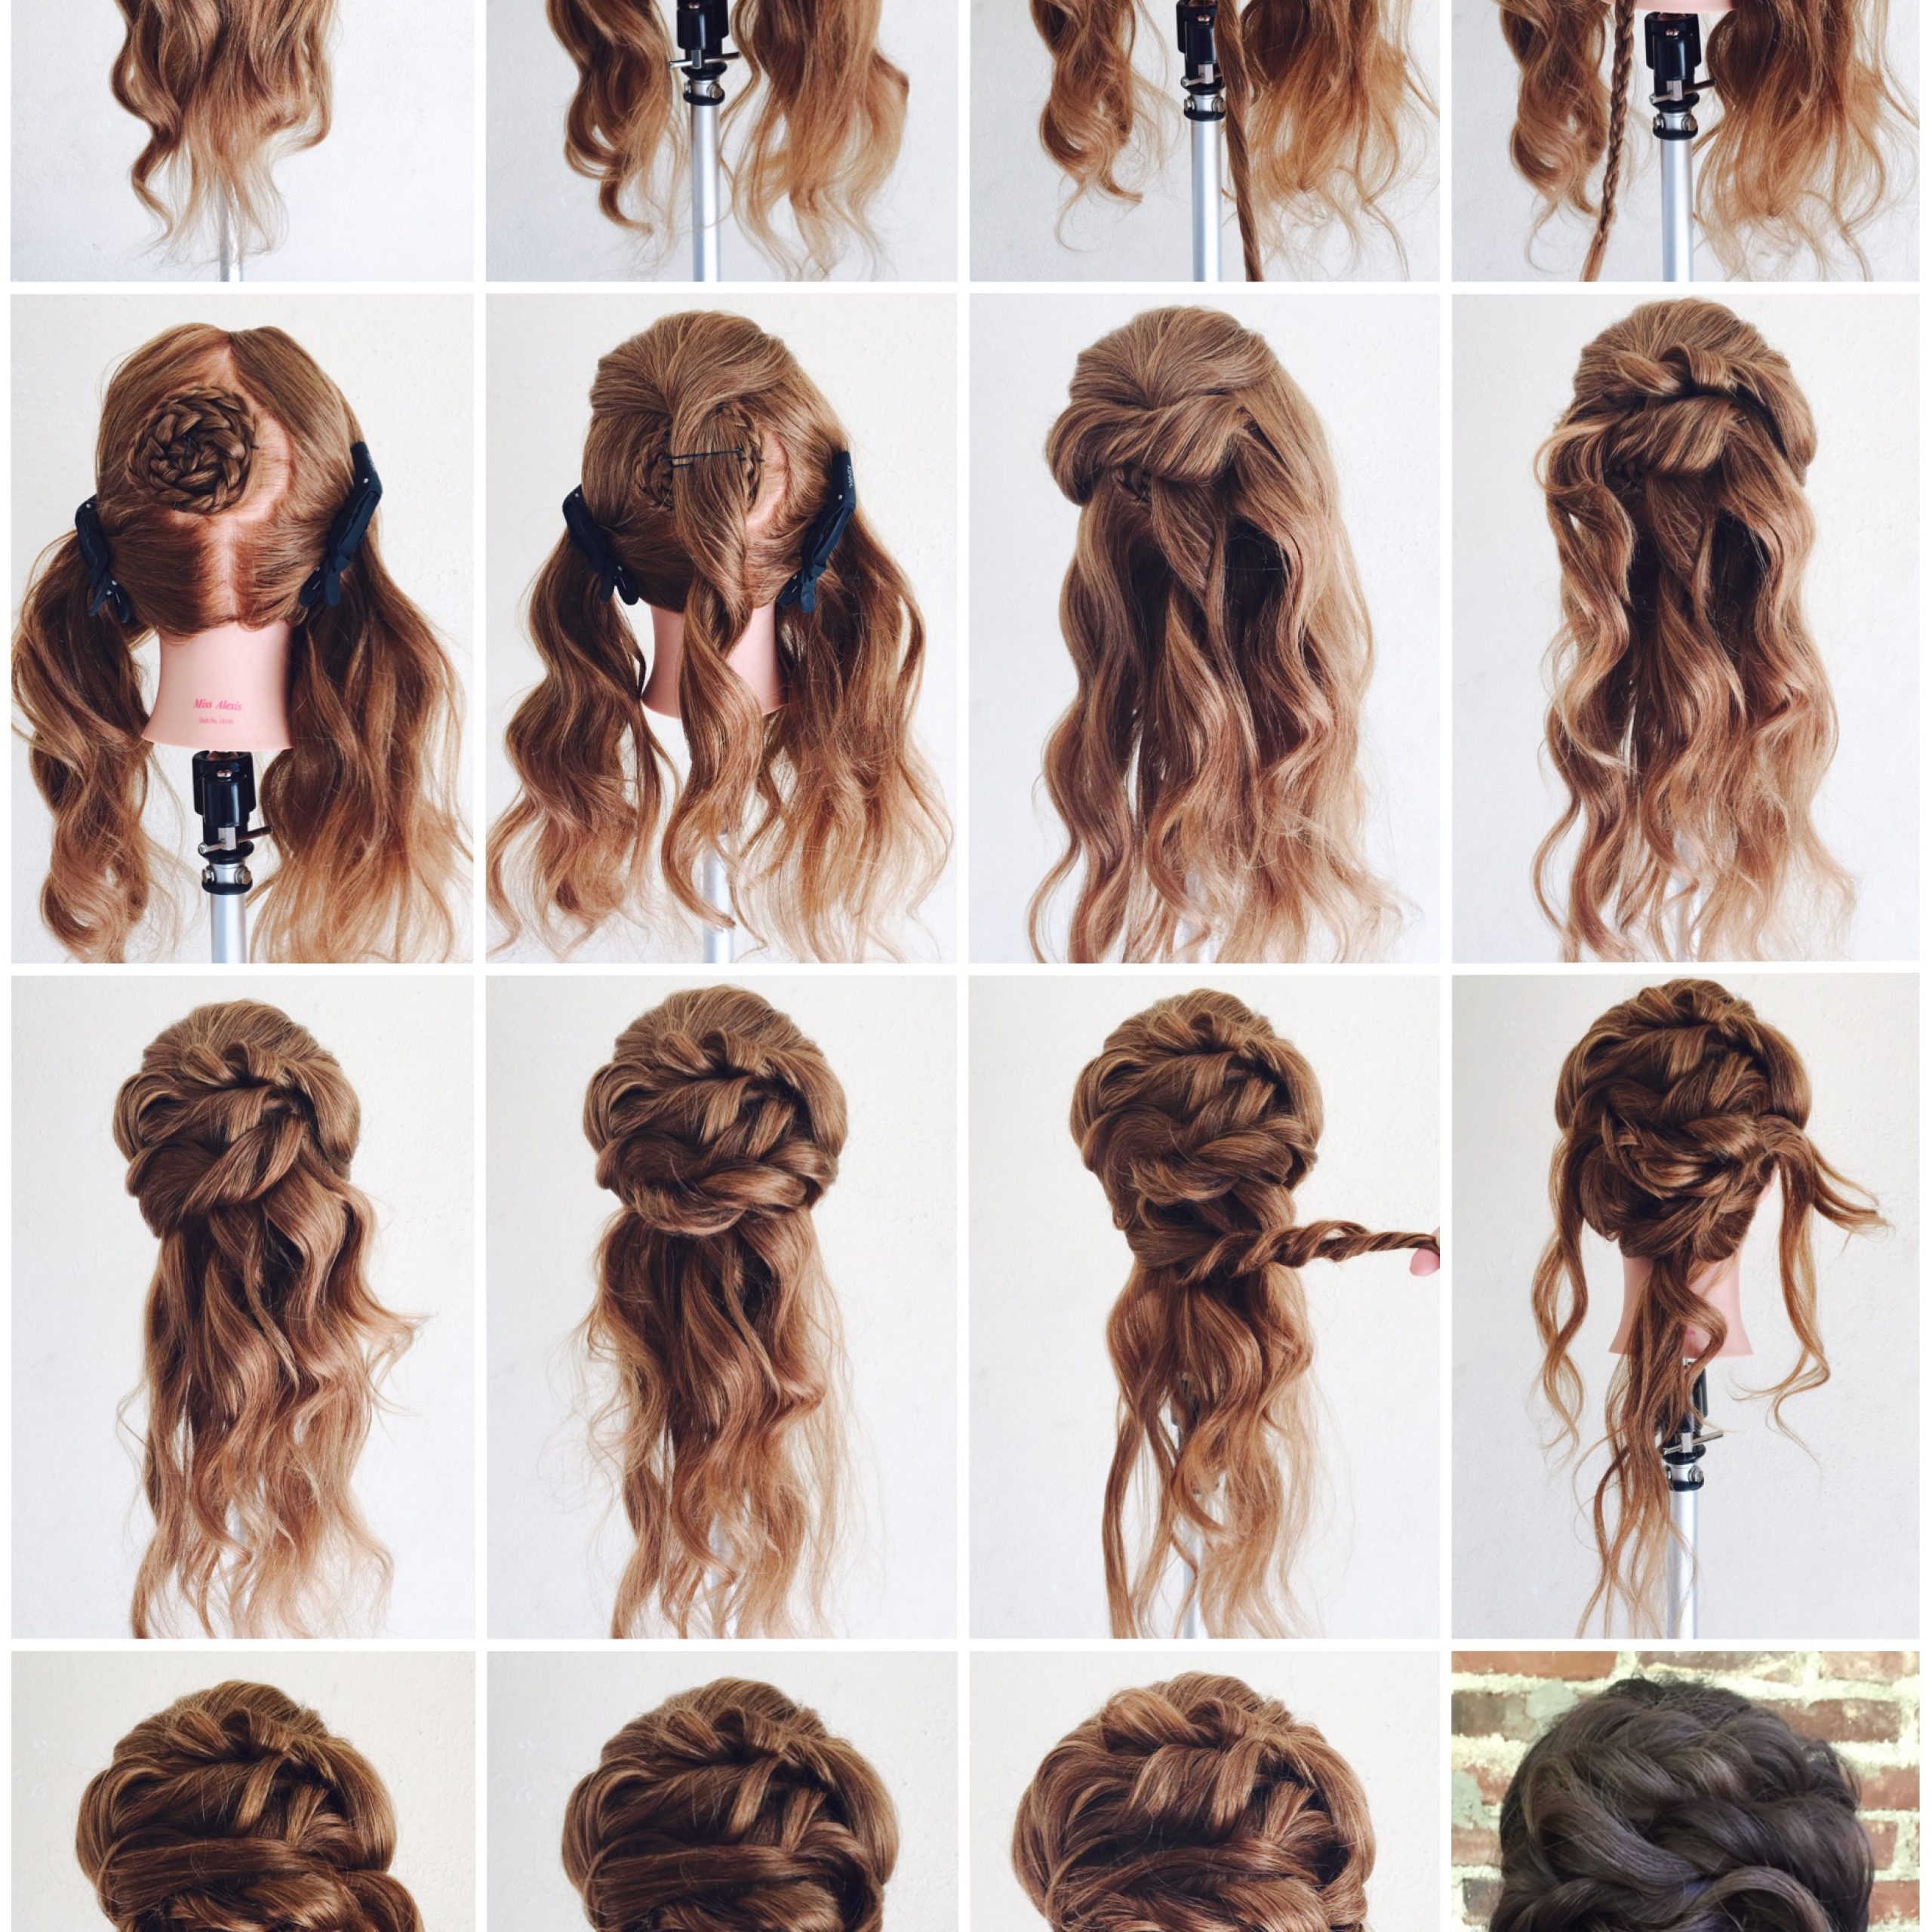
To style her I used the Donna Bella Pro Waver to accentuate her beachy hair.
Formulas
Part 1:
Fill- demi 7CG 9vol
Highlights – Blue Powder Lightener 20vol
Base and Lowlights – demi 6BC 9vol Final Glaze
Toner – demi 8C 9vol
Part 2:
Demi 8C, 5N, and a 1-inch ribbon 4RR 9vol
Do you like these blogs? Click here for more!
Hair extensions are supposed to be invisible. But we all know how it goes, sometimes they just aren’t! Let’s face it, bulky tape-ins or I-Links can be spotted if not taken care of properly. But did you know there is an extensions type that literally is meant to look like your hair, even from the base? Let’s break it down: Kera Link Hair Extensions.