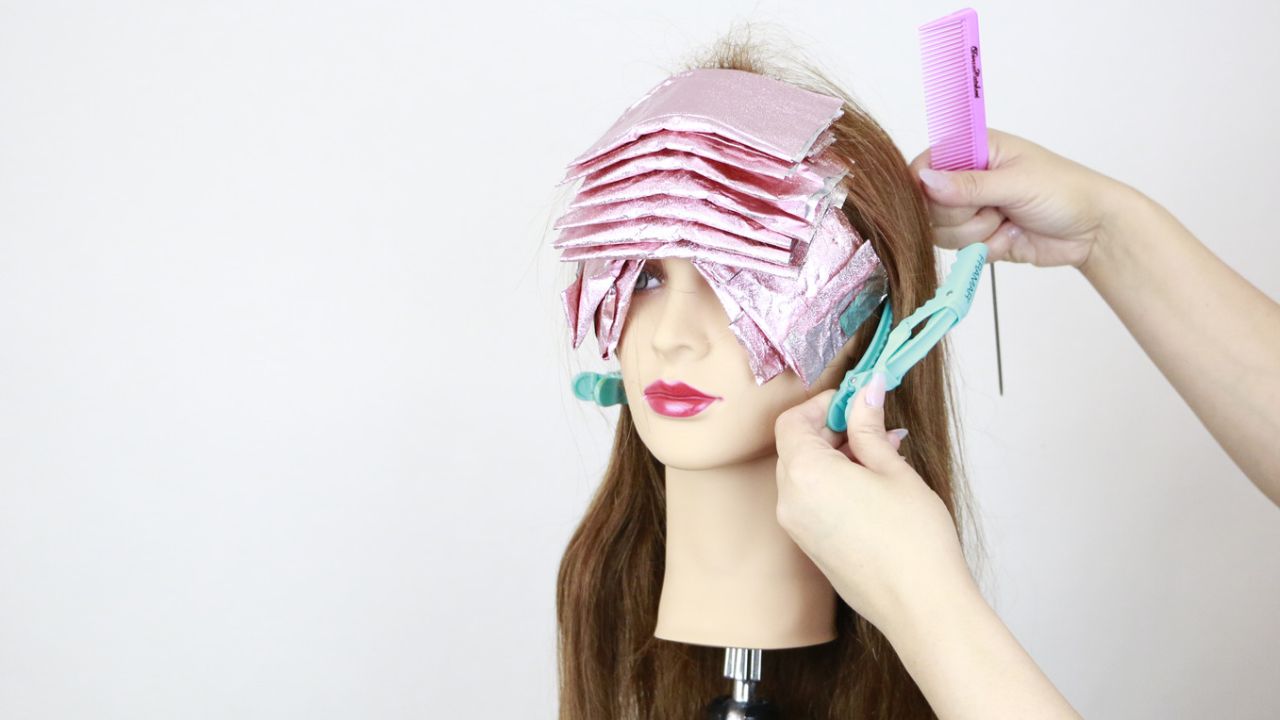


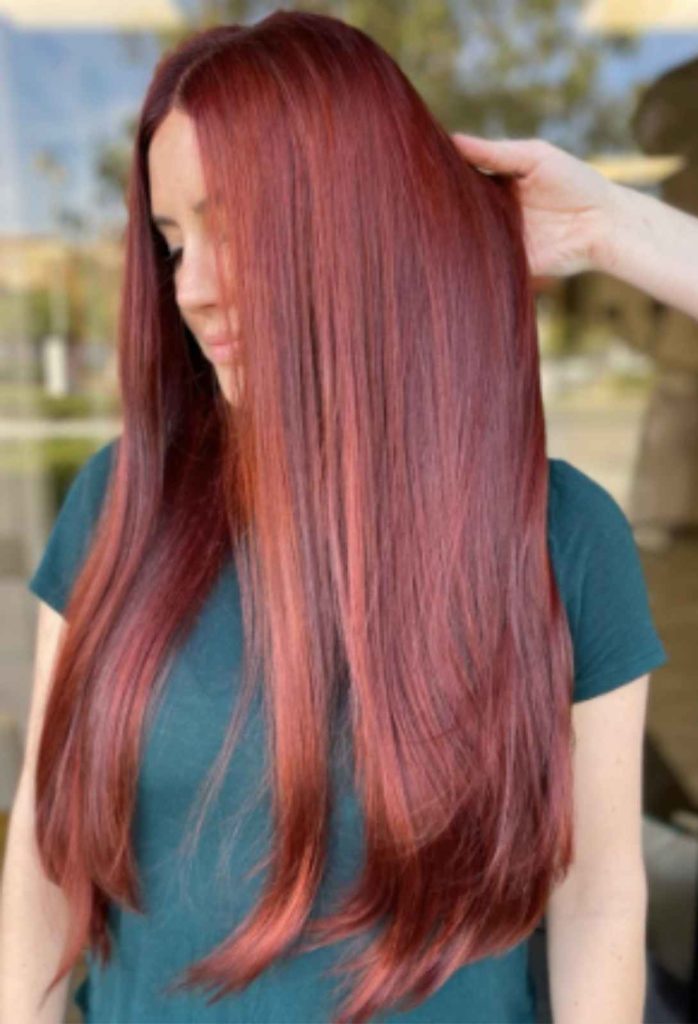
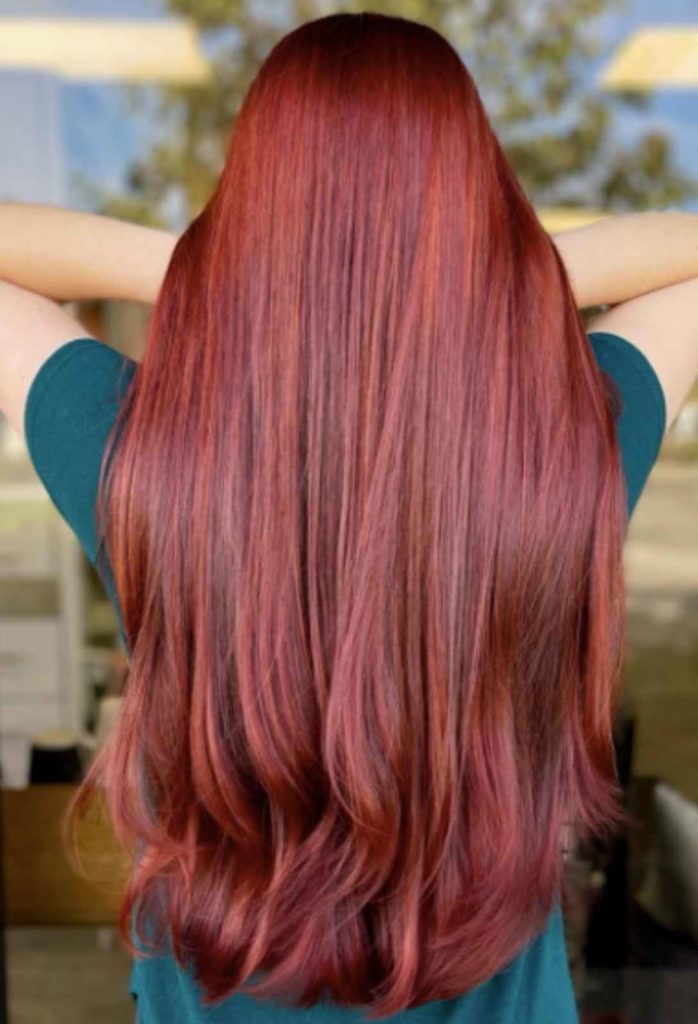
Waist long hair and a color correction? No problem! Watch how to do a Platinum card hair technique to get bright and dimensional end result!
So what happens when your client walks in with extremely thick and super long hair and wants a dramatic makeover? You gotta take a deep breath and figure out the plan of action that is the most effective and least time-consuming.

How to Consult with a Color Correction
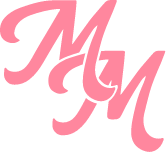
My client came in with previously colored waist-length hair and wanted an all-over bright copper color. You always want to have your clients bring in pictures of what they are looking for. Not only does it give you a good idea of what they want, but it allows you to ask questions. If they bring in multiple pictures, ask them what they like and don’t like about each one.
To start, you have to look at the canvas. She told me she had brown permanent hair color in her hair that she got done about 6 months ago. You can see that she already has highlights. Always ask for at least a 3-year hair history, especially if they have long hair. Box dye, permanent color, chemical relaxers, and even henna never leave the hair strand and can drastically affect the end result of your service.
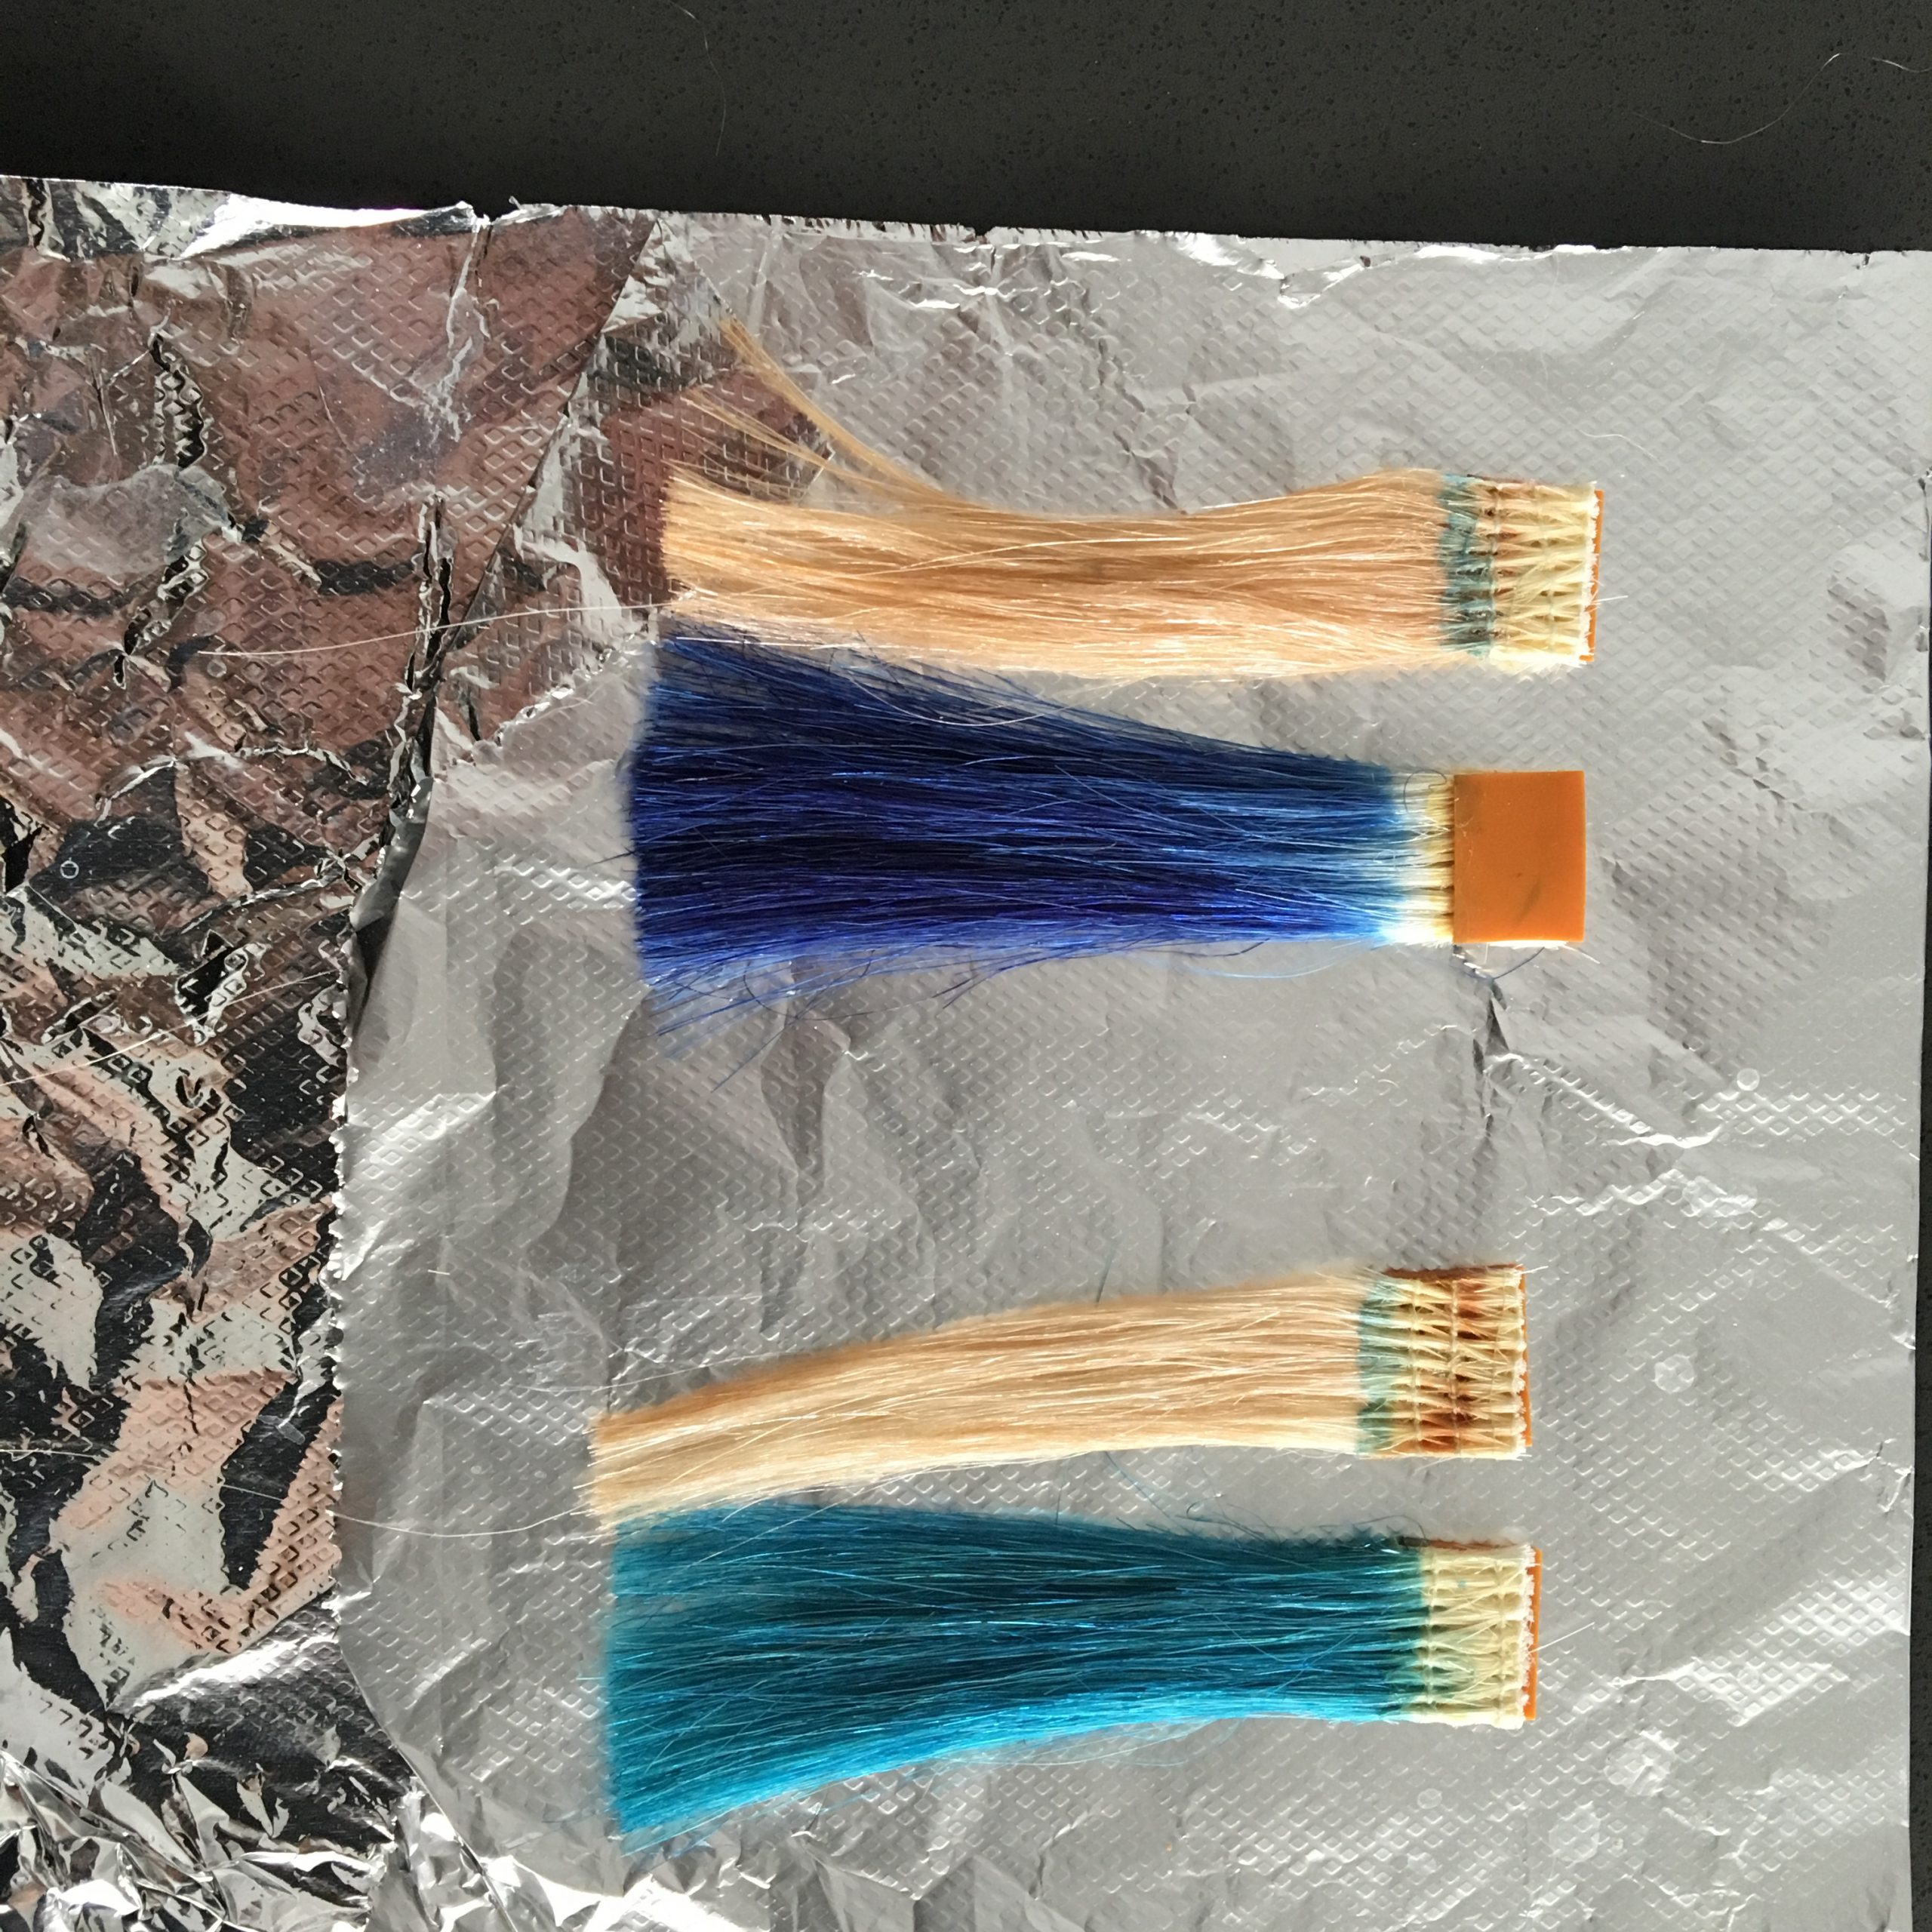
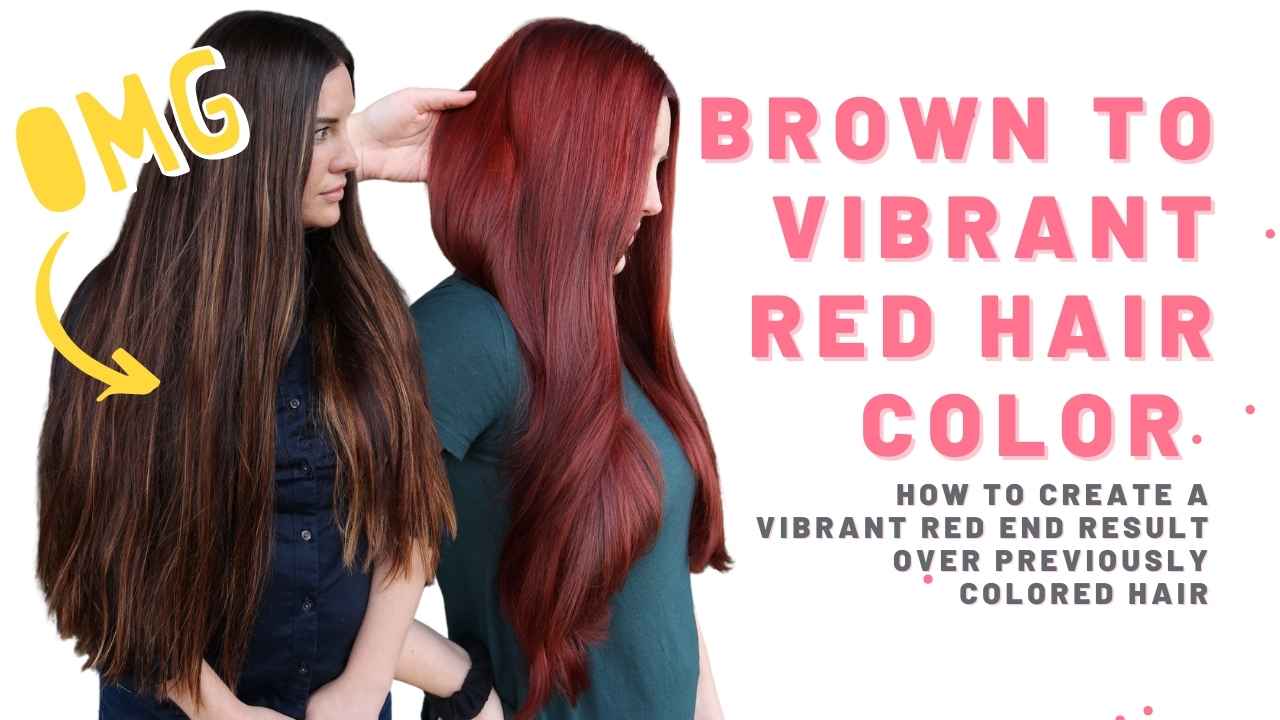
If they have any of the above in their hair, immediately do a test strand before you start the service. It is imperative to not only make sure that the client’s hair will be in good condition when you apply lightener but to also save your butt.
It is important to do a test strand because if the client’s hair reacts to the lightener from the test strand, you can give them options. If it does not lighten, you can do an alternative color and work your way to the desired end result. Also, if the hair has a reaction and melts off, you can let them decide to continue with the service after a haircut, or they can go with something darker.
When it comes to a correction, most of the time you are going to be using lots of products. This means you will need to charge accordingly. You need to be upfront and honest with your clients about the price of the service before you even start the service. I start color corrections at $100 an hour. If the client is not willing to pay your worth, they are not the client for you.
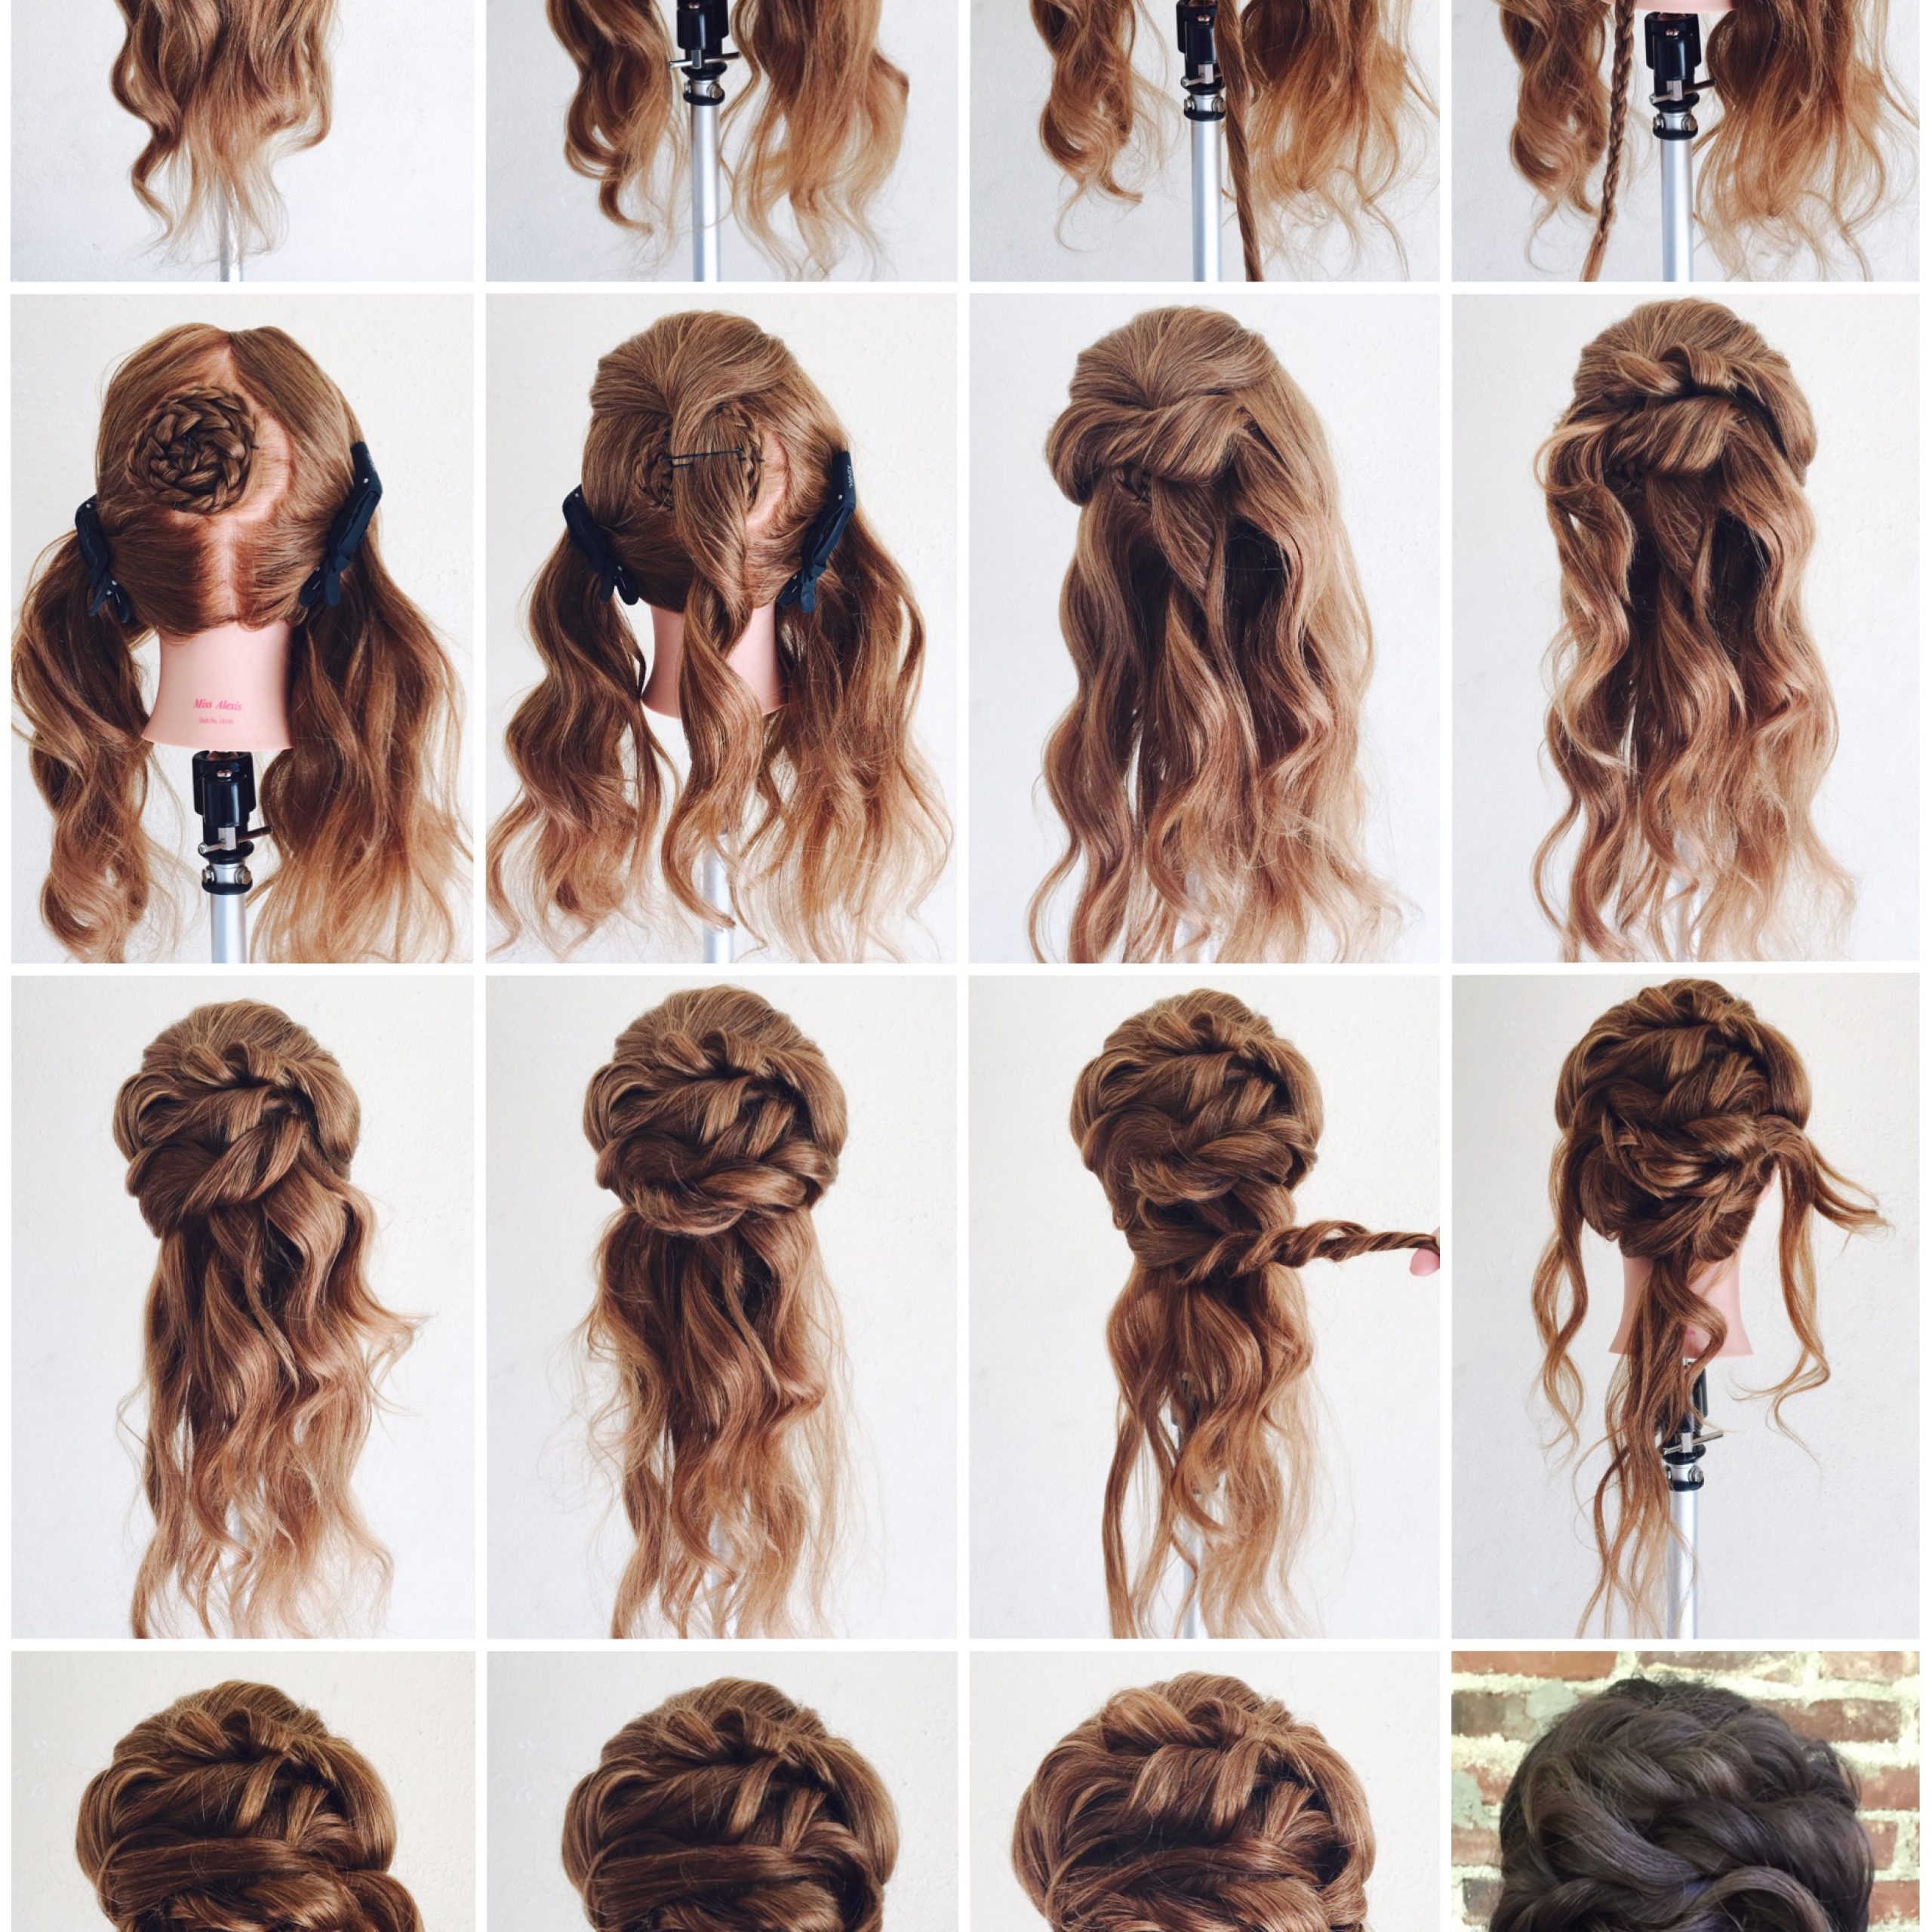
The Process
I like to start my color corrections off with a good old-fashioned CPR treatment. The CPR treatment is designed to remove 3 levels of unwanted oxidative hair color without lifting the natural hair. Because she had brown hair color in her hair, it was the best way to remove it before I put the lightener on it.
Sectioning the hair into 4 quadrants, I start at the bottom and work my way up. This is to ensure the integrity of the hair so if the back is done processing, I can easily rinse it out. When doing a platinum card hair technique, you want to take small sections to ensure even saturation and lift.
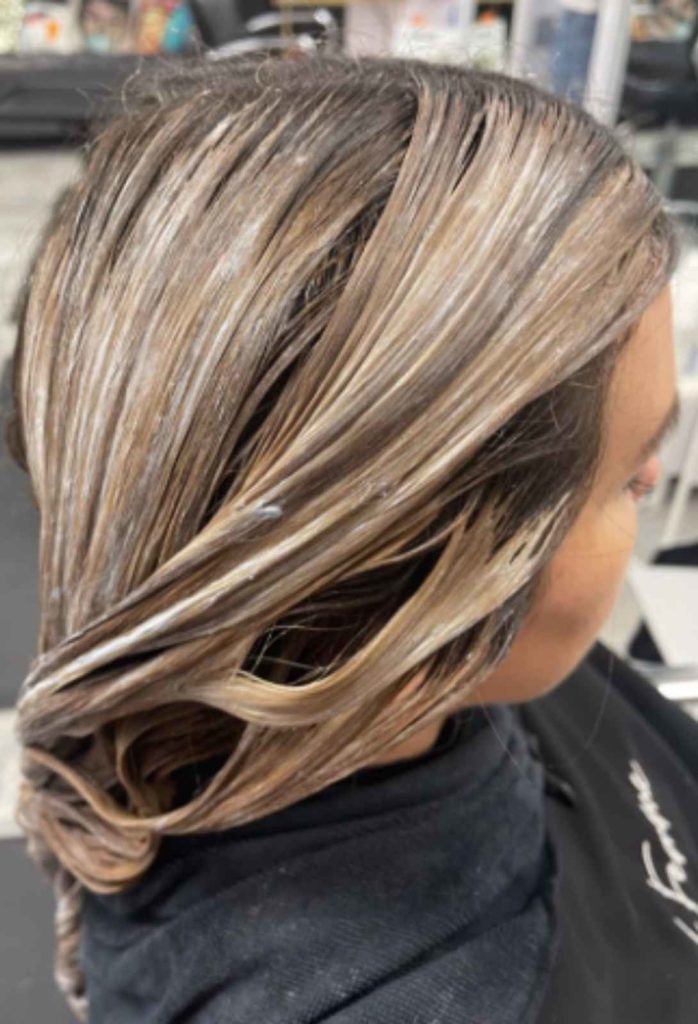
I am taking about quarter-inch sections with blue powder lightener and 20 vol with my Framar Power Painter. I love this brush for platinum card applications because it allows me to work the color in quickly. You need to note that if her hair was virgin hair, you could do this same technique but with permanent hair color and 20 or 30 vol to lift and deposit at the same time. Because she had color on her hair and color doesn’t lift color, I had to go in with lightener.
We did the CPR treatment before, so I didn’t need to dry her hair 100%. I applied the lightener on damp hair because she only needed to be a level 7. There was no need to go in with a harsh lightener on dry hair because we didn’t want a super light result. If your client wants to be platinum blonde or a vivid color, definitely go in on dry hair for maximum lift.
You have to remember with balayage, what you see is what you get. If you see a harsh line, you will get a harsh line. I love to blend the hair put with my hands, my power painter brush, and if I was doing a traditional balayage, I would go in with a comb and tease the top of the section.
It is important to note that when doing balayage you always want to keep the brush flat and you want to have good tension. If you don’t have proper tension, the lightener can look sloppy and bleed.
Once the lightener was applied, I let it process at room temperature until it was ready to rinse. Back at the station, I dried her hair 100% because I was going to be working with permanent color. Because she had her natural hair at her root, I was able to use permanent color and 20 volume developer. This helps me lift her natural hair and deposit at the root at the same time.
I used my favorite color brushes for saving time, called Zero Time System. They come in 3 different brush sizes that help you cut your application time in half! CLICK HERE TO SHOP ZERO TIME SYSTEM!
After fully applying the roots, I used 6CN and 7CN also in permanent all over her mids and ends. I let that process for about 20 minutes and then I did a final glaze on damp hair to further richen it up. I love adding red to my formulas because it makes the end results super vibrant.
Zero Time Brush System!
If you don’t know what the Zero Time Brush System is, you’re missing out! I love these wide brushes for cutting my application times IN HALF! As you saw in the video, it only took me 5 minutes to apply her color melt.
This system comes with 3 brushes as well as bowls so the wide brush can easily dip in and out. The brushes come in 3.5, 4.5, and 5.5.
3.5– The 3.5 brush is designed for foiling and balayage. It is a perfect size to quickly saturate, but it’s not too big to get in the way.
4.5 – The Medium brush is designed for root touch-ups. You can easily dab the color on the entire section in one go. I also love this for super fine root shadows.
5.5 – This is the tool I used in the video! It is huge, therefore it covers lots of surface area. The bristles are also moderately firm so it is great for thorough saturation.
The curved bowls also have measurements in the bowl so you can easily measure your color.
CLICK HERE TO SHOP ZERO TIME BRUSH SYSTEM!
Formula
Painted with Blue Powder Lightener 20vol
Color 6CN 20vol into 6CN/7CN 20vol
Glaze 7CC/6R 9vol
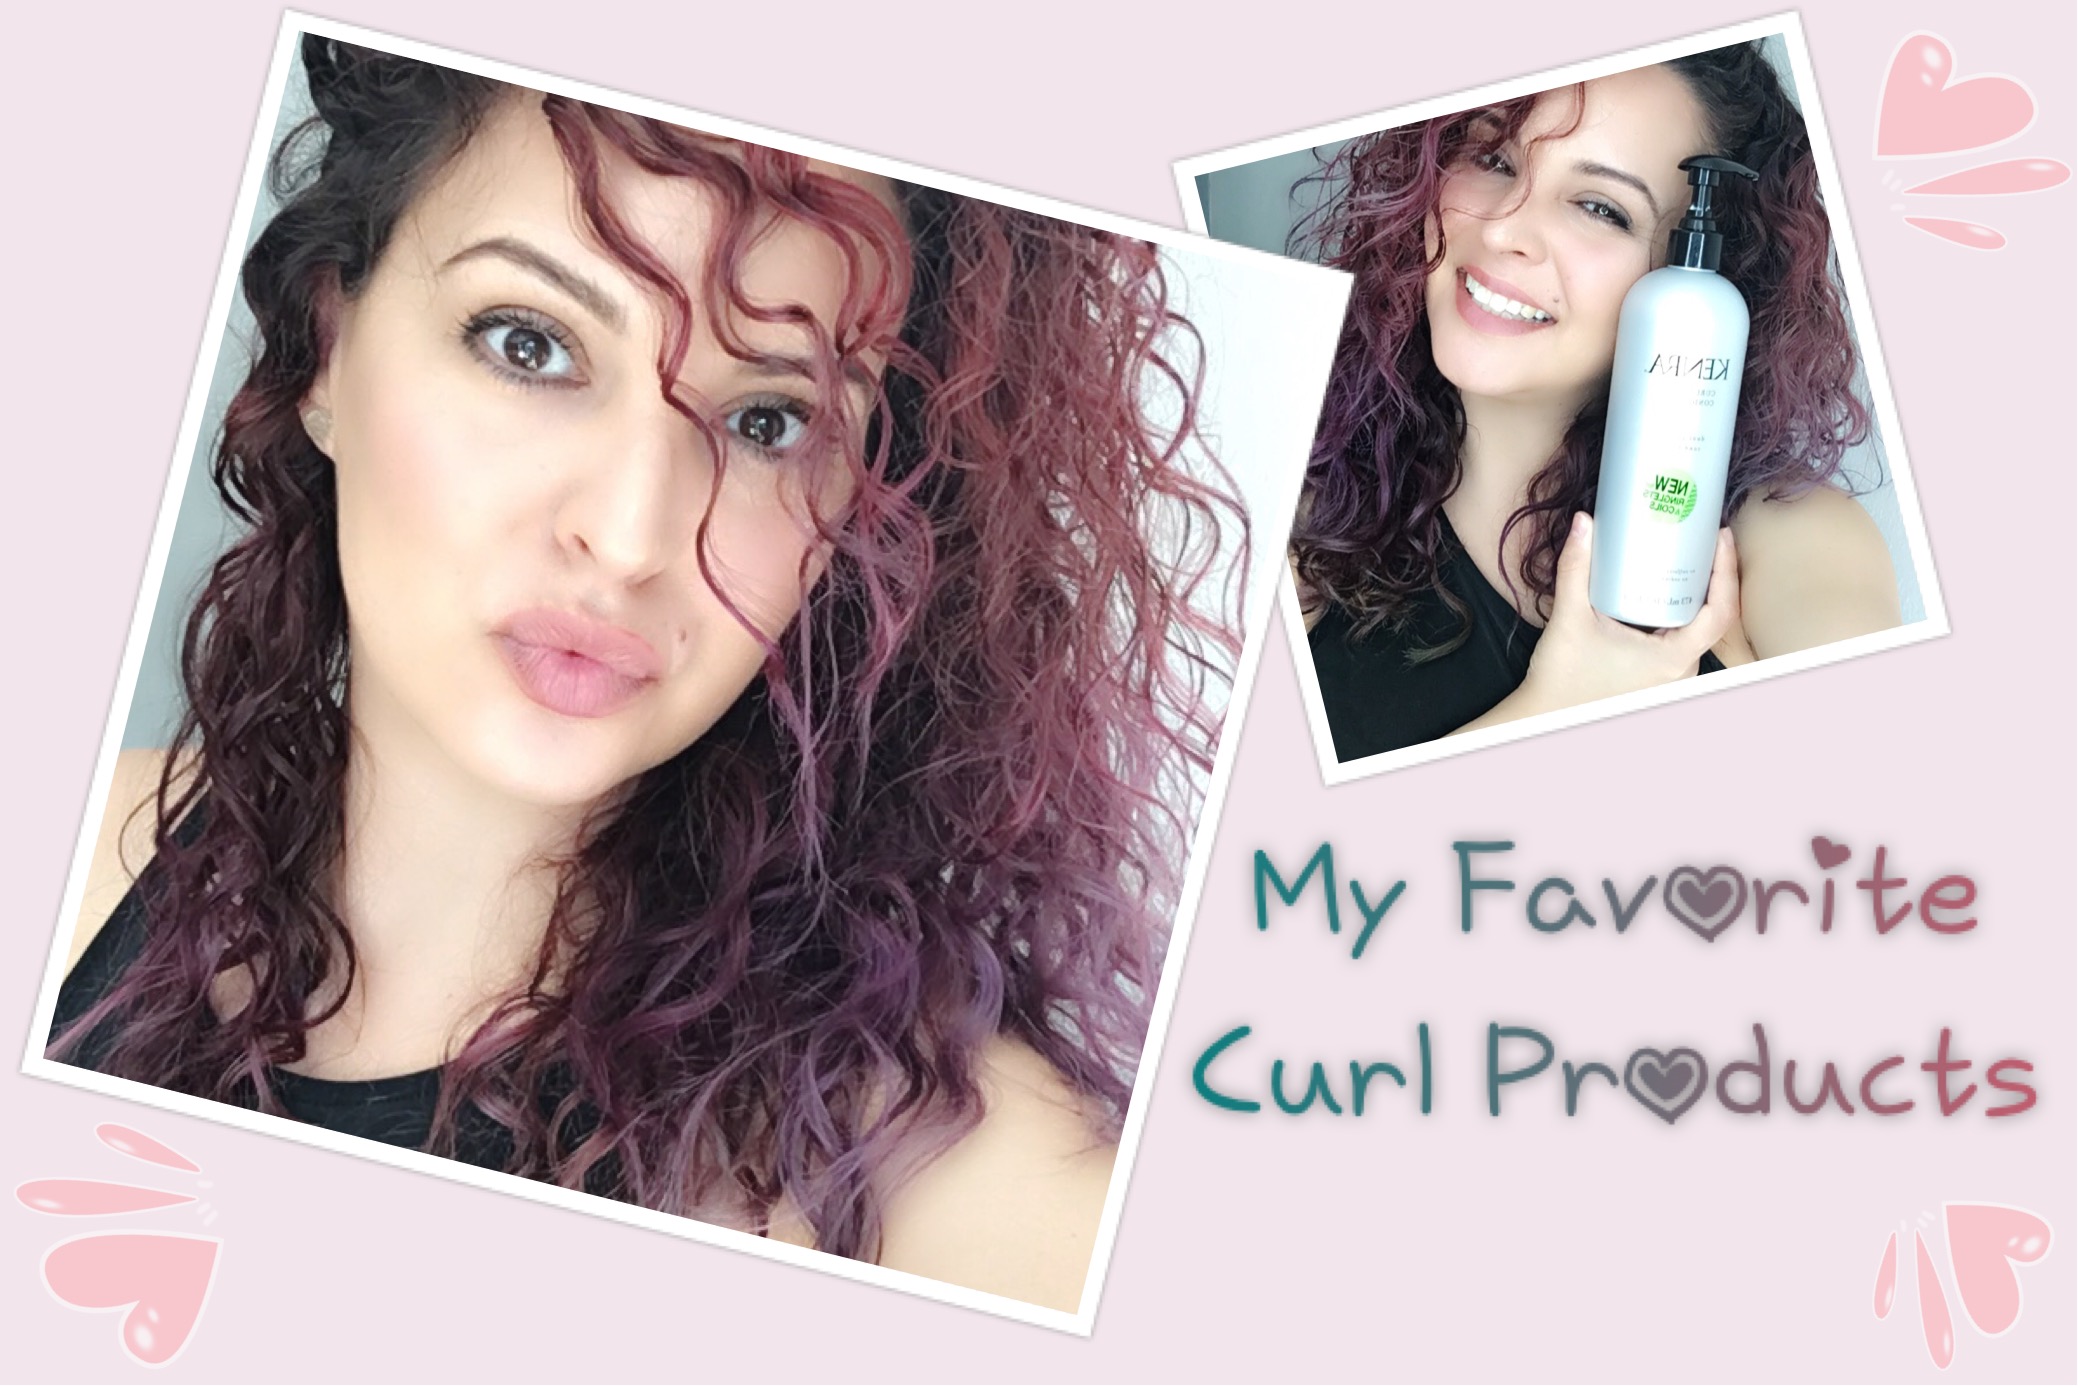
Copper is taking the hair world by storm! In the salon, half of the clients we do these days are copper. My model had previously dyed hair that we wanted to break up and blend out. Using all Kenra color, watch I created this face-framing copper highlight for brown hair!
CLICK HERE FOR MORE BLOG POSTS!