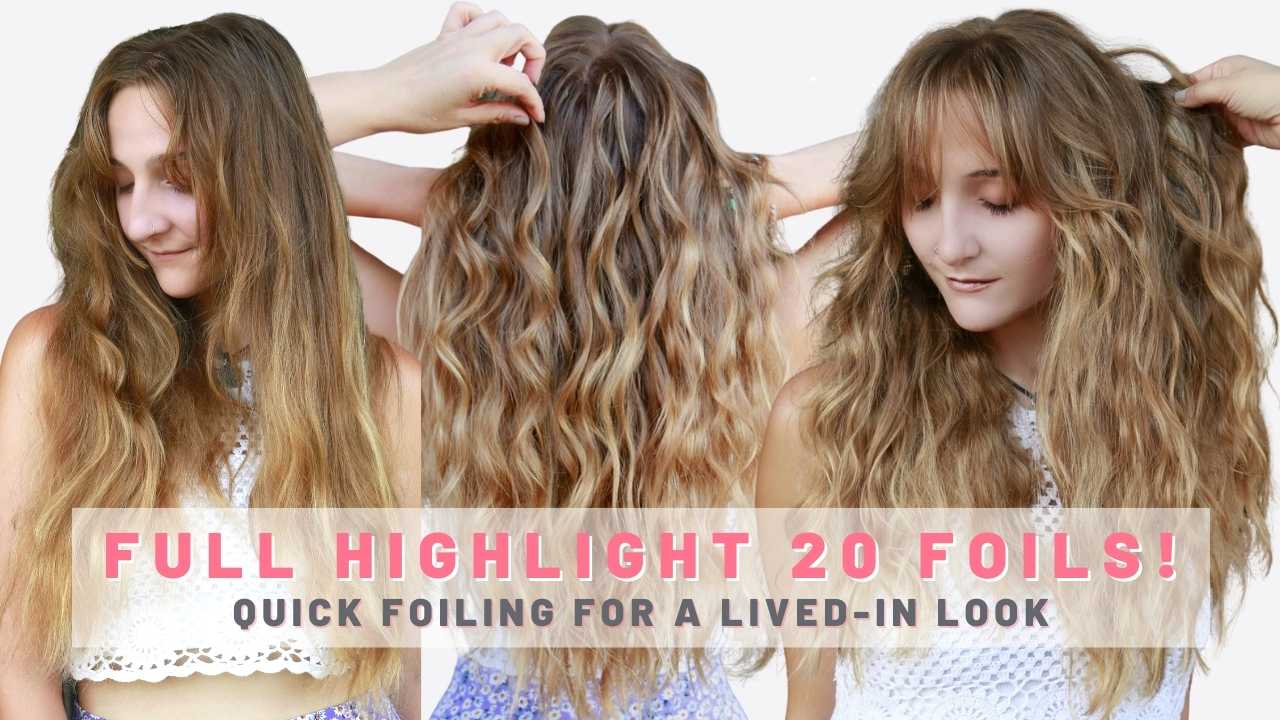


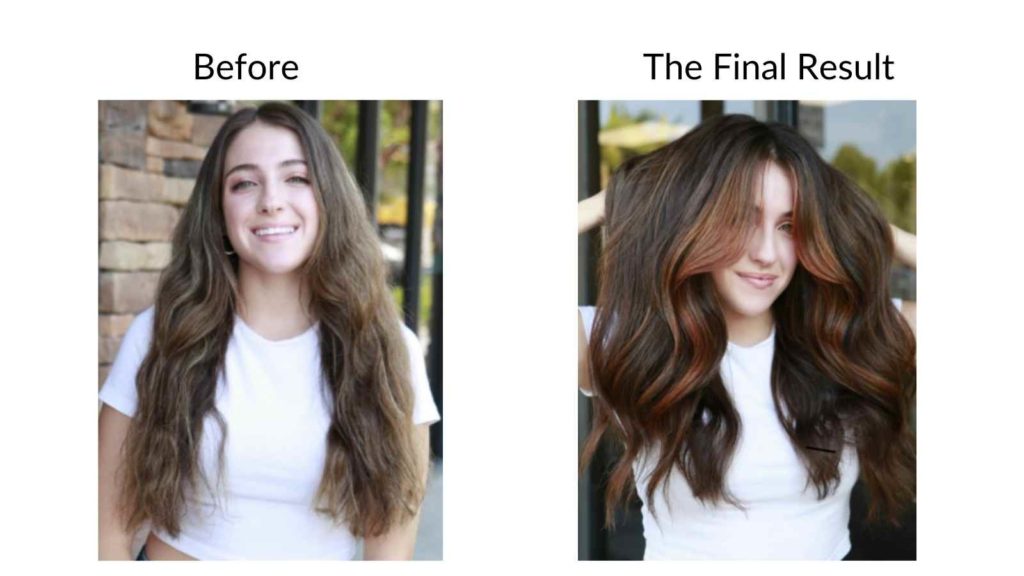
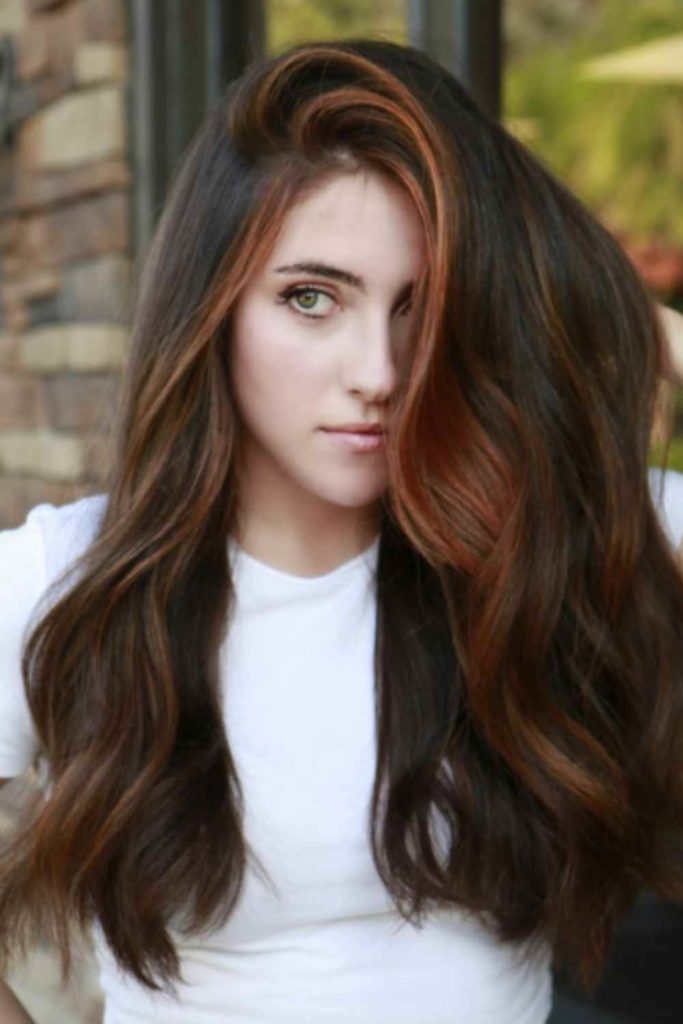
In this video tutorial, I am going to show you how a blend out a line of demarcation and do face framing copper highlights for brown hair!
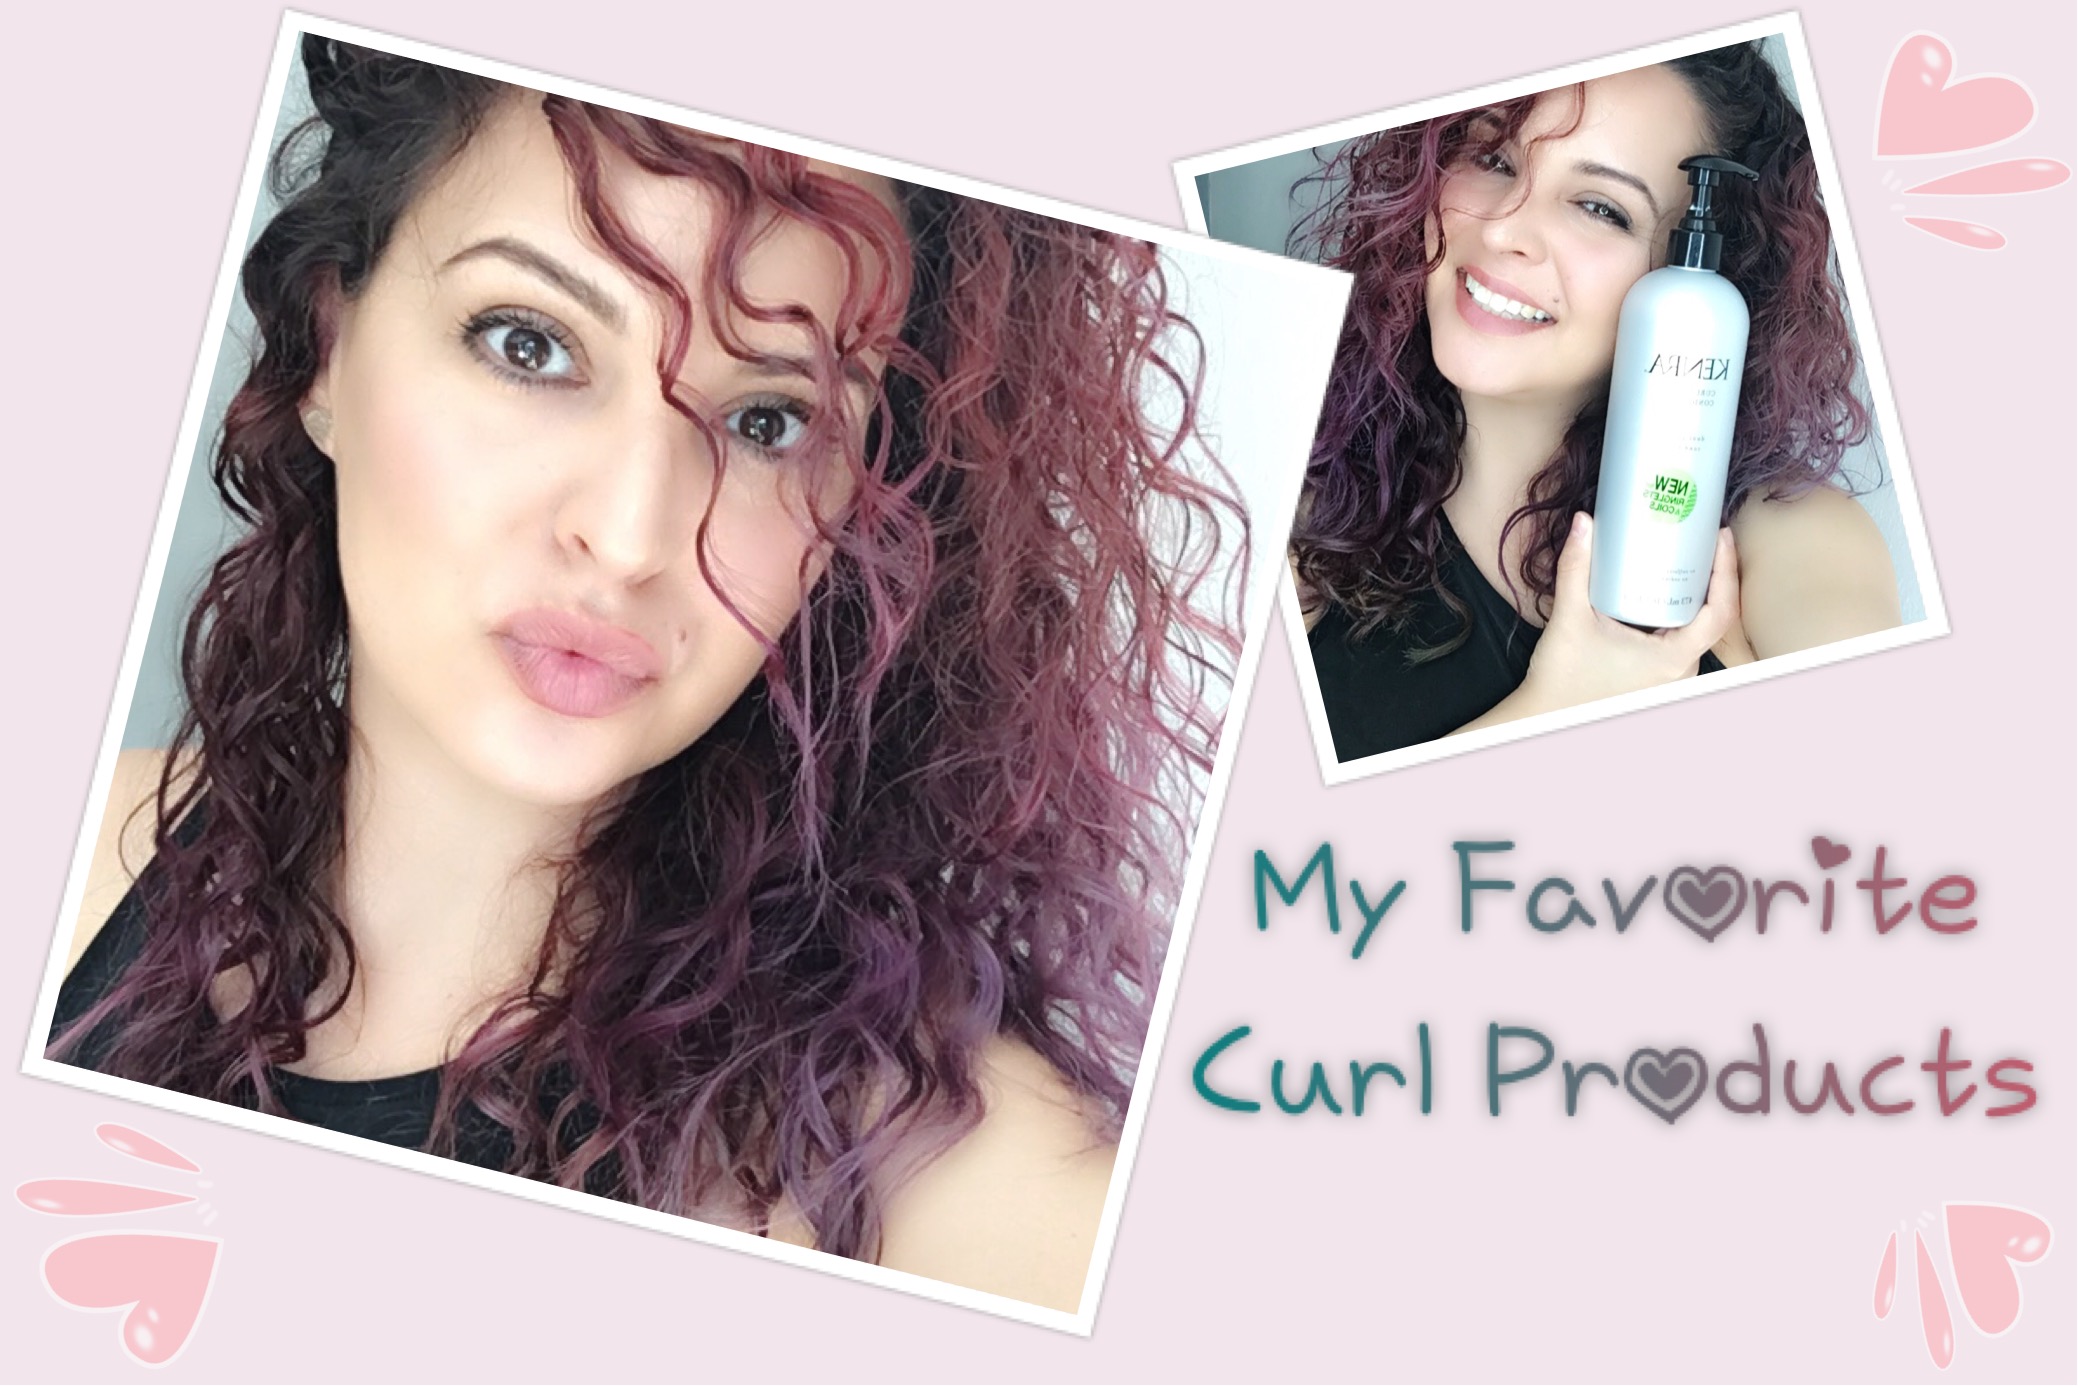
Copper is taking the hair world by storm! In the salon, half of the clients we do these days are copper. My model had previously dyed hair that we wanted to break up and blend out. Using all Kenra color, watch I created this face framing copper highlight for brown hair!
The Process:
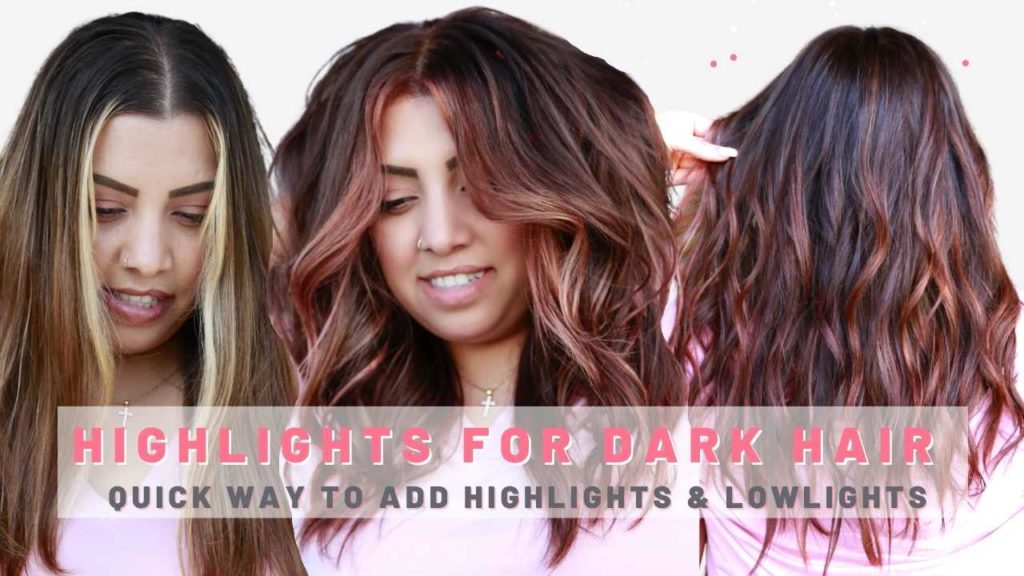
We decided the best way to break up her line of demarcation was to do some dimensional lowlights and a colormelt. To ensure brightness around the face, we also did a dimensional money piece!
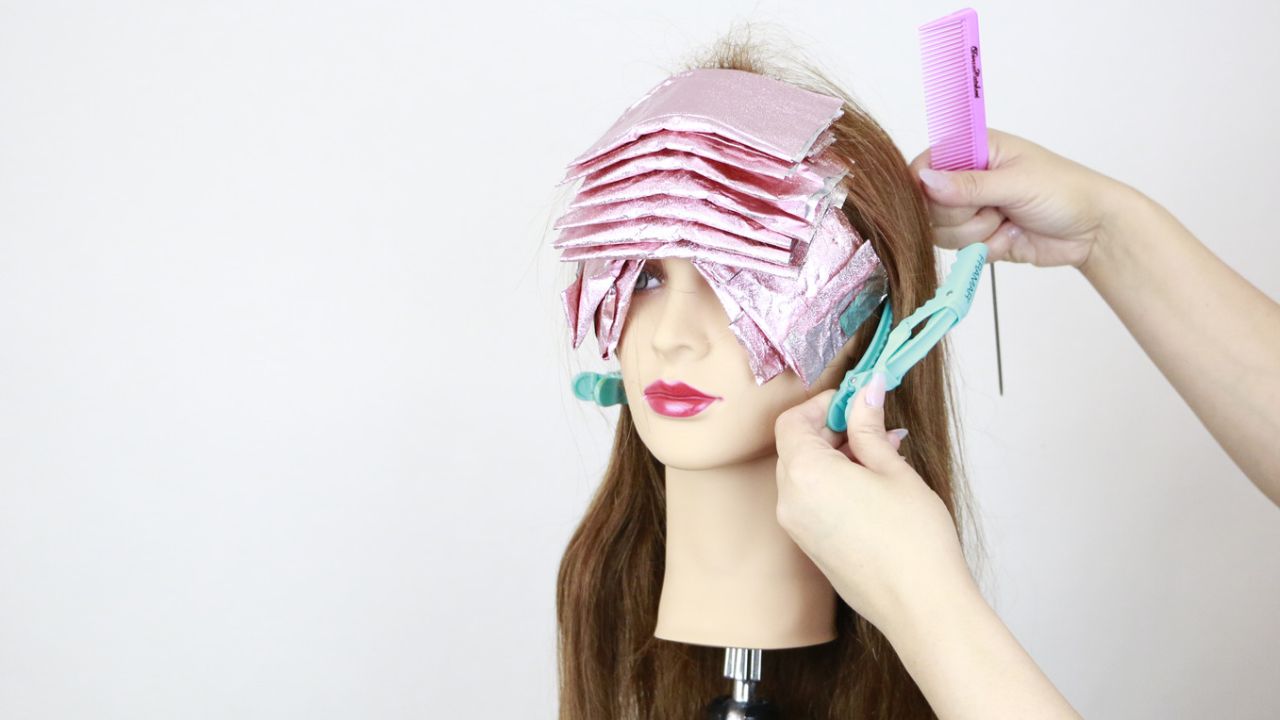
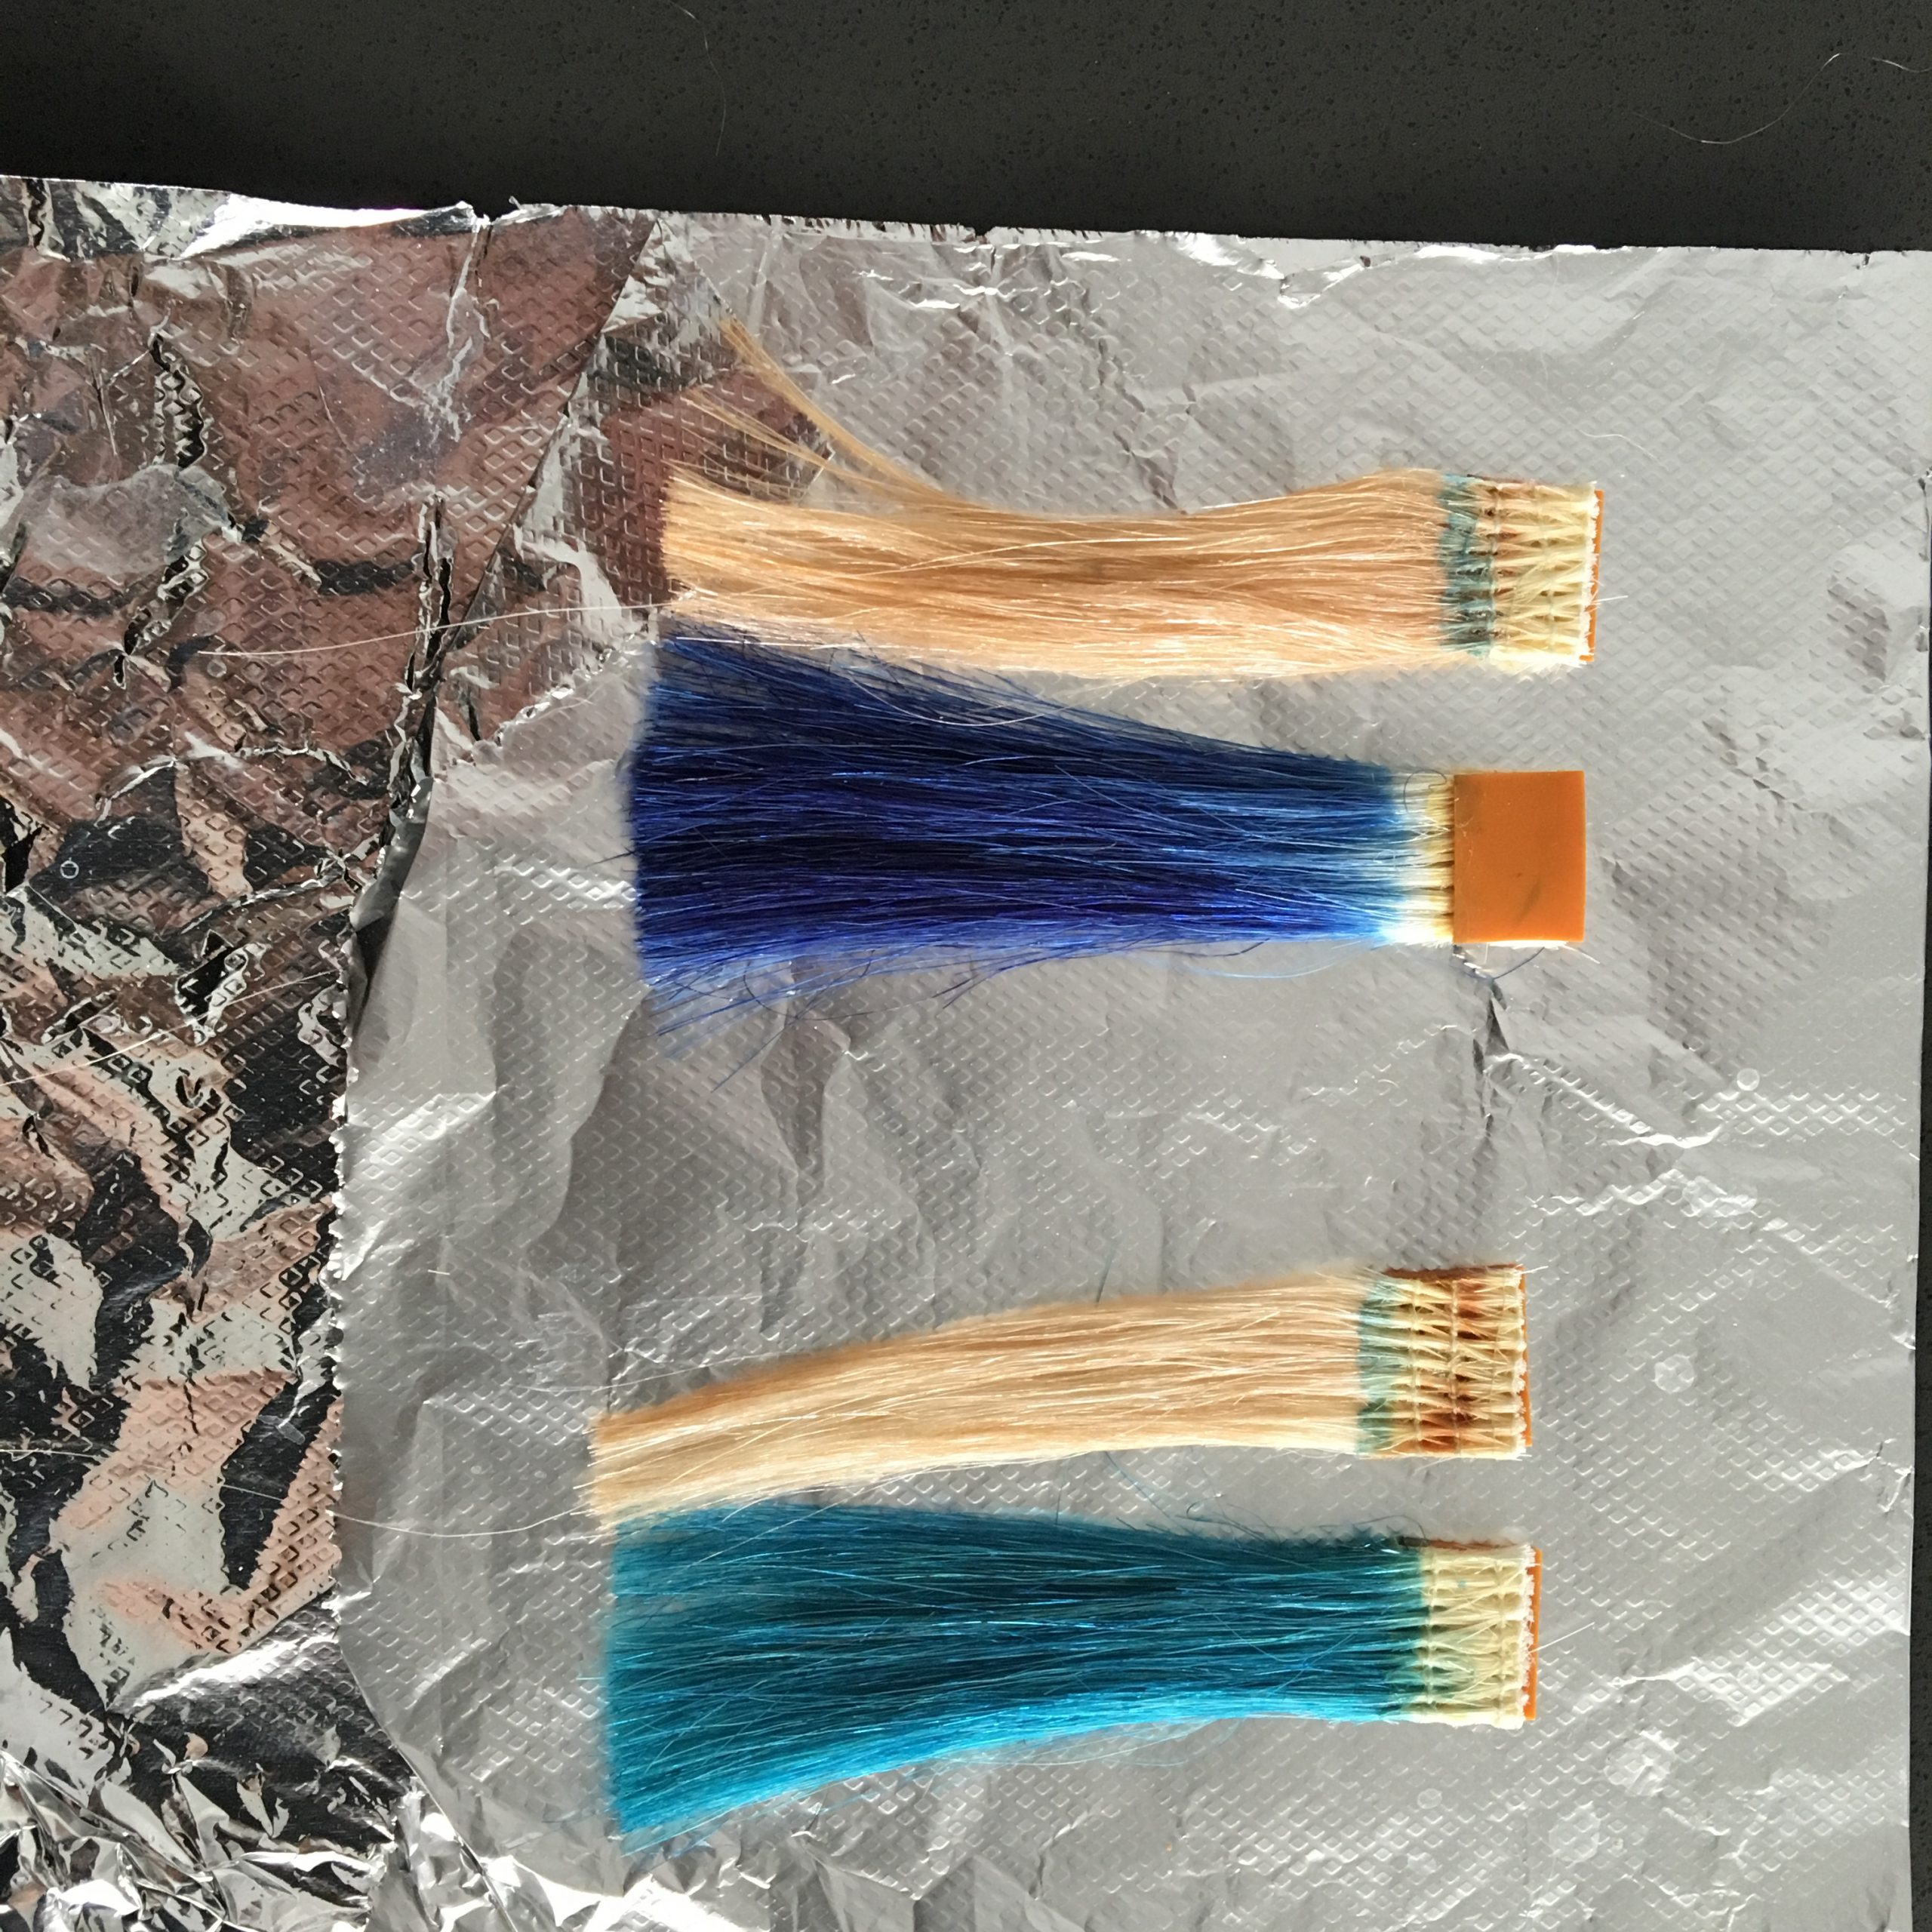
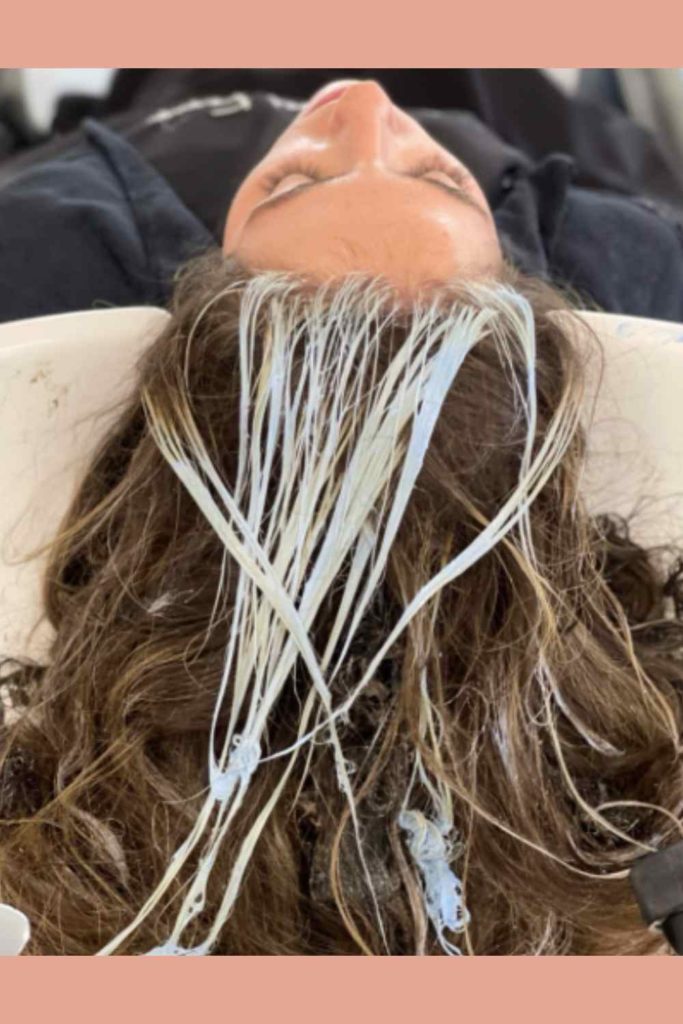
When doing a mix of highlights and lowlights on dark hair, you want to consider the timing. Lightener is going to take longer to process than color, so we decided to start around the face for maximum brightness. My favorite lightener for power lifting on dark hair is Kenra Professional Blue Powder Lightener. Mixing that with 20 volume developer, I did some fine baby lights around her face.
The reason I did babylights and not a slice is because we wanted it to be soft and bright. If your client wants it to have a bolder money piece, you can do back to back slices. Check out another money piece tutorial here!
Another thing you want to consider while creating a money piece is that no two hairlines are the same. Each technique will have to be modified based on your clients hairline. On my model here, I had to do two separate foils where as on some I could just do one. To watch how I foil a widows peak, click here!
After doing multiple back to back babylights, I start adding in more hair in between the foil and start to blend with a teasylight. Teasylights are prefect for doing a gradual blend and giving your client a really lived in look. I also further blended her line of demarcation around her hairline by adding some teasylights on the sides!
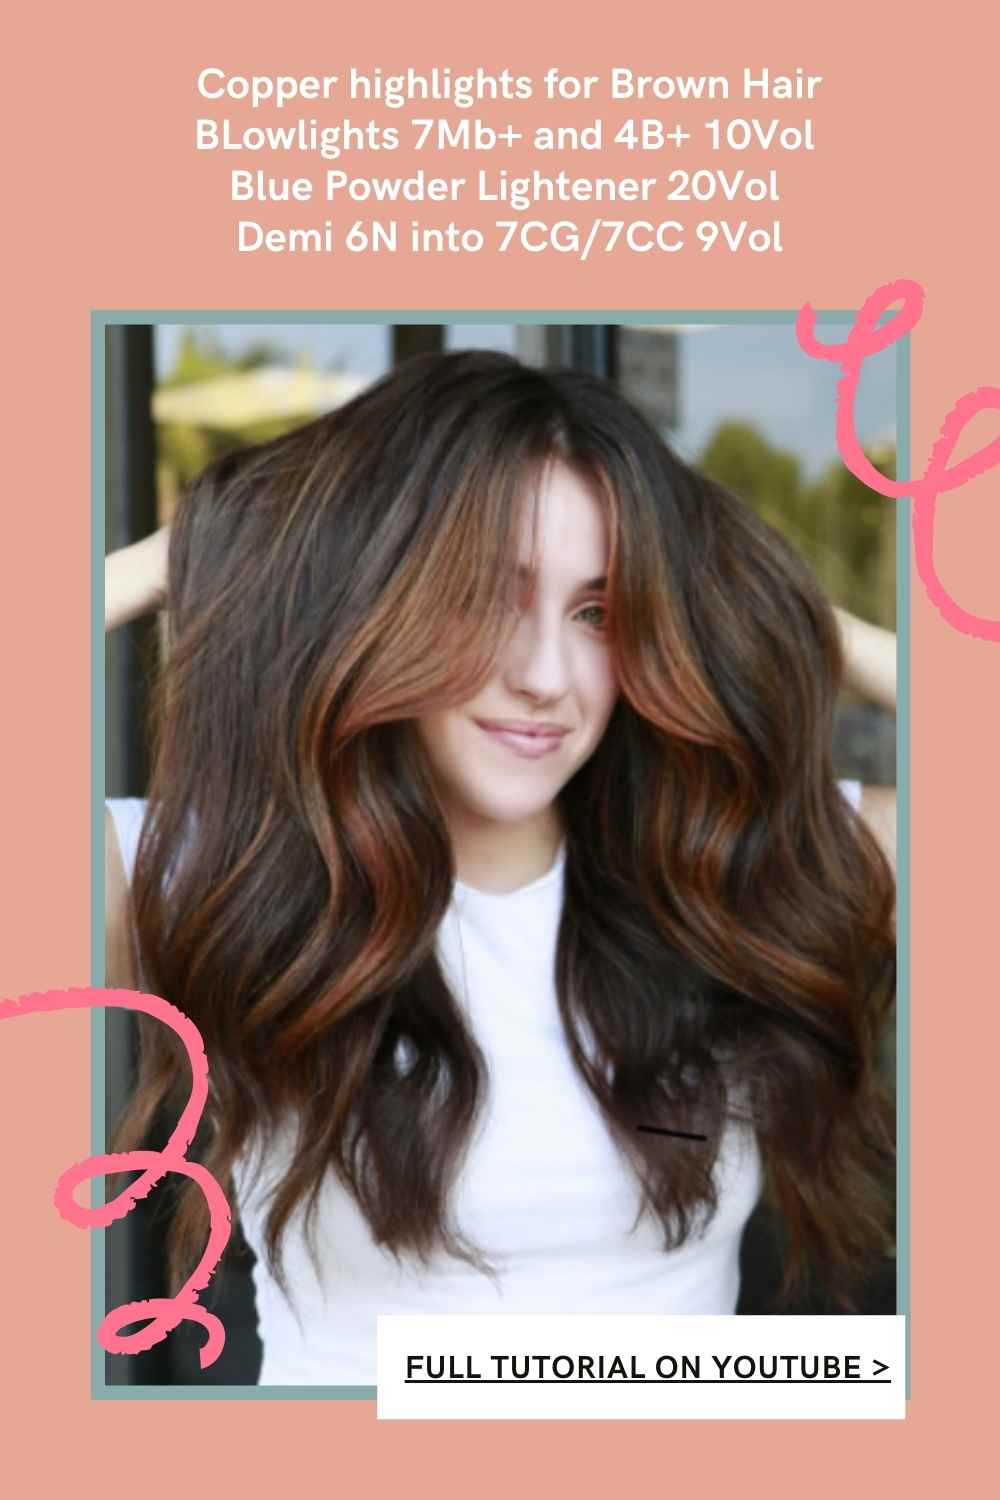
For her lowlight formula, I decided to use 7MB+ with some 4B+ from the Monochrome collection. If you have not played with this line, do not sleep on it. The + basically just means double the pigment, therefore it is super reflective.
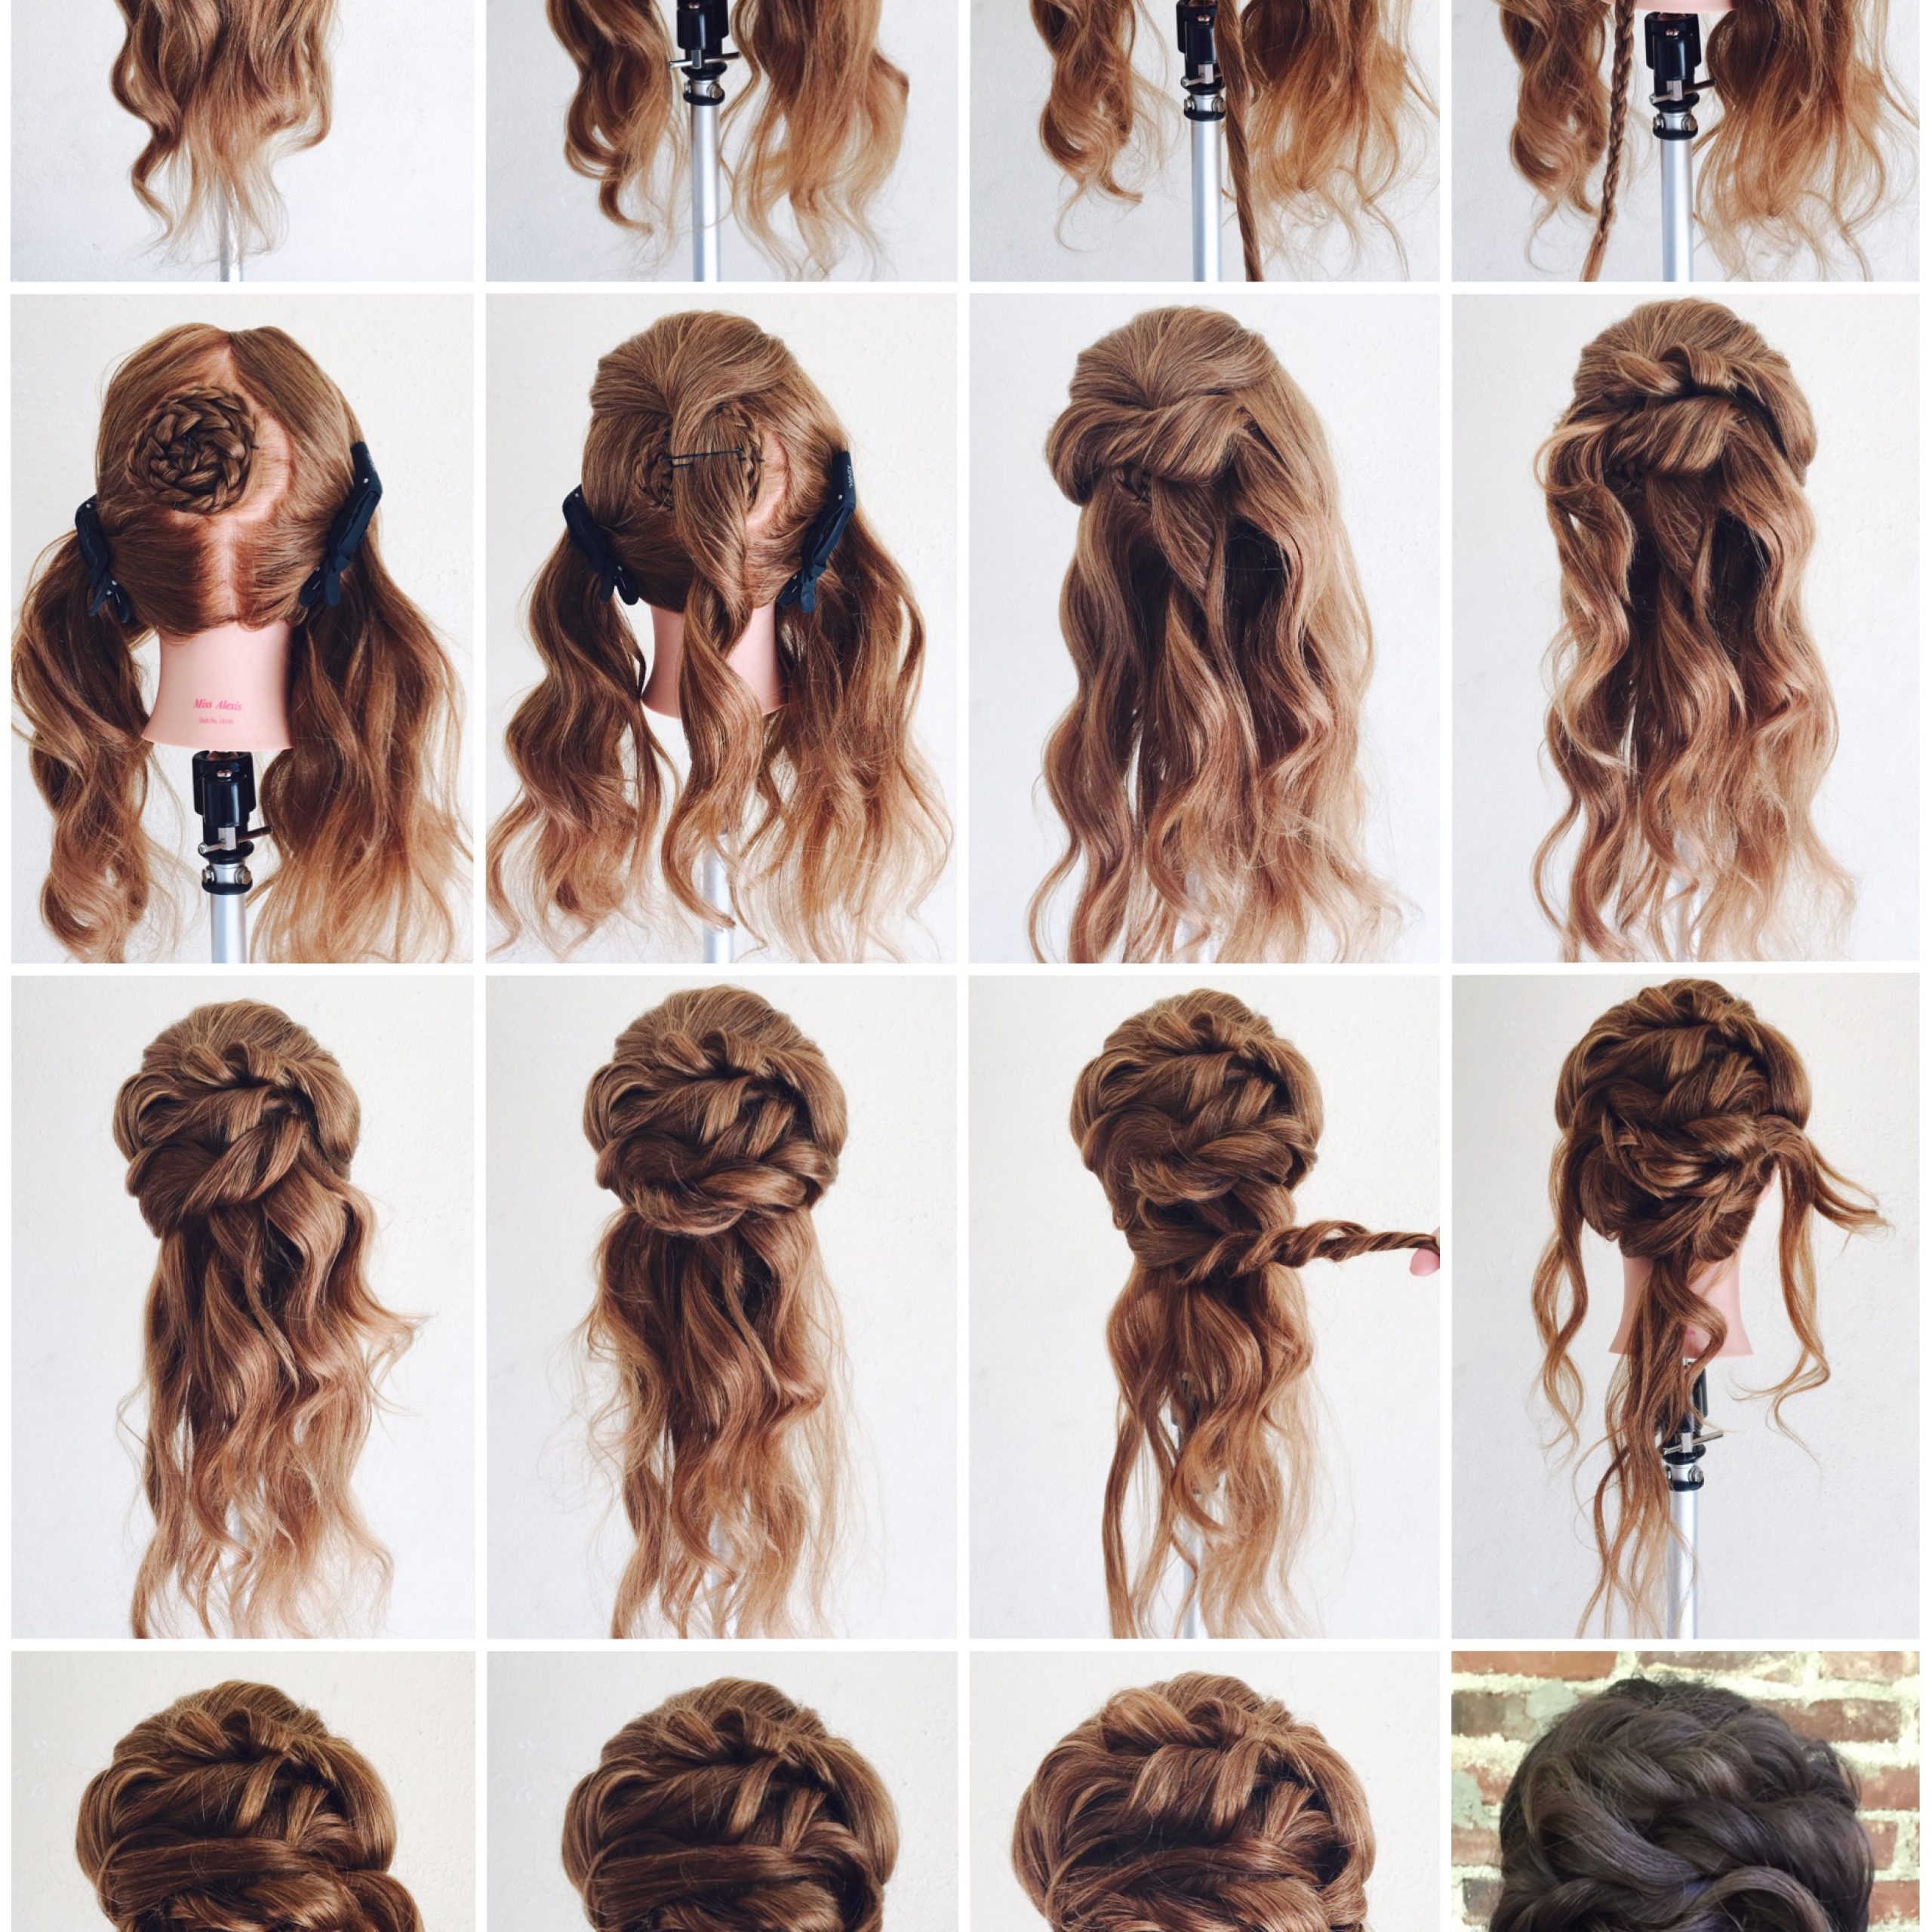
Throughout the back I start brick layering her lowlights. Brick layering techniques are a great way to give your clients dimension while maintaining a soft look. If you want to see 4 different foil placements and the effects they create, you can click here!
As I got closer to the top of her hair, my subsections got a little smaller. Keeping in mind that when you weave your lowlights, you want to make them a little chunkier. The chunkier you go, the more blonde you will keep, the smaller your weave (think babylight) the darker the end result will be. Doing a traditional highlight weave will give you the perfect amount of depth in your lowlight.
Once I was done adding in her lowlights, I did a little bit of hair painting to give her little pops of blonde. I let that process for about 40 minutes. The processing time will vary based on desired results and how dark your clients natural hair is.
I colormelted her with 6N and her final glaze was 7CG and 7CC for a beautiful copper finish.
Zero Time Brush System!
If you don’t know what the Zero Time Brush System is, you’re missing out! I love these wide brushes for cutting my application times IN HALF! As you saw in the video, it only took me 5 minutes to apply her colormelt.
This system comes with 3 brushes as well as bowls so the wide brushed can easily dip in and out. The brushes come in a 3.5, 4.5, and a 5.5.
3.5– The 3.5 brush is designed for foiling and balayaging. It is a perfect size to quickly saturate, but its not to big to get in the way.
4.5 – The Medium brush is designed for root touch ups. You can easily dab the color on the entire section in one go. I also love this for super fine root shadows.
5.5 – This is the tool I used in the video! It is huge, therefore it covers lots of surface area. The bristles are also moderately firm so it is great for thorough saturation.
The curved bowls also have measurements in the bowl so you can easily measure your color.
CLICK HERE TO SHOP ZERO TIME BRUSH SYSTEM!
How to choose the perfect Copper Formula!
One copper does not fit all! If you client says they want copper, sometimes it doesn’t actually mean copper. For example, in this video we used a CG, i.e. Copper Gold. This means that in the formula, it is going to have a little bit if gold to mute the copper so it is not as orange.
There is also BC which is brown copper. This is perfect for clients who want a secondary copper reflection but don’t want it to be straight copper. RC, red copper, is also an option, but in that case copper is the secondary reflection versus the first.
Of course, there is just straight copper as well, but it is quite bright, so you want to show your clients the Kenra Professional swatch book. They can decide which tone they like the best! It is also a good idea to hold up each shade next to their skin so they can see what they like on their skin tone as well.
The formula:
Lowlights 7Mb+ and 4B+ 10Vol
Blue Powder Lightener 20Vol
Demi 6N into 7CG/7CC 9Vol
She had a lot pf previously lightened hair and really wanted to add some warm dimension back into it. My solution? The new Kenra Professional 7MB+ and 5MB+ from the Monochrome collection. It is a perfect way to add some warmth into her hair. Plus, her ends were porous so the double pigment of this line will help it stick.